This homemade moisturizer is an all-purpose miracle worker—as excellent for damaged and dry hands as it is for repairing chapped lips and cracked skin. Rosemary and sage oils, steeped in nourishing coconut oil and cocoa butter, help to jump-start skin repair. While the salve is completely edible, we don’t recommend actually eating it.
By: Lily Diamond
Ingredients 32 servings
½ cup raw virgin coconut oil
½ cup chopped cocoa butter
½ cup fresh sage leaves
½ cup fresh rosemary leaves
Preparation
Prep15 m
Ready In1 h 30 m
Melt coconut oil and cocoa butter in a small saucepan over low heat. When the oil is hot to the touch, add sage and rosemary. Let the mixture steep over low heat for 10 minutes, then turn the heat off and leave the pan on the stove to steep, uncovered, for another 1-2 hours, depending on desired potency of scent.
Strain out the leaves and discard. Pour the liquid into an 8-ounce glass jar, two 4-ounce jars, or four 2-ounce jars. Place lids on the jars and refrigerate overnight to harden. Remove from the fridge the next morning and keep in a cool, dry place.
To make ahead: Store in a cool, dry place for up to 6 months.
Don’t let those plastic straws end up in a landfill! When you’re done slurping up your iced coffee, save your straws to make a few of these gorgeous faux copper air planters.
What You’ll Need
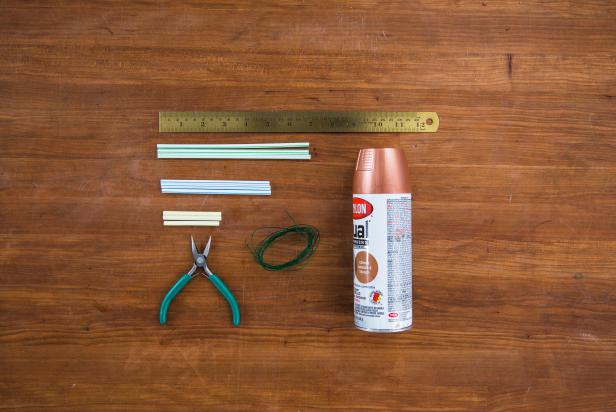
6 plastic straws
thin, flexible floral wire
copper spray paint
air plants
needle nose pliers
DIY Faux Copper Air Planter
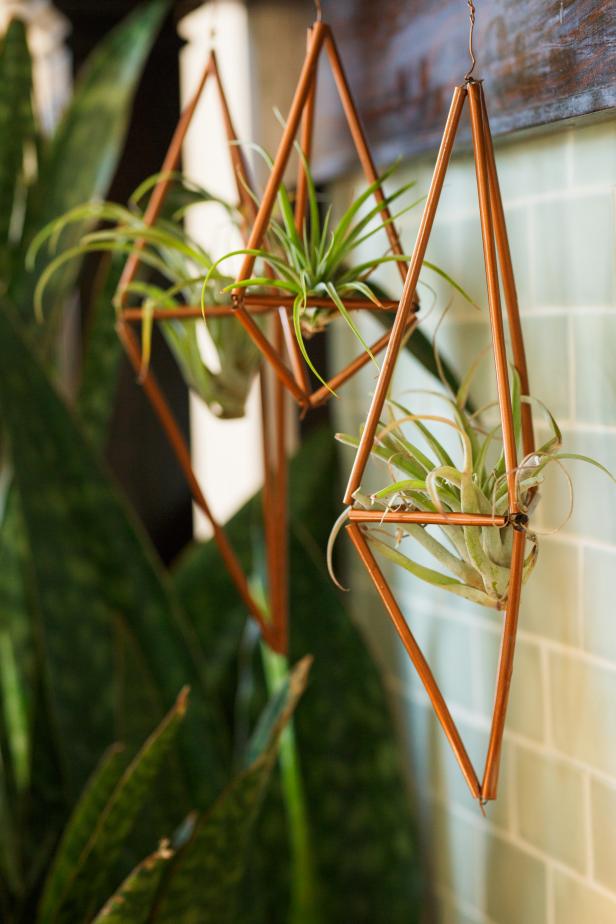
Don’t let those plastic straws end up in a landfill! When you’re done slurping up your iced coffee, save your straws to make a few of these gorgeous faux copper air planters. P.S. – they make great gifts.
Photo by: Jalynn Baker
Jalynn Baker
Cut Straws
DIY Faux Copper Air Planter
Don’t let those plastic straws end up in a landfill! When you’re done slurping up your iced coffee, save your straws to make a few of these gorgeous faux copper air planters. P.S. – they make great gifts.
Photo by: Jalynn Baker
Jalynn Baker
Cut three 7-inch straws, three 5-inch straws and three 2.5-inch straws.
Create First Triangle
Jalynn Baker
Image 1
Jalynn Baker
Image 2
Jalynn Baker
Image 3
Jalynn Baker
Image 4
DIY Faux Copper Air Planter
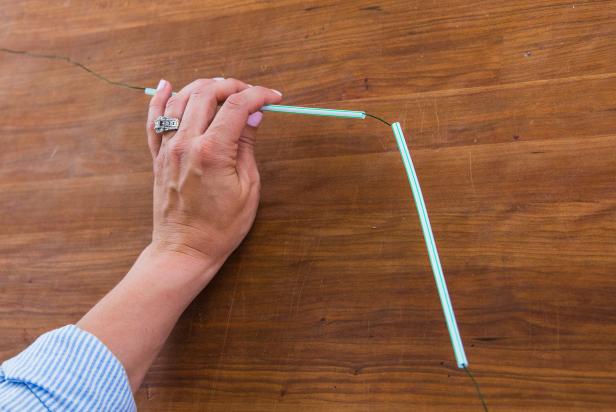
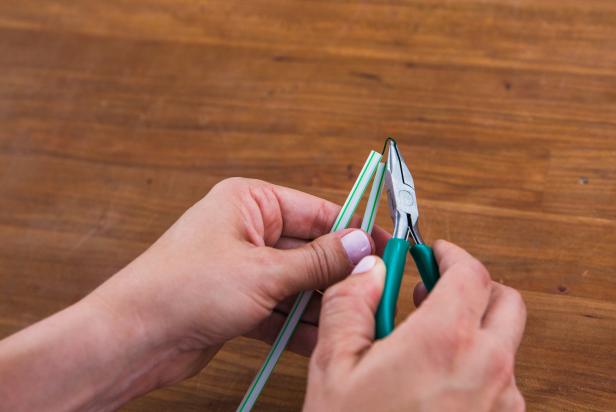
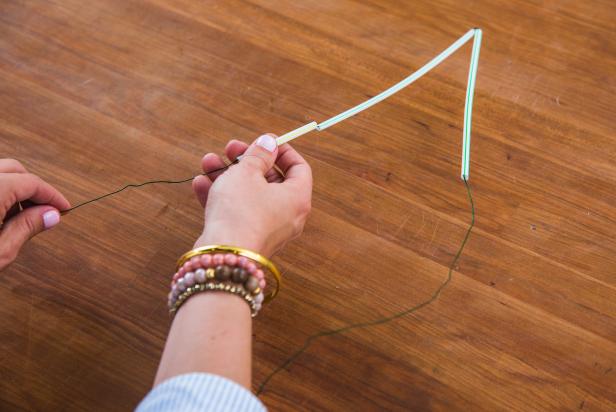
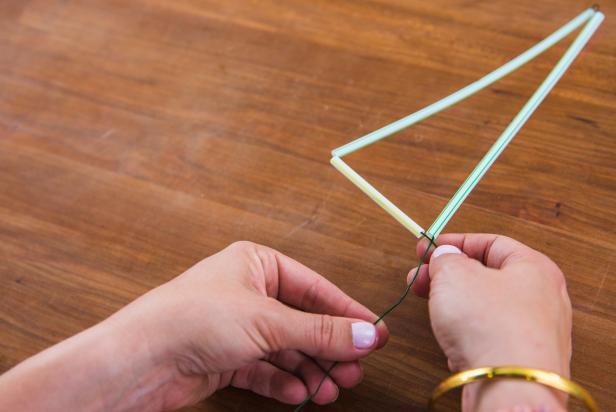
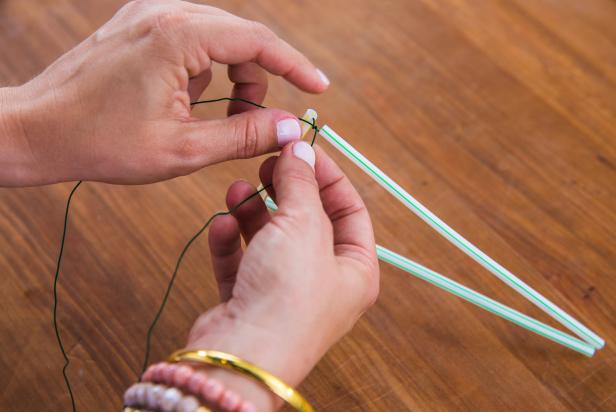
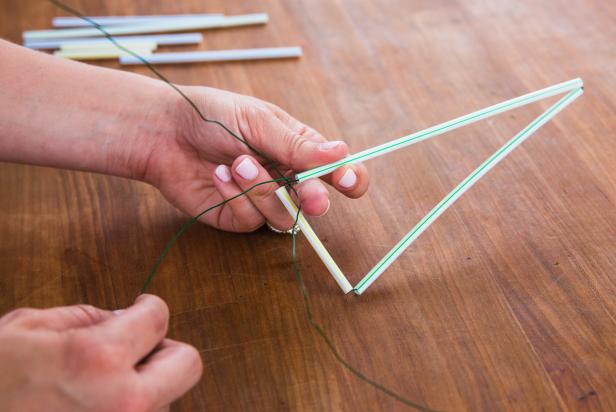
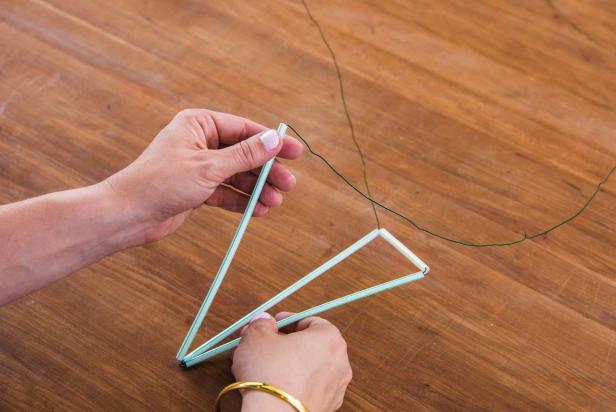
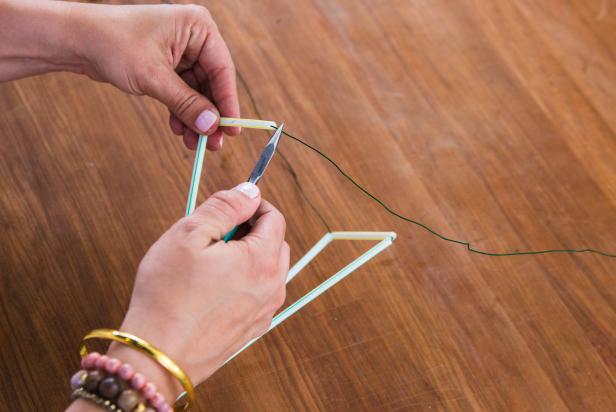
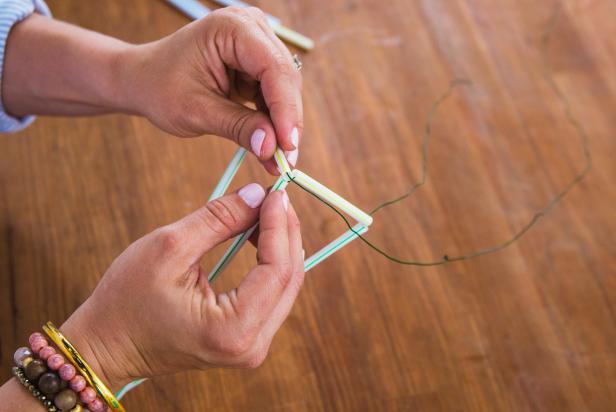
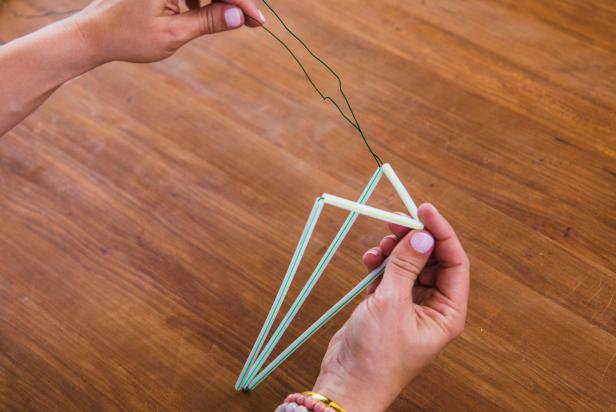
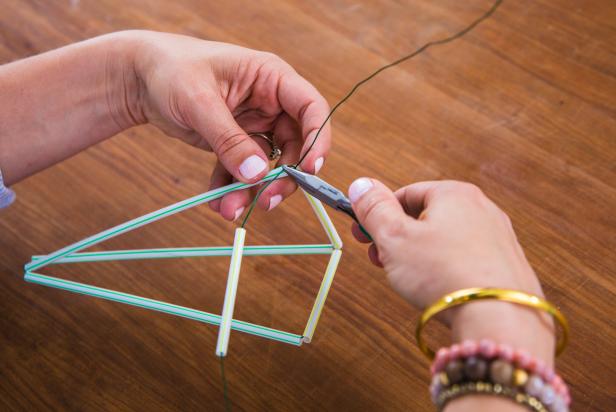
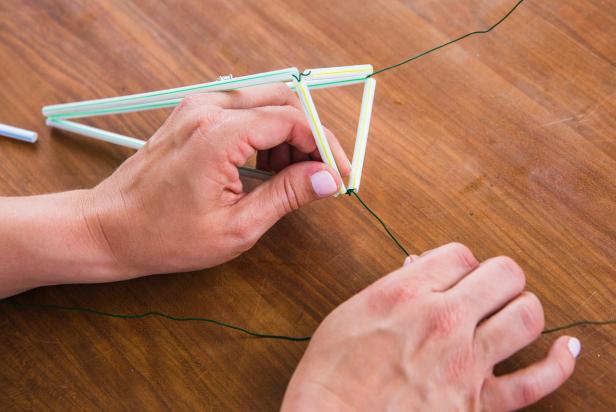
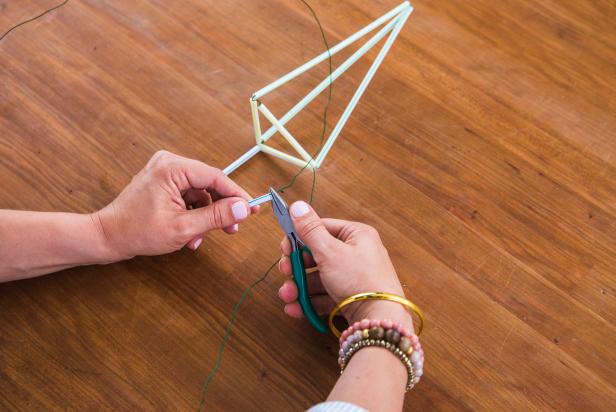
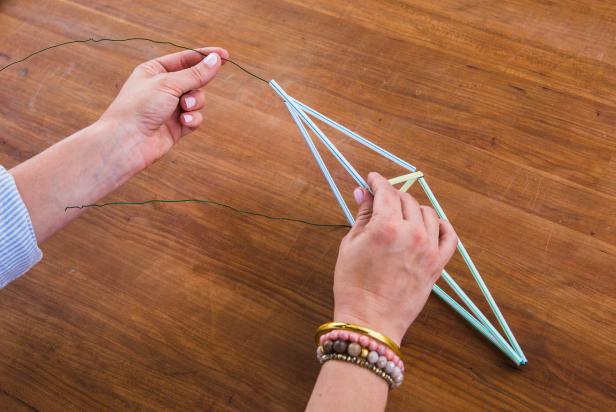
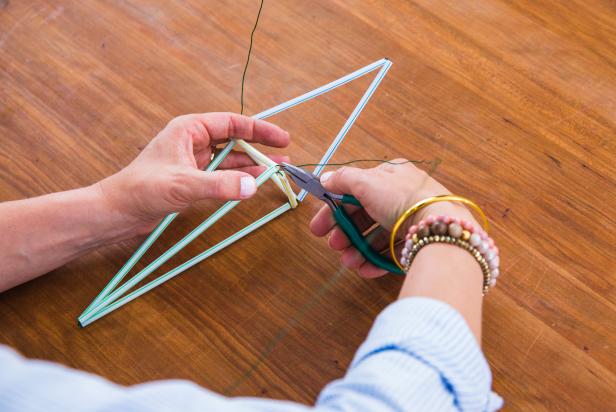
Thread a long piece of wire through two 7-inch straws, leaving about 30 inches of excess wire on one end (image 1). Use needle nose pliers to create a bend in the wire between the two straws (image 2). Thread a 2.5-inch straw onto the short side of the wire, bending the wire between it and the 7-inch straw to form a triangle (image 3). Twist the open ends of wire together to close the isosceles triangle (image 5).
Make the Top Pyramid
Jalynn Baker
Image 1
Slide the long end of the wire back up through the first 7-inch straw (image 1) and thread another 7-inch straw onto the same wire, bending the wire between the two straws (image 2). Then, bend the excess wire at the end of the straw to hold it in place.
Jalynn Baker
Image 1
Jalynn Baker
Image 2
Jalynn Baker
Image 3
Jalynn Baker
Image 4
Image 1
Thread a 2.5-inch straw onto the same wire, to the bend (image 1). Bend the wire, then thread it back through the first 2.5-inch piece, connecting the two 2.5-inch straws and creating half of the pyramid base (images 2 & 3). The two wires should now meet. Bend the long wire at the corner, then thread another 2.5-inch piece onto it, creating a triangular base (image 4). Wrap the long wire around one corner of the base to secure (image 5).
Make the Bottom Pyramid
JalynnBaker
JalynnBaker
Thread two 5-inch straws onto the long wire, bending the wire in-between each straw to create a triangle (image 1). Connect the triangle to the base by threading the wire back through one of the 2.5-inch pieces (image 2).
JalynnBaker
Image 1
Thread the final 5-inch piece onto the wire (image 1), bending the wire to hold it in place. Thread the wire back up through one of the other 5-inch straws and secure wire to the base by twisting the excess wire together (image 2).
Finish It Up
DIY Faux Copper Air Planter
Don’t let those plastic straws end up in a landfill! When you’re done slurping up your iced coffee, save your straws to make a few of these gorgeous faux copper air planters. P.S. – they make great gifts.
Photo by: Jalynn Baker
Jalynn Baker
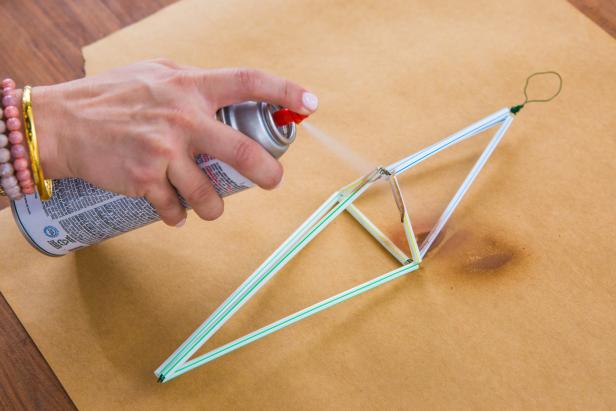
Cut off excess wire, clamping the raw edges with pliers to avoid snagging. Attach another piece of wire to the top of the planter for hanging, then paint with copper spray paint.
DIY Faux Copper Air Planter
Don’t let those plastic straws end up in a landfill! When you’re done slurping up your iced coffee, save your straws to make a few of these gorgeous faux copper air planters. P.S. – they make great gifts.
Photo by: Jalynn Baker
Jalynn Baker
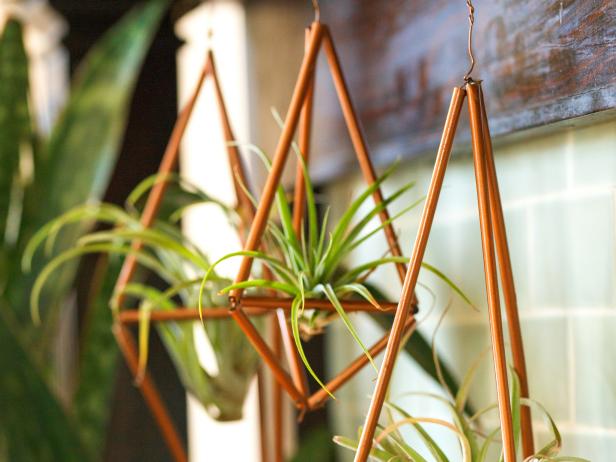
Place an air plant (Tillandsia) in the middle base of the planter, hang and enjoy! When your plant’s ready for water, take it out of the base, soak thoroughly in a bowl of lukewarm water and sit it upside down on a paper towel to dry.
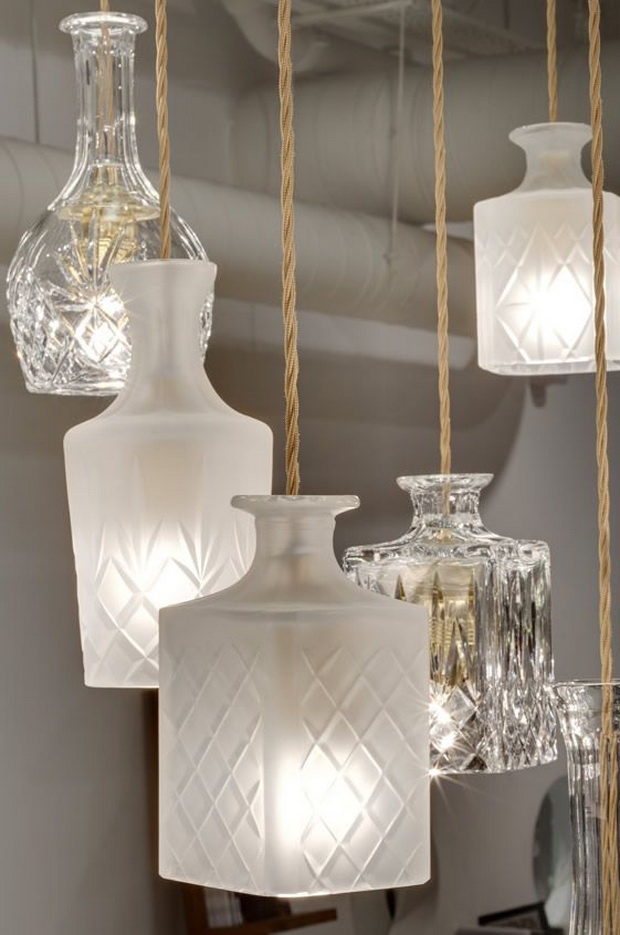
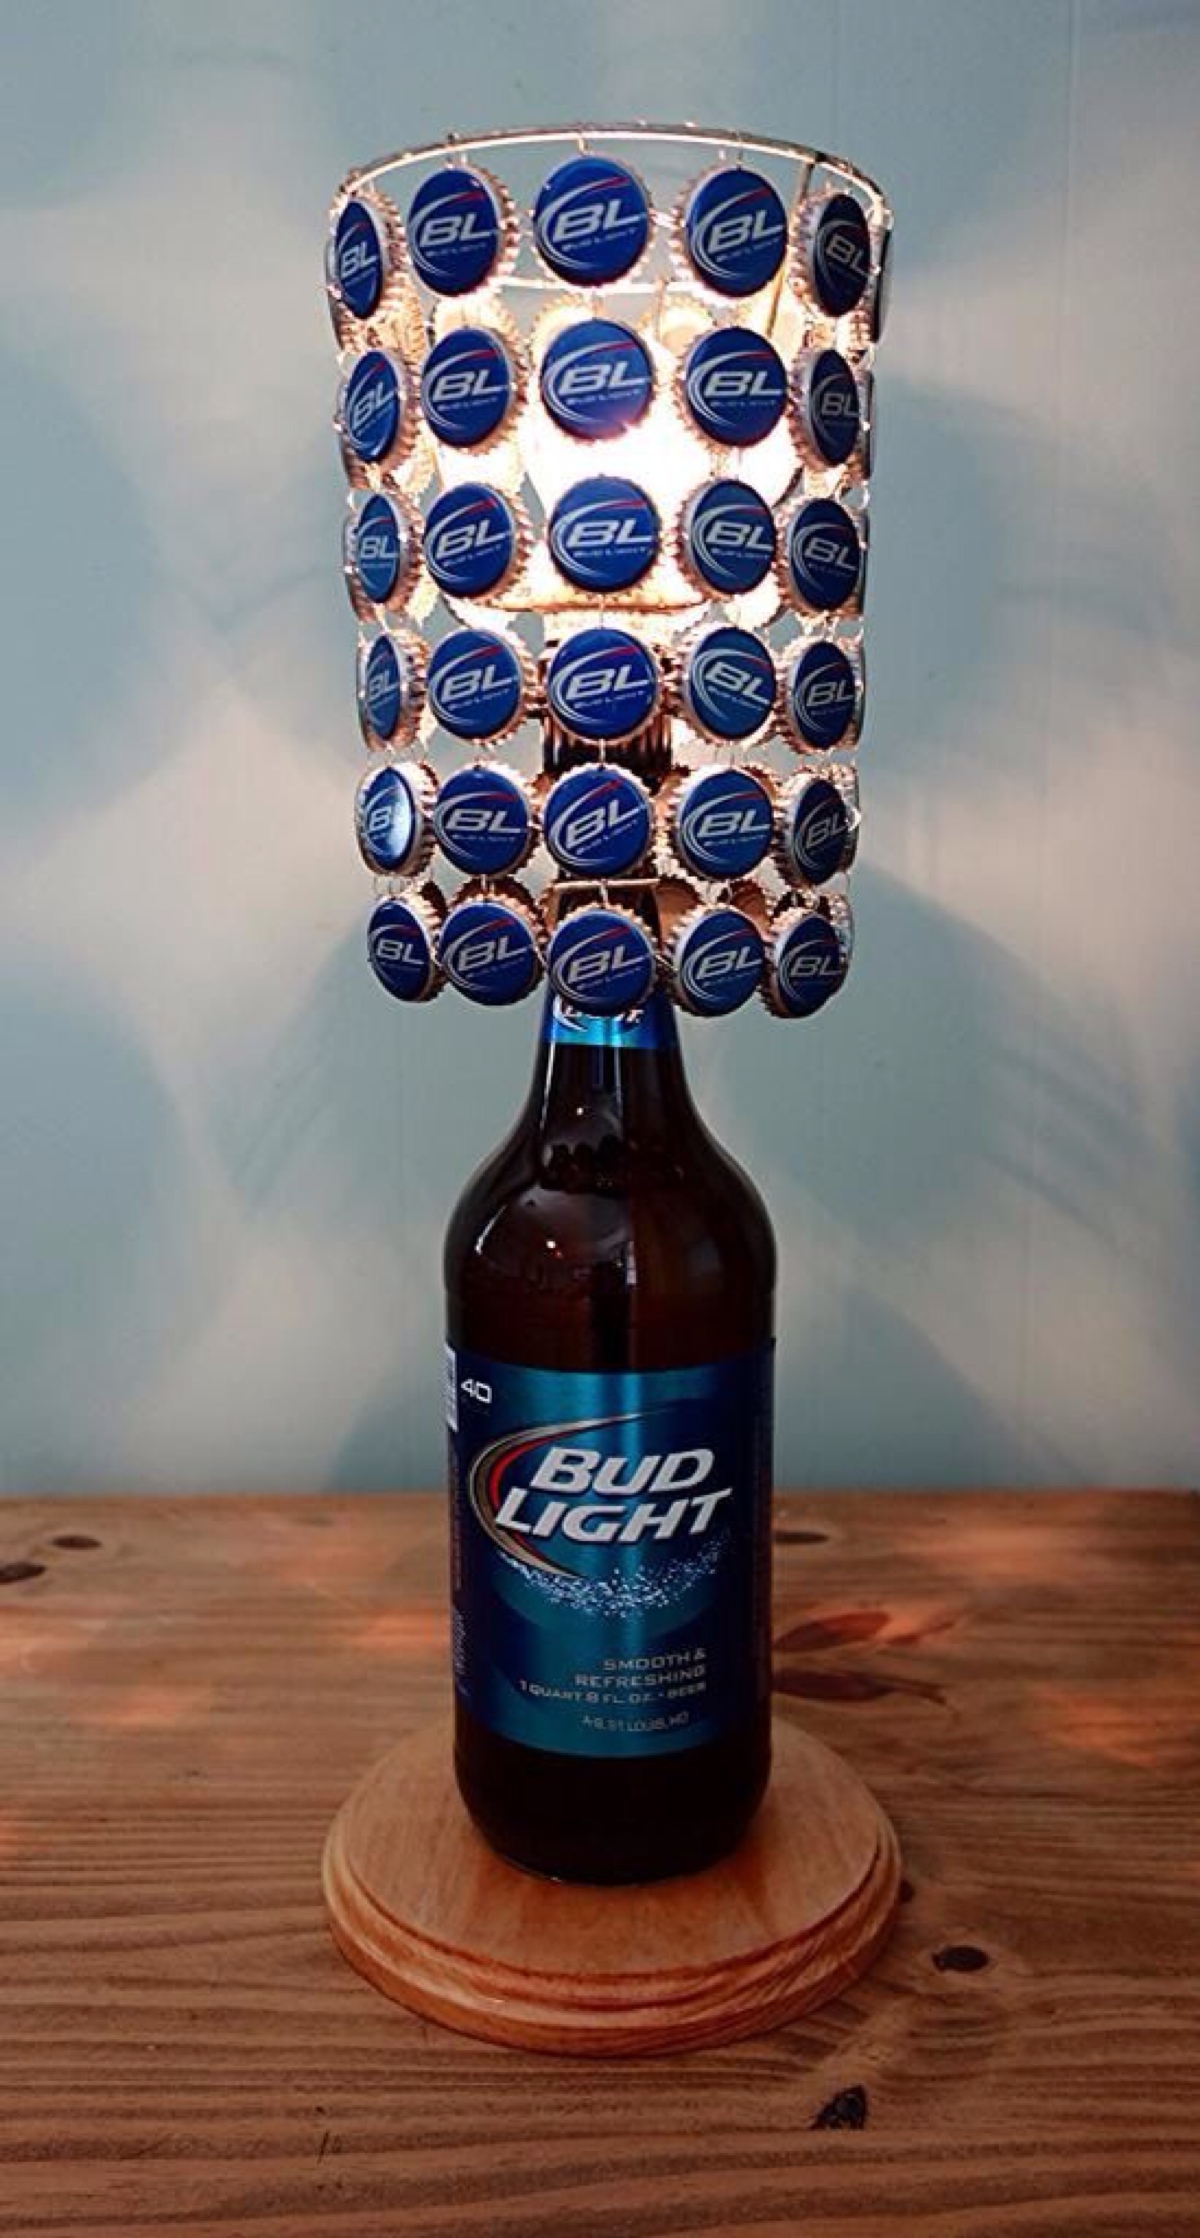
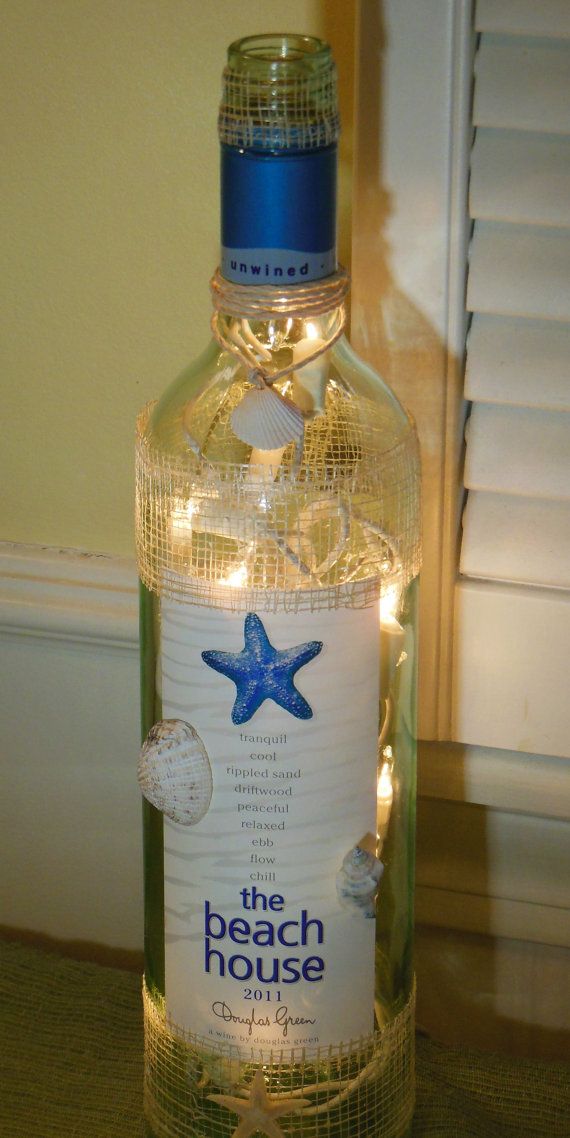
Hi my coolest people! Are you looking for a new cool idea? For all fans of DIY ideas, today we prepared an exquisite collection of 25+ DIY Bottle Lamps Decor Ideas That Will Add Uniqueness to Your Home.If you are looking for a new lamp to add to your home interior, think twice before you spend money on that. We tend to spend more than we can afford, so be cool and make the things that you need on your own. The results are priceless! Why buying a new lamp when you can do it yourself? There are so many ways of how to incorporate this idea to your home interior. Today, we suggest to use empty bottles in order to make amazing lamps.
Enjoy in this collection and try to copy some of them for your home.
Unique Bottle Lamp Decor Ideas
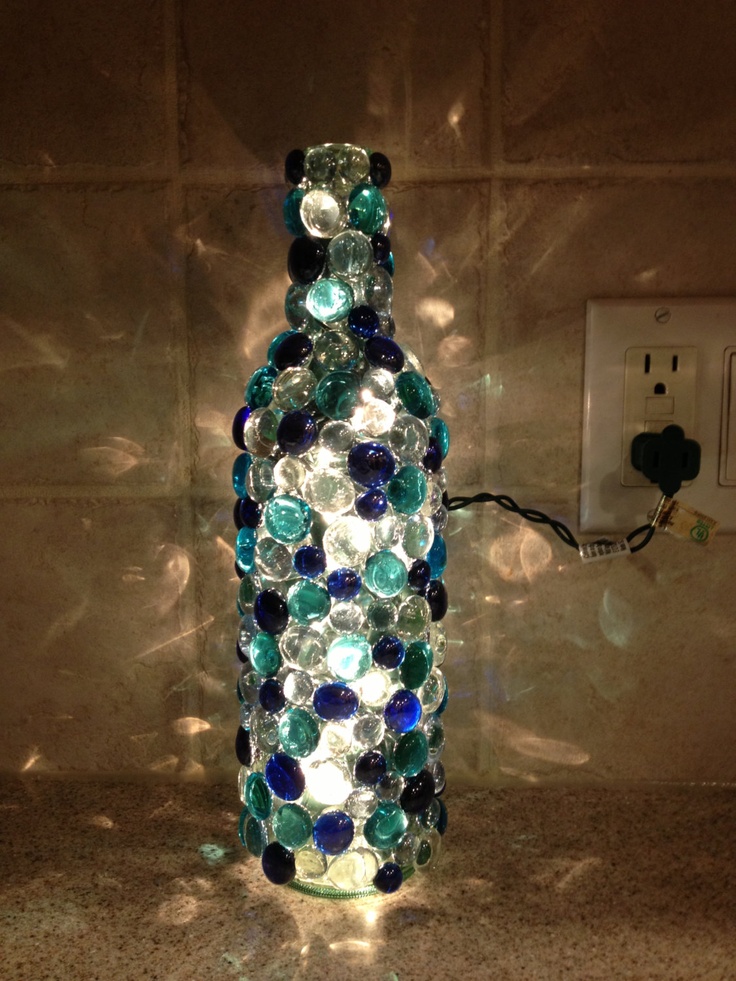
There is a sign of elegance and uniqueness in every glass bottle. Some of them will catch your eye with their shape, color, or size. You can make them a part of your home decor as lighting solutions. Take a look at the following crafts and choose which one is your favorite.
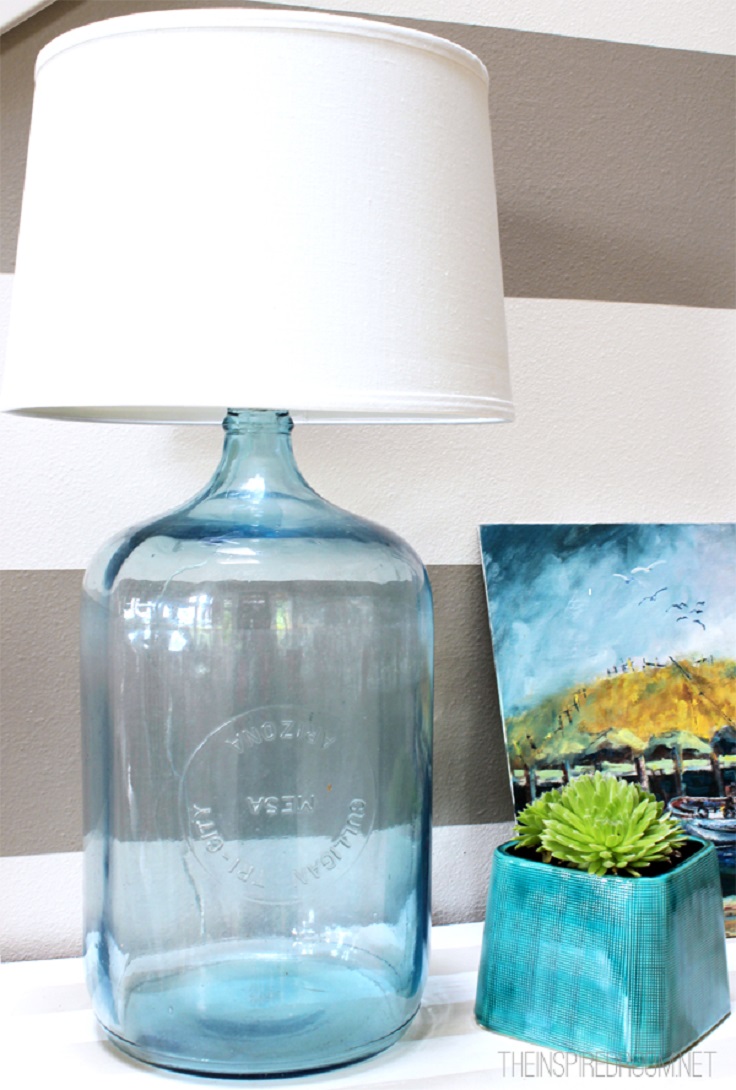
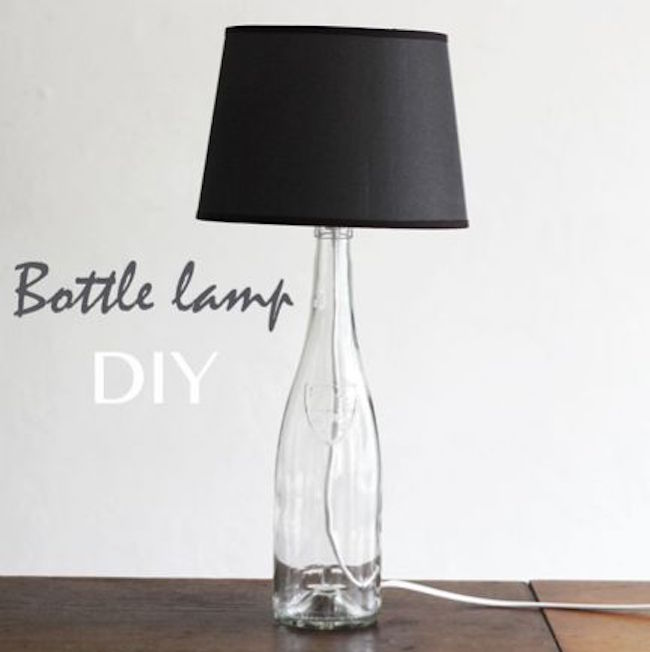
01. Jar Lamp
02.
03.
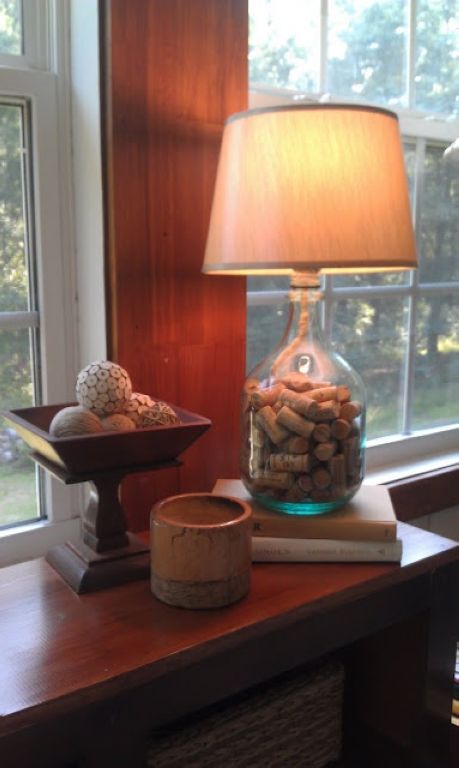
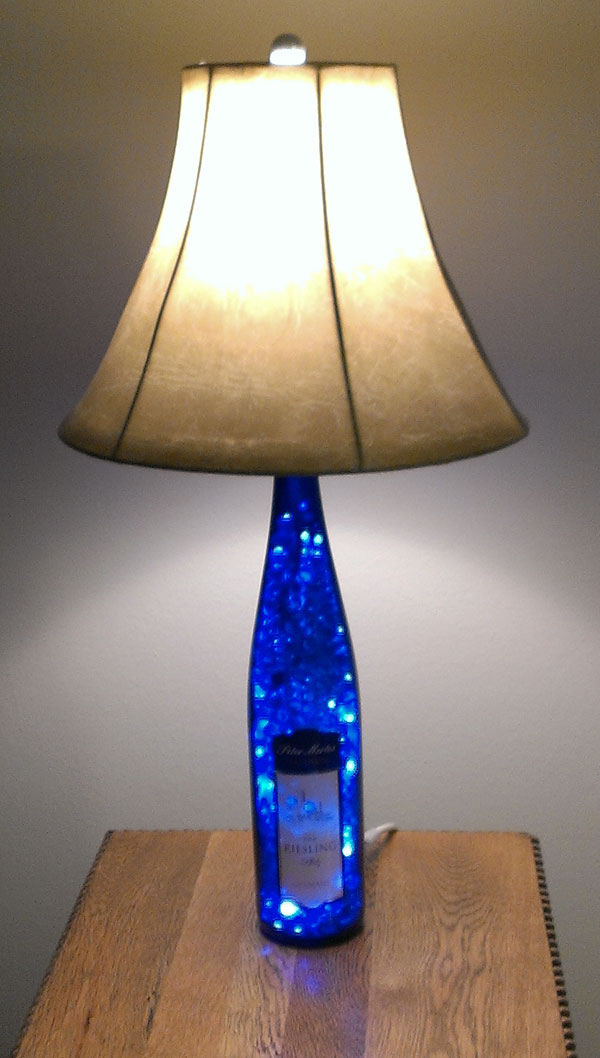
04. Cork Filled Bottle Lamp Decor Idea
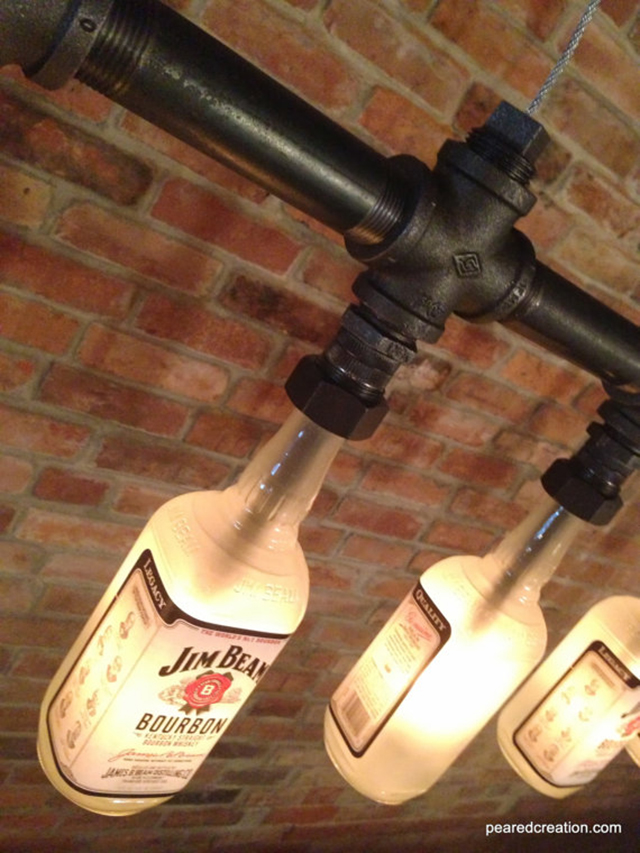
Hanging Bottle Chandeliers
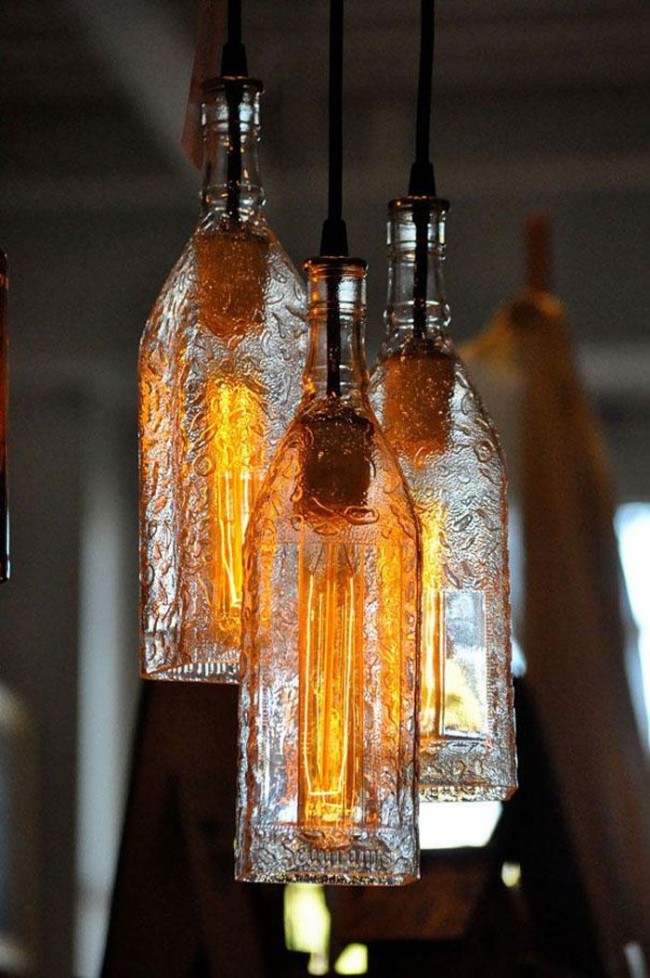
Chandeliers are fascinating on their own, but usually they catch your eye with their uniqueness. So we are sure that the following unique hanging bottles chandeliers will be noticed by everyone that enters your place.
05. Creative Hanging Bottle Lamps
06.
07.
08.
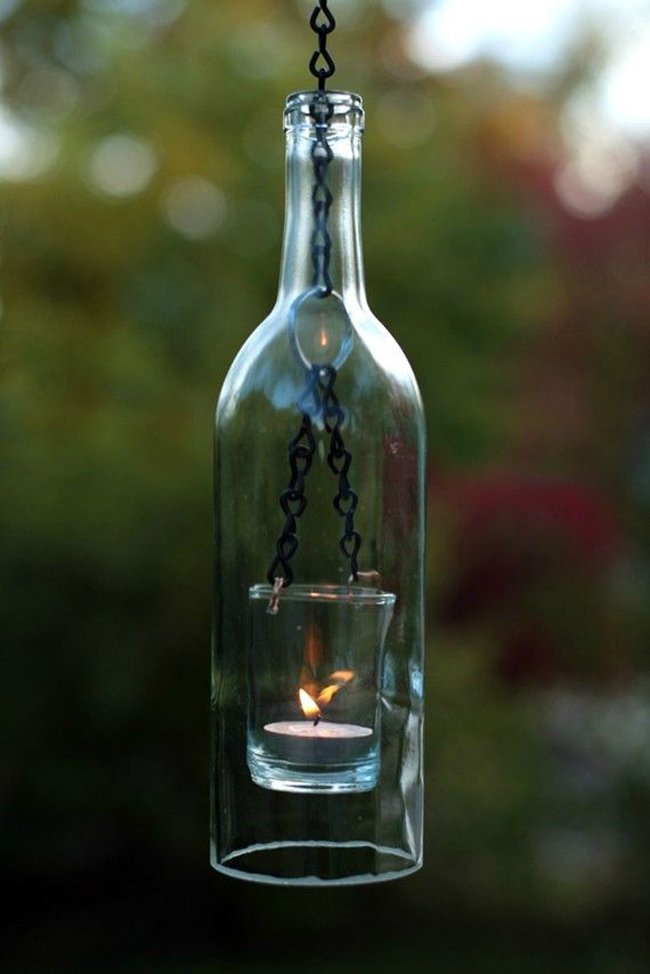
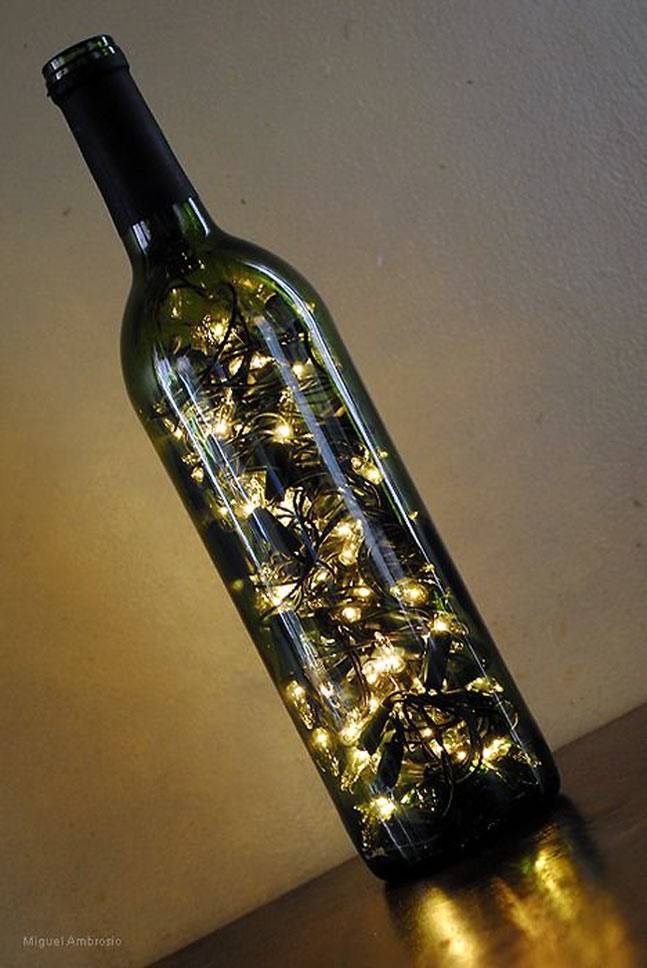
09. Wine Bottle Lantern
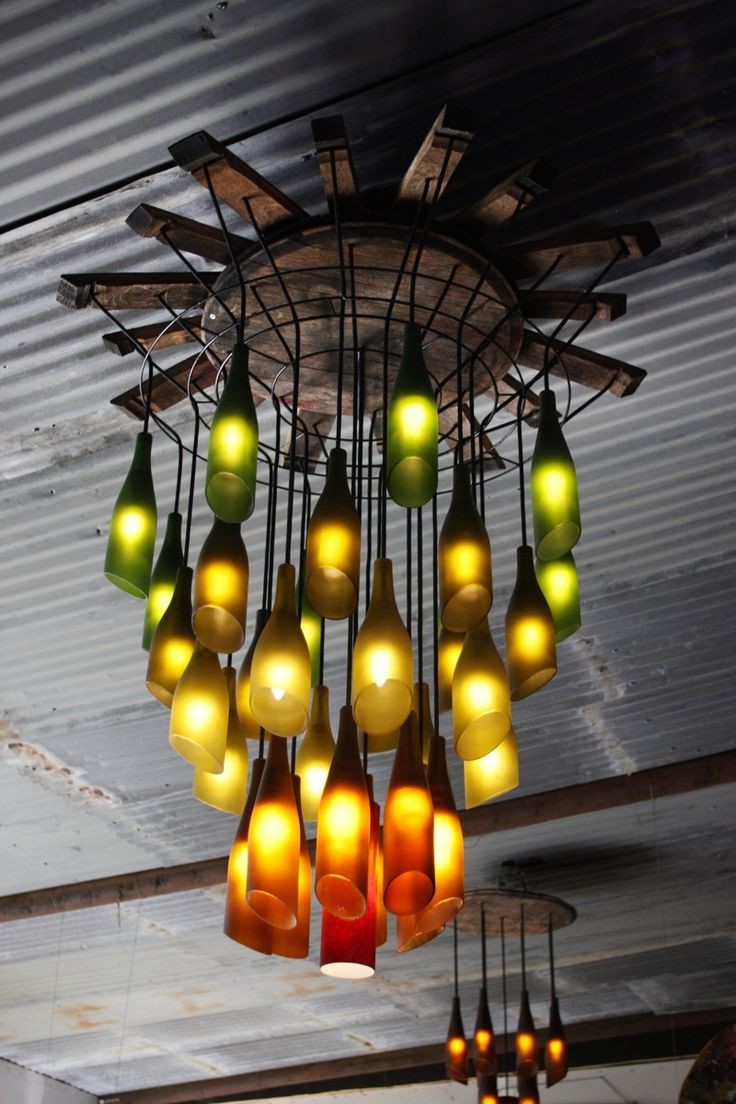
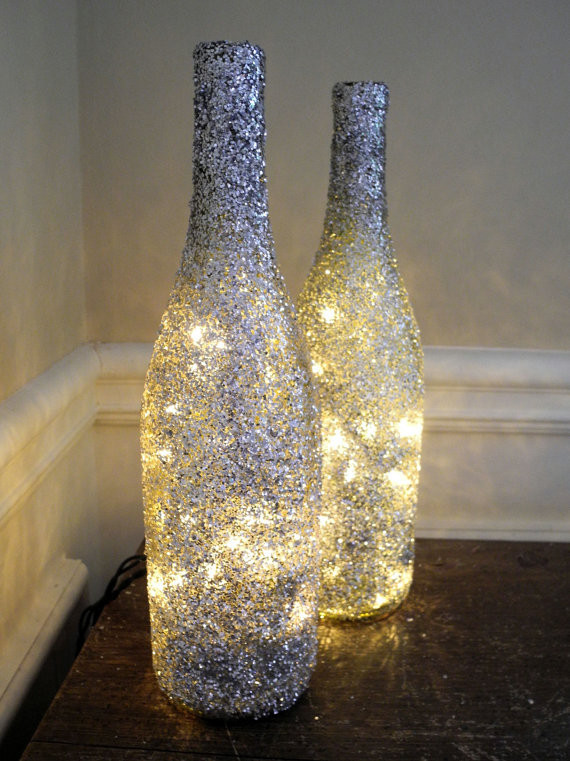
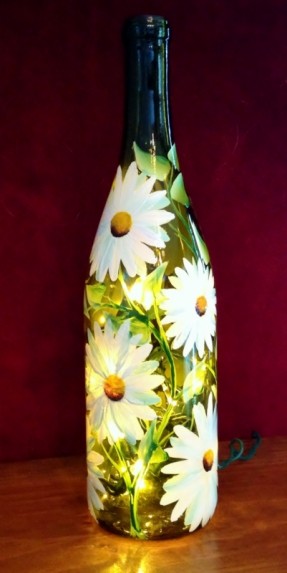
10. Wine Bottles Lamp Decor Ideas
11.
12.
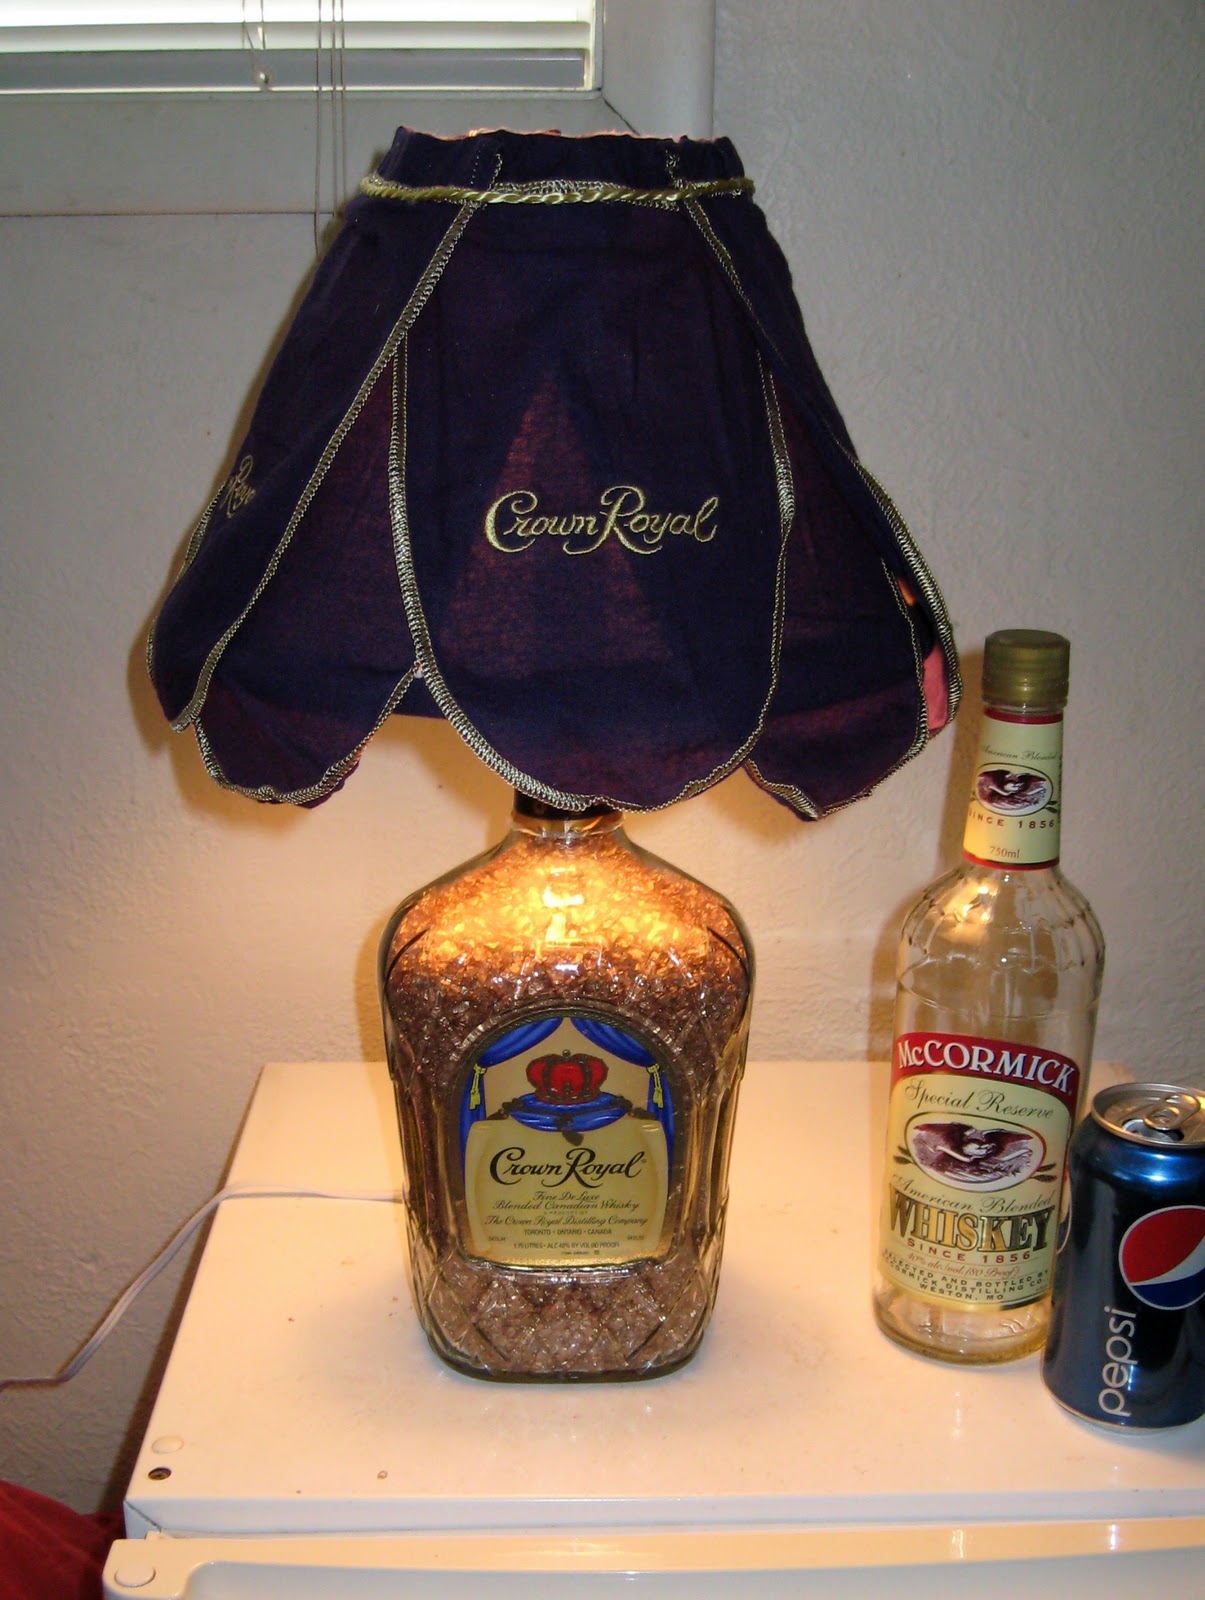
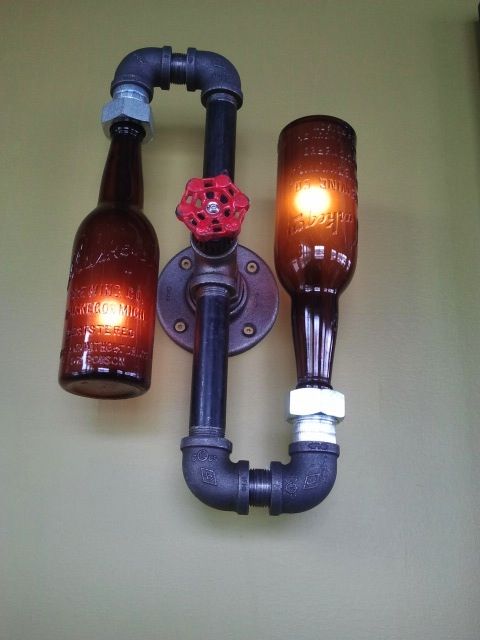
13. Rum Bottle Lamp Decor Idea
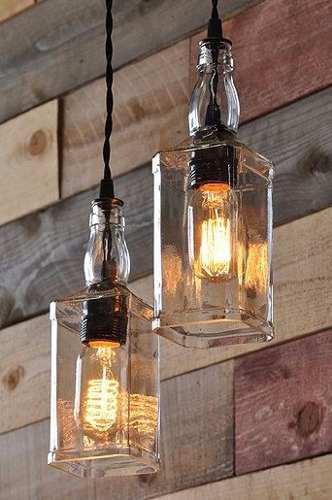
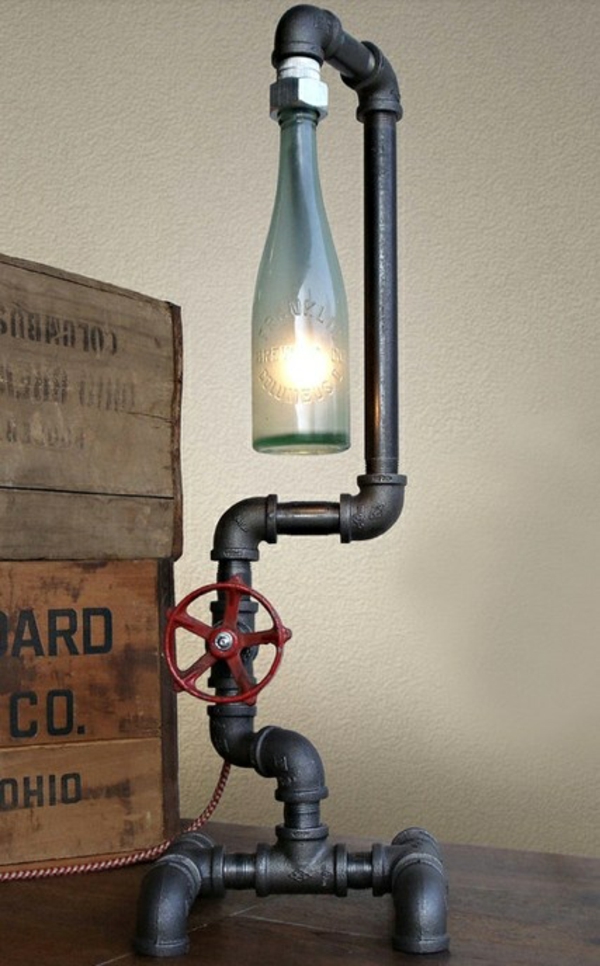
Whiskey Bottle Lamp Decor Ideas
For all whiskey lovers, here is something cool and catchy. Especially boys will be amazed by this creative whiskey lamp.
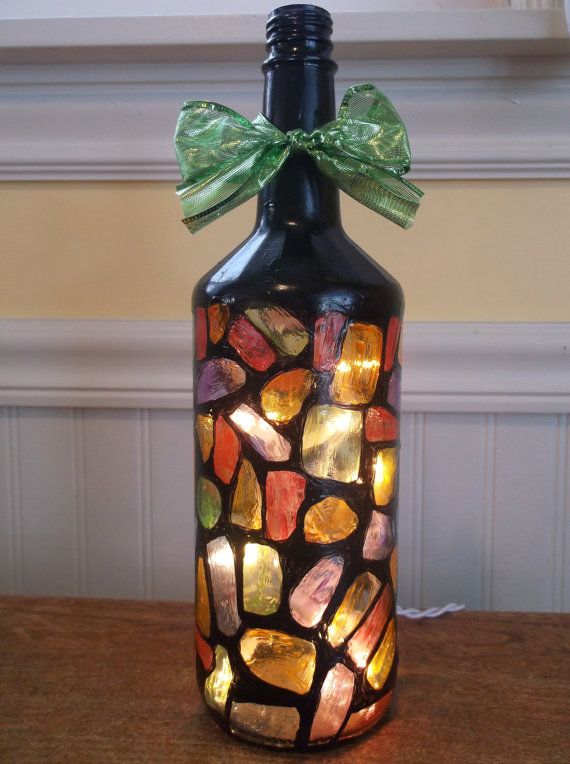
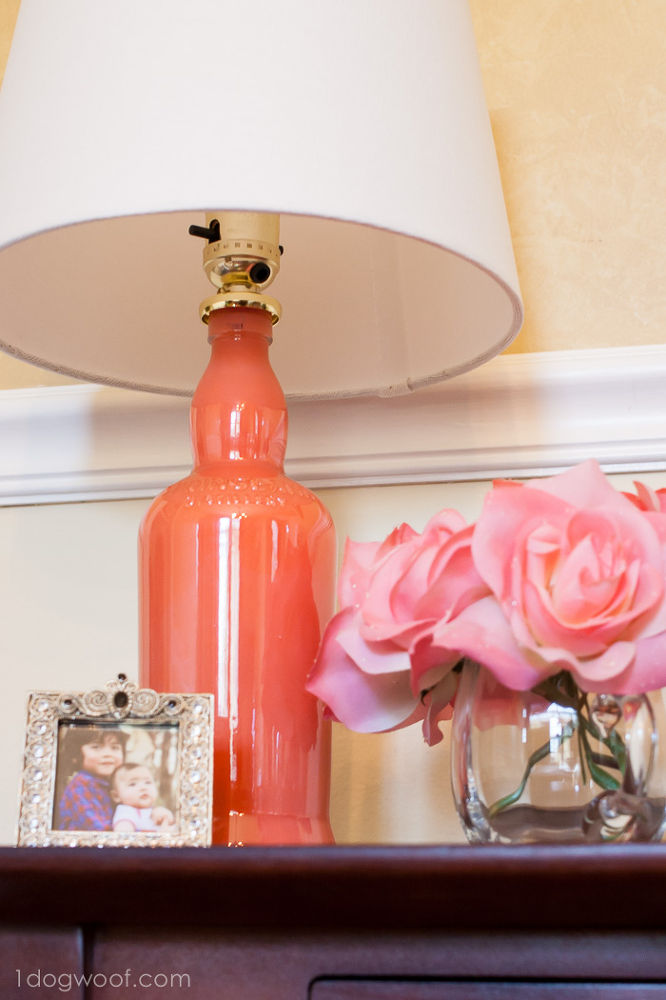
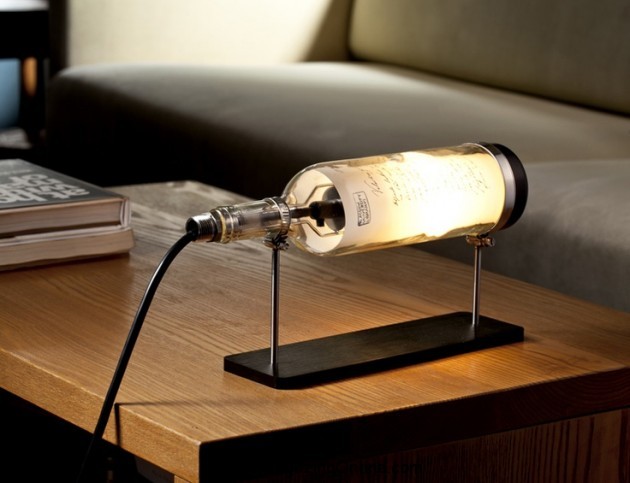
Bottle lamps can look even more adorable if you put some art in the look of the bottle. Just decorate it with a nice bow, colored paper, or paint it as you wish and you’ll get a piece of masterpiece!
So, how did you find our bottle lamp decor ideas for your home? Isn’t they lovely? Which one is your favorite? We want to hear from you. Feel free to share your comments with us and don’t forget to subscribe to our newsletter that you will easily find on our Feel It Cool website. Also, we made this collection to give you great ideas how to redecorate your dream home with something creative and unique. Thank you for reading and don’t forget to stay up to date with the content of Architecture & Design and find many other great home interior ideas.
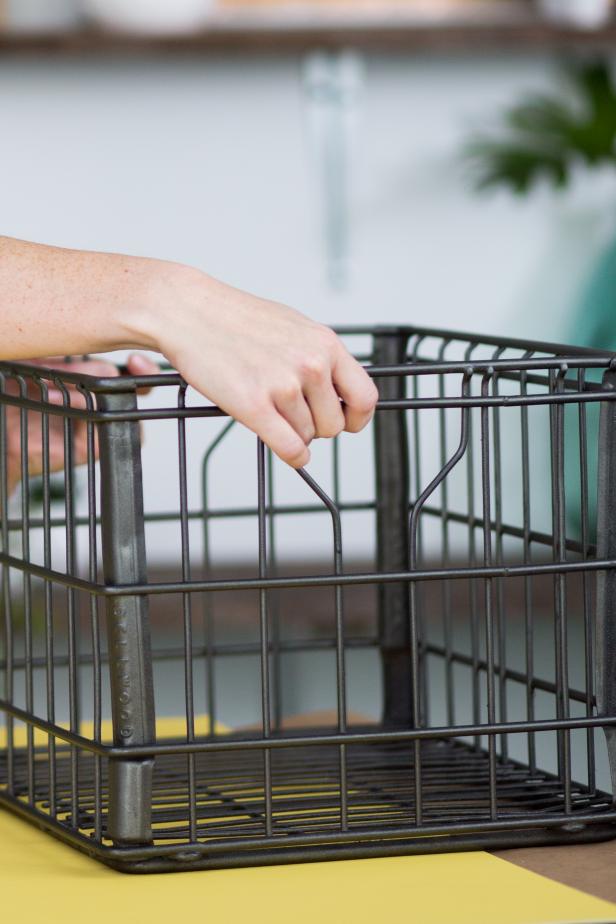
The first step is to prep the milk crate or the soon-to-be base of the ottoman. The age and patina of the crate will determine the amount of elbow grease needed. Remove any unwanted paint or rust with a sanding block. Once the surface is smooth, add a pop of color with spray paint.
Pretty Padding
Cassidy Garcia prevnext
Photo By: Cassidy Garcia
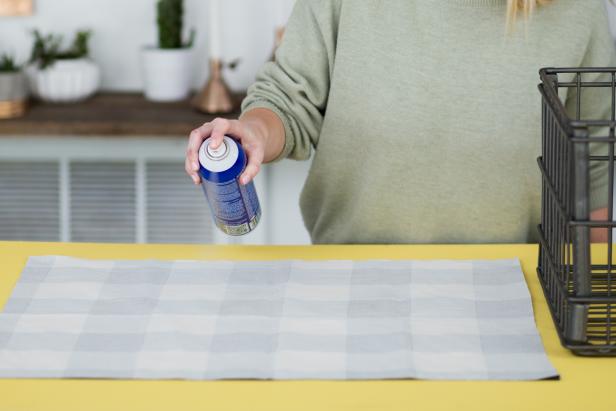
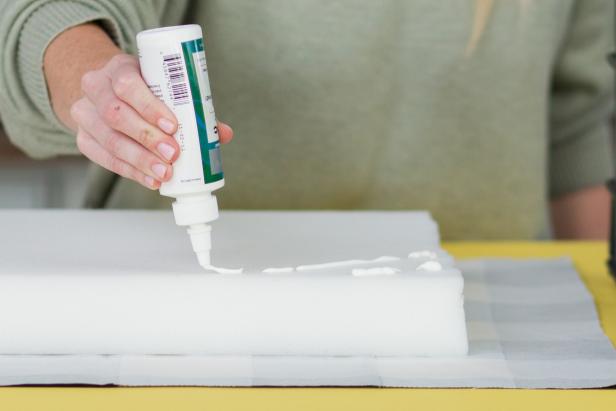
Create a cushion for added coziness and style. Measure the crate’s opening to determine the size of the foam. Cut fabric wide enough on each side to wrap around the foam and a plywood board cut to the same size as the foam. Lay out the piece of fabric on a flat surface making sure the piece is laying as evenly as possible. Cover the entire surface with a layer of spray adhesive. Place the foam insert piece onto the center of the fabric.
Set Structure
Cassidy Garcia
Cassidy Garcia
Cassidy Garcia prevnext
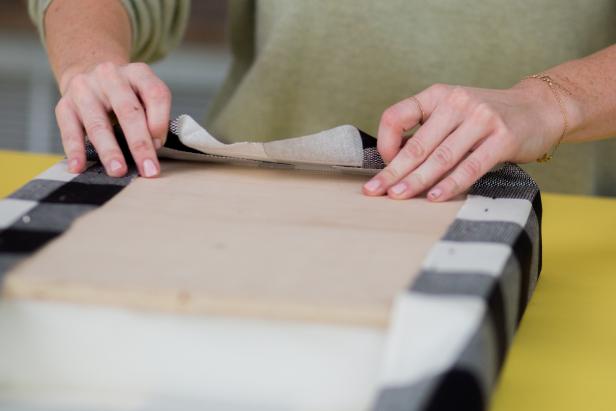
Once the foam insert is secured to the fabric, add a layer of glue to the top on the foam insert. Set the plywood piece on top of the glued surface. Wrap the fabric around the foam and plywood piece, securing the fabric to the wood with as many staples as necessary. Set the two small wood pieces (these should be cut to the same length as the wood) on the outer edges of the cushion so that they fit inside the crate and don’t allow the top to slide off. Attach the wood pieces to the plywood with screws.
Style the Milk Crate
Photo by: Cassidy Garcia
Cassidy Garcia
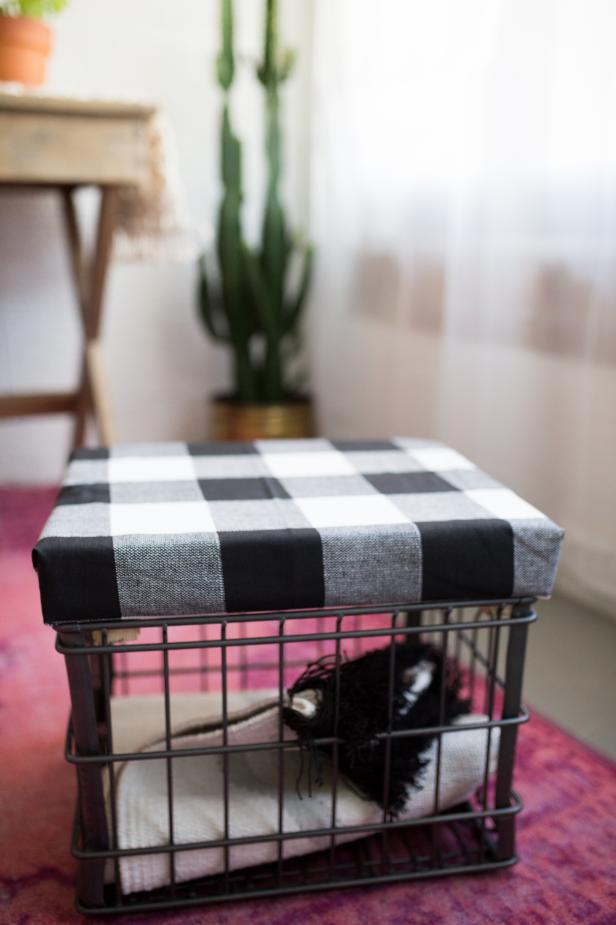
Voila! The milk crate’s transformation is now complete. Use the crate to stylishly display vintage books, as a cozy blanket basket or as a sturdy footrest.
Want a little insight into what my husband signed up for when he said “I do”? I’ve had a box squirreled away in the bottom of the closet for the past three years. Every time my husband has announced that he’s going to sort through his clothes and get rid of old items, I’d hover over him like a ravenous vulture circling a horse carcass. I would wait on baited breath for an old button-down shirt to hit the “give away” pile, swoop in, nab the shirt with my sharpened craft talons, and hastily slink off to the box in the bottom of my closet. I hope your mental image of me doing this involved drooling and a hunchback.
So what, pray tell, could possibly evoke such strange behavior? I had the idea (yes, three years ago) to make a quilt for the duckling out of his dad’s shirts. Aw, that’s so sweet, except for two details – I don’t know how to quilt, and I don’t own a sewing machine. Holding onto the hope that those two facts would shift in my favor one day meant holding onto a musty box of discarded J. Crew shirts for 1,095 days and counting.
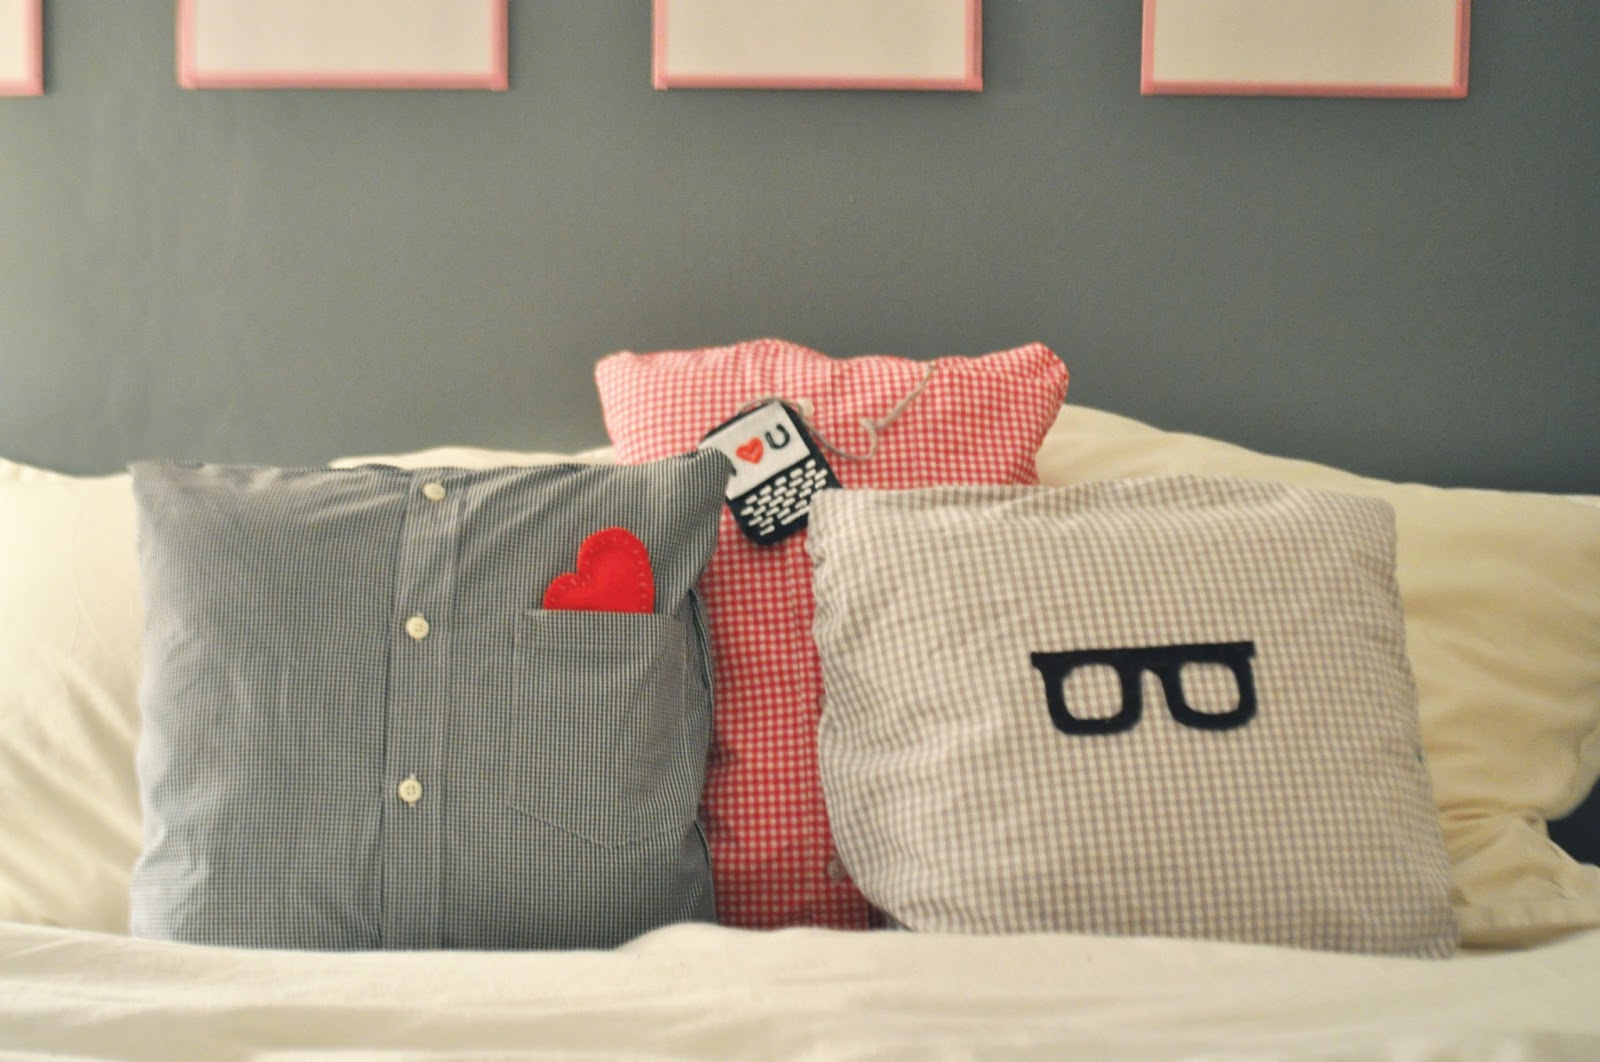
With no change in sight, I decided to curb my hoarding habits and do something with my secret stash of shirts before a family of squirrels decided to make a home in my closet. Enter my new DIY project…daddy inspired throw pillows for the duckling’s room.
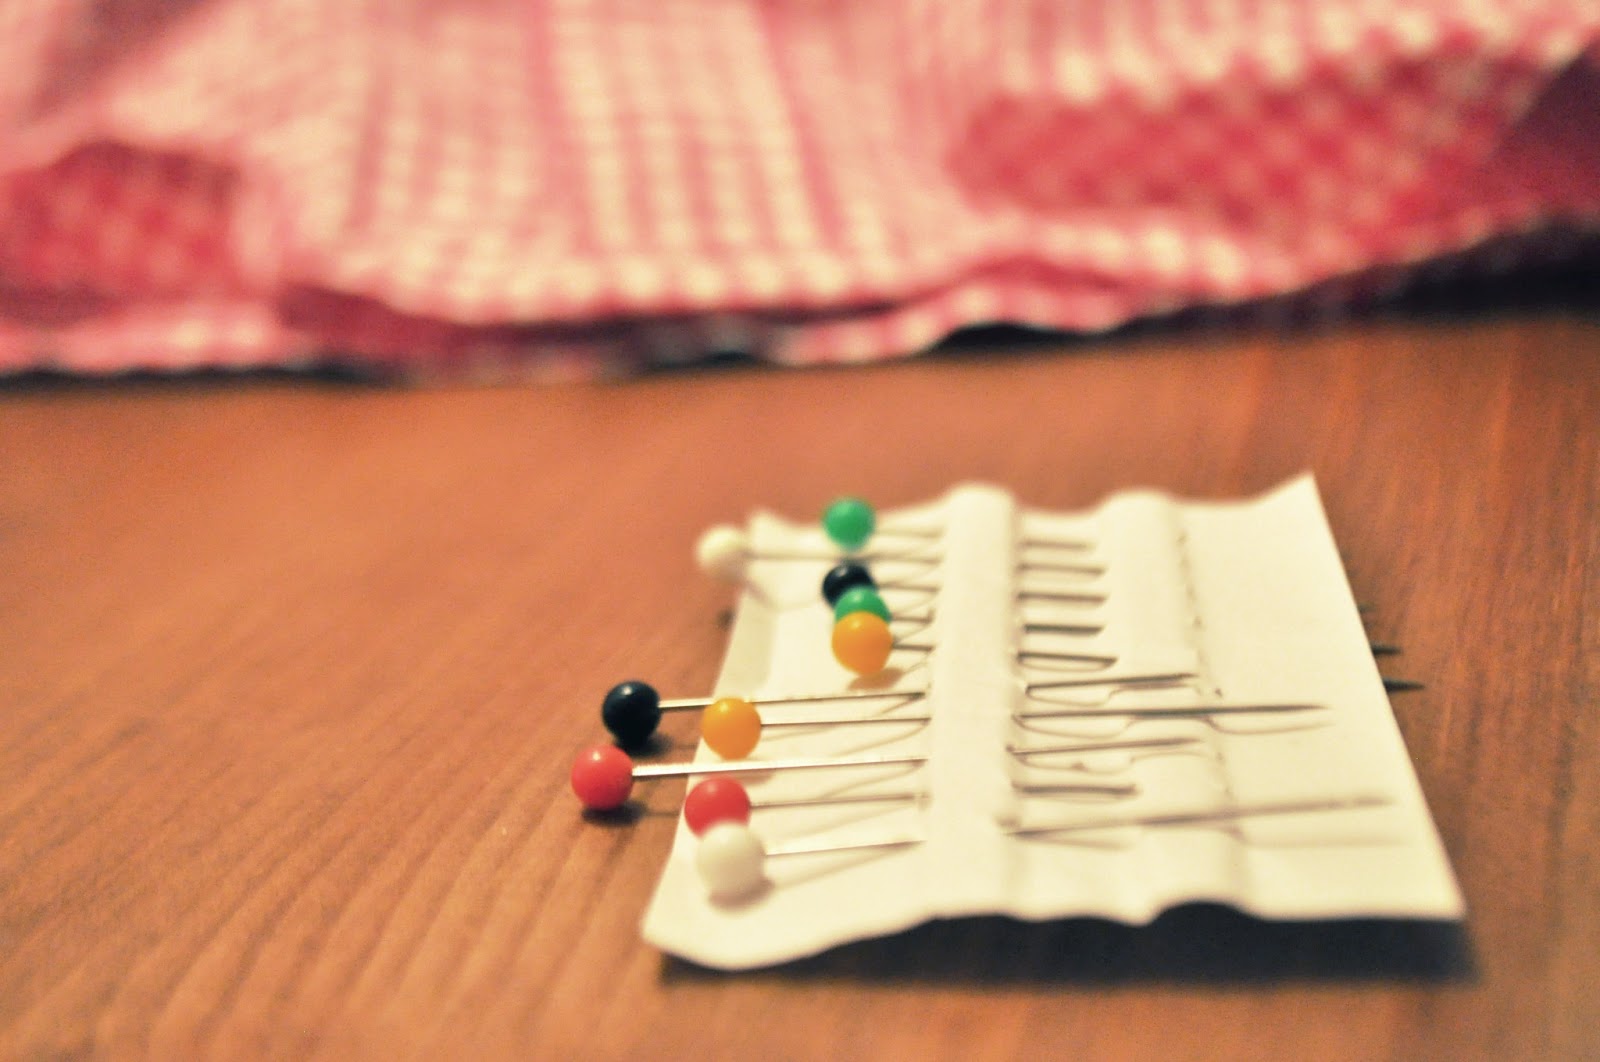
Supplies for Shirts – clean, ironed button down shirts (one per pillow) – pillow forms or old pillows you want to cover – sewing machine or handheld stitcher (I used a handheld stitcher) – scissors – fabric pen (optional) – pins
The links above and in the supplies list for the felt accessories link to our Amazon page where you can purchase the craft supplies we use in this and other projects. We offer this so that you can “one stop shop” for your supplies, and there’s no additional charge to you. All of these items are also readily available at your local craft store.
Instructions for Shirts
As a disclaimer, I’m not a seamstress, so I just “winged” it with a handheld stitcher. Real sewing avids will probably shutter in horror as I describe how I made my pillow shams, but for those of you who are in the same boat as me, hopefully, it will be helpful to see that as far as it relates to this project, the sewing part isn’t an exact science.
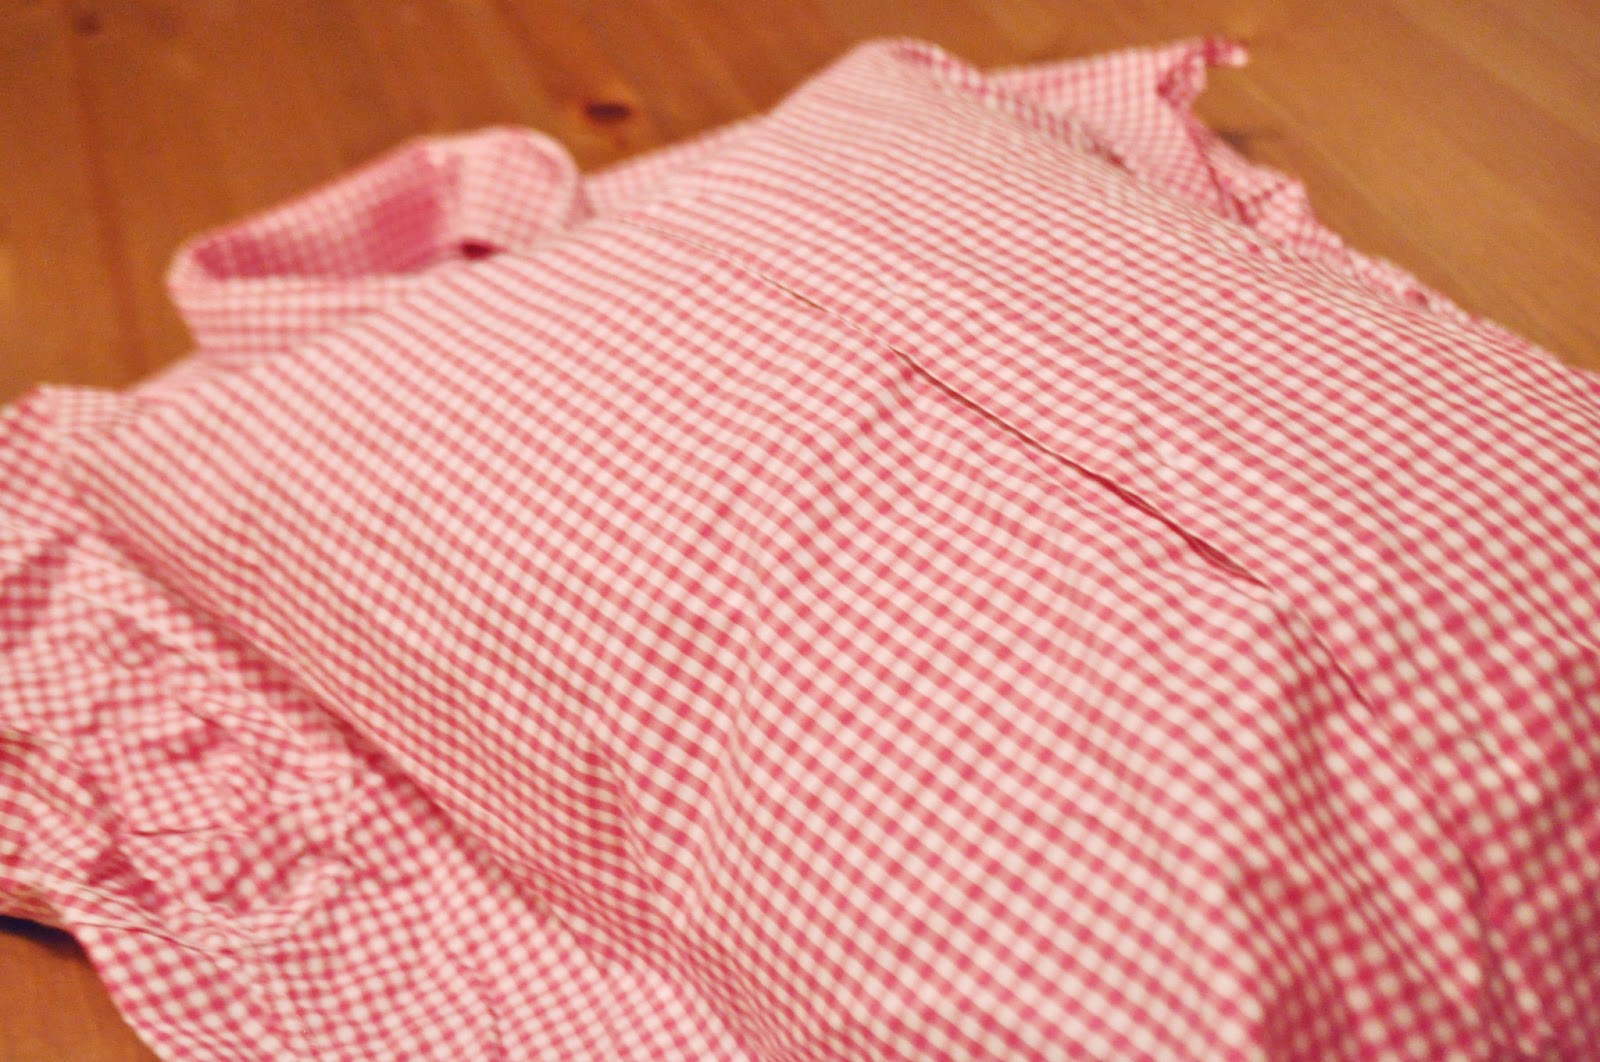
1. Start with a clean, ironed shirt. If you hate ironing like me, you can skip the sleeves because you’re just going to cut them off anyways. (Feel free to wear these like She-Ra cuffs. You know I did.)
3. Turn your shirt inside out (this is important hence the bold + italics for all you skimmers/photo instructions only people) and place your pillow form/insert inside your shirt. Finagle the pillow until you have it in the position you want. If you’ll be using the pockets, like I did, be sure they are positioned in a place that makes you happy on the pillow.
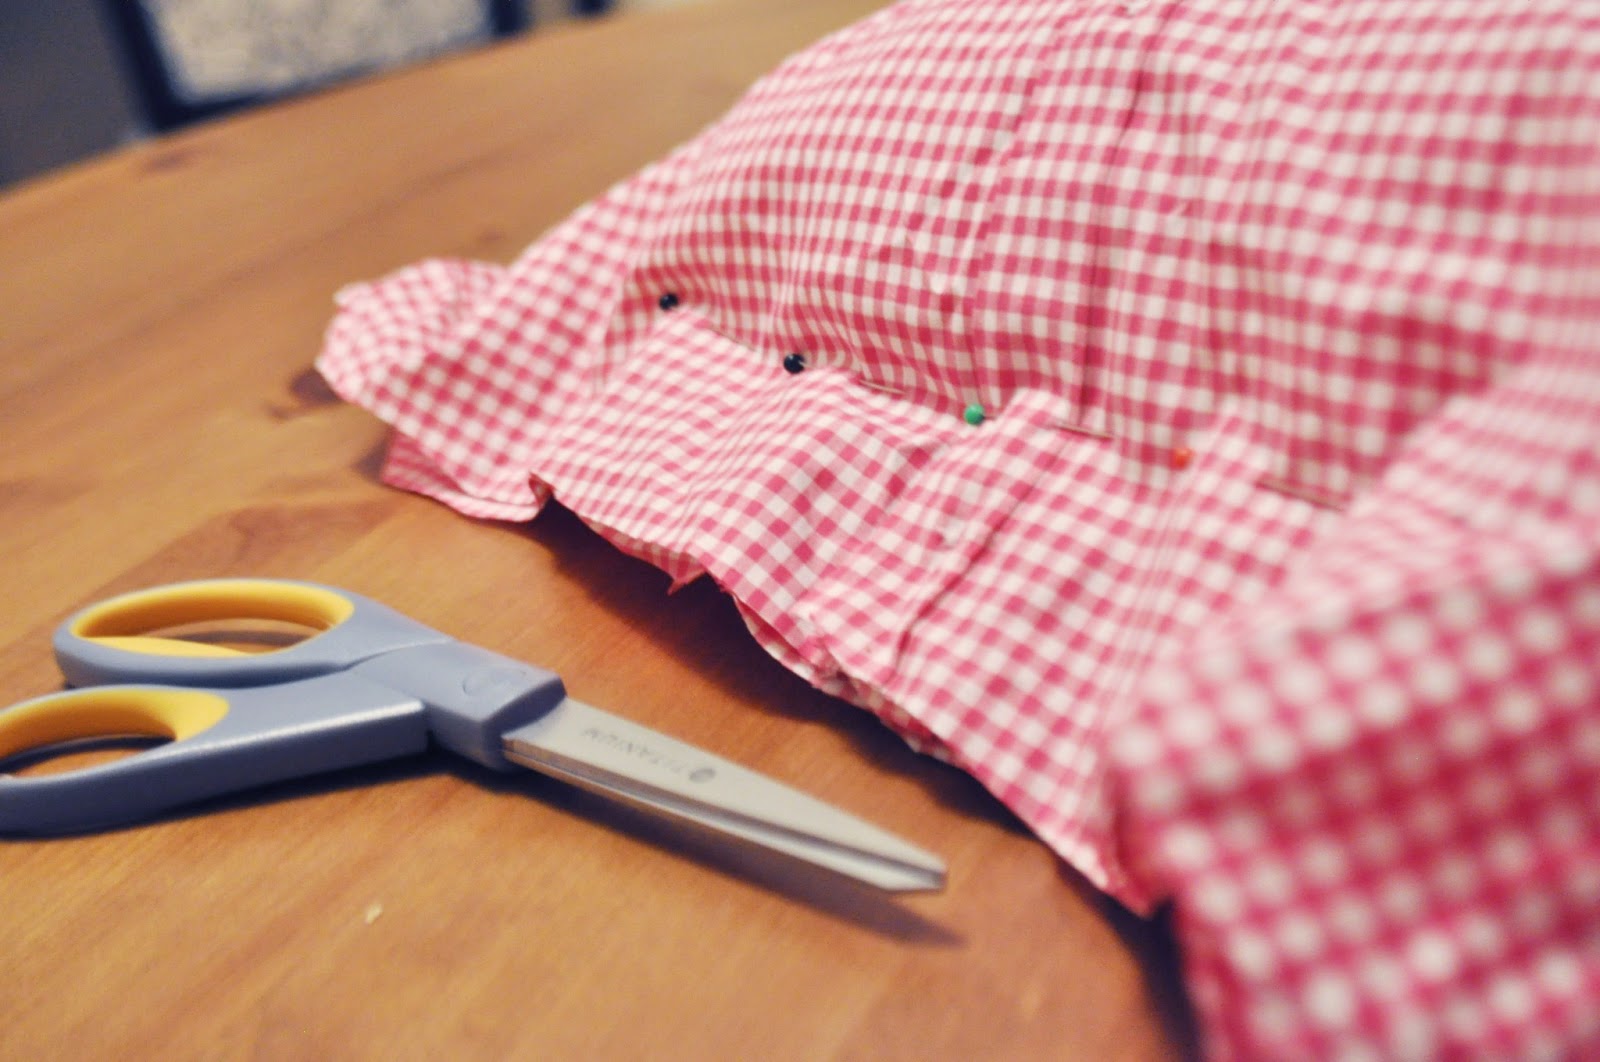
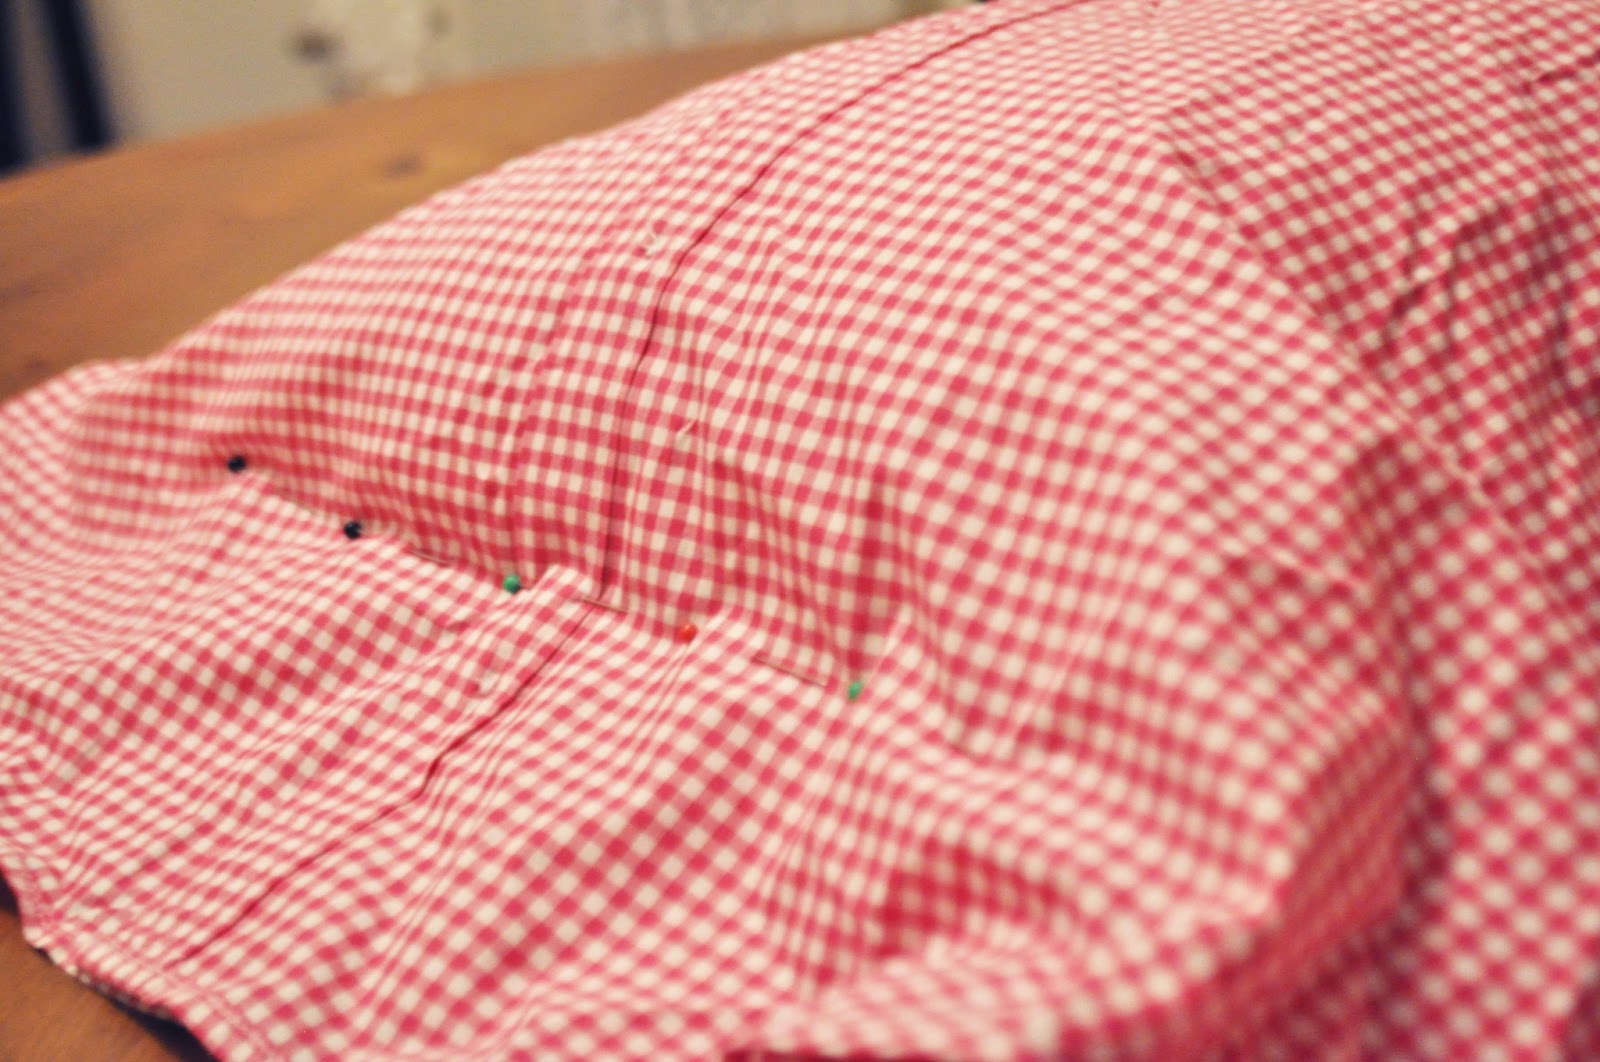
60K+Save 4. Pull together the bottoms of the shirt tight and pin into place beginning at the center (where the buttons are) and working your way out. The good thing about using patterned shirts is that you can use the pattern as a rough guide as you pin.
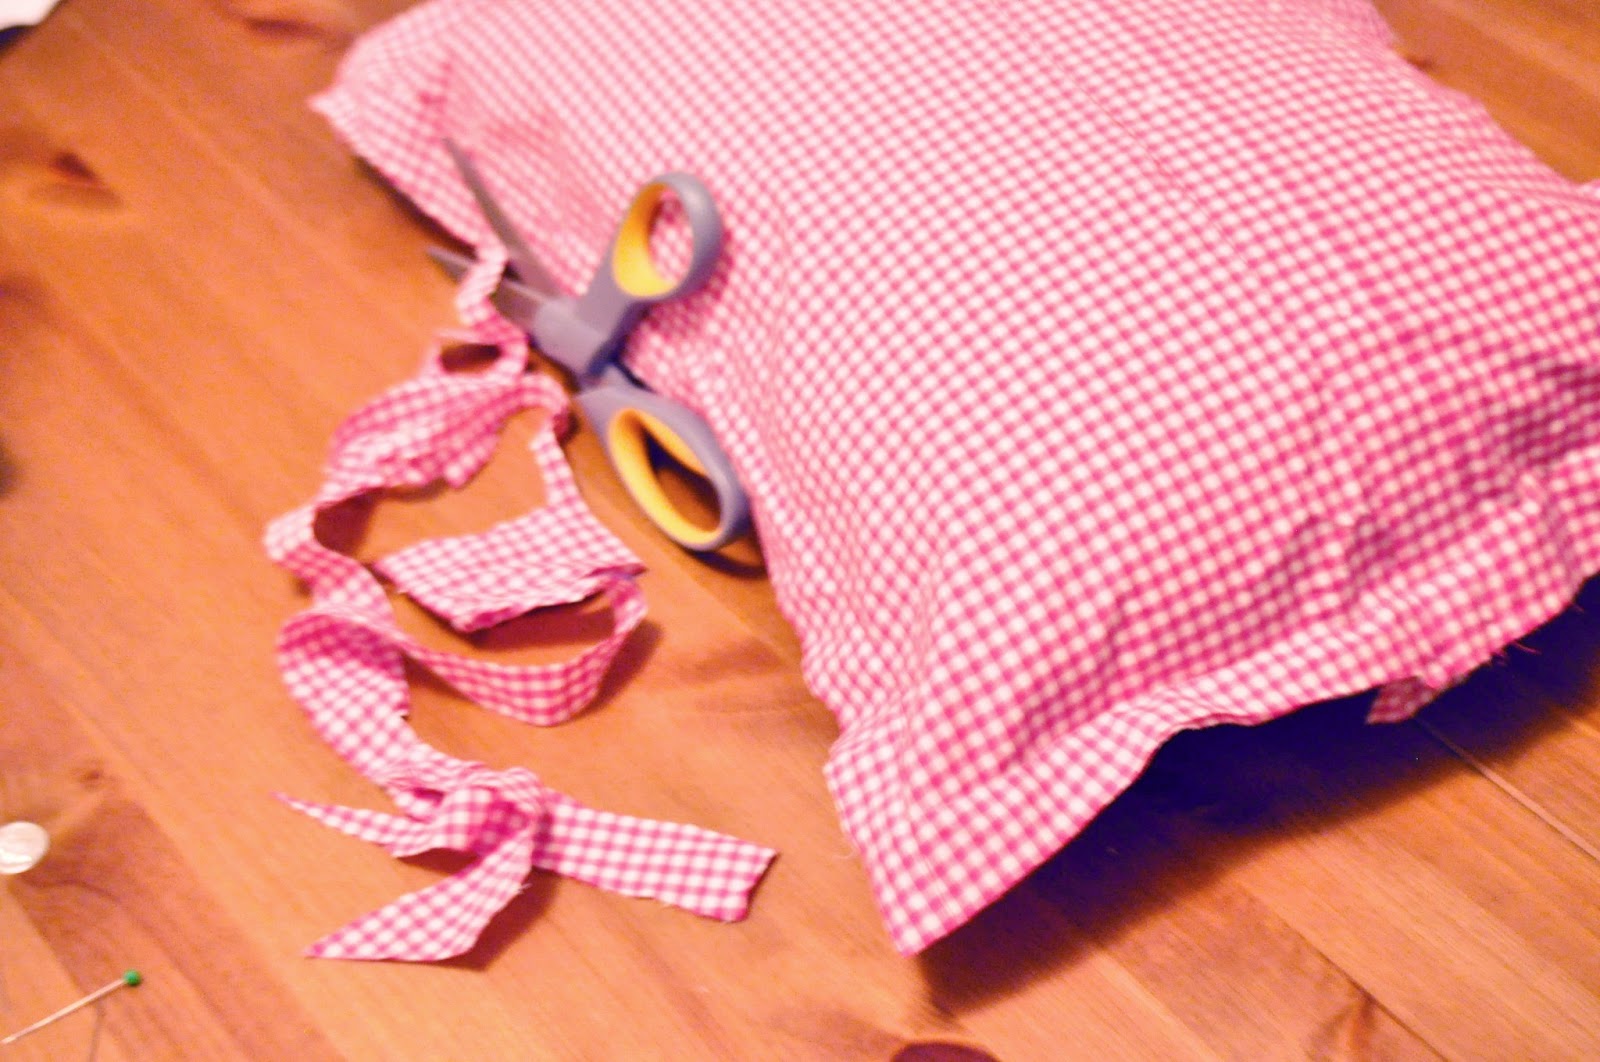
5. Trim the excess fabric leaving at least an inch margin from your pins.
60K+Save
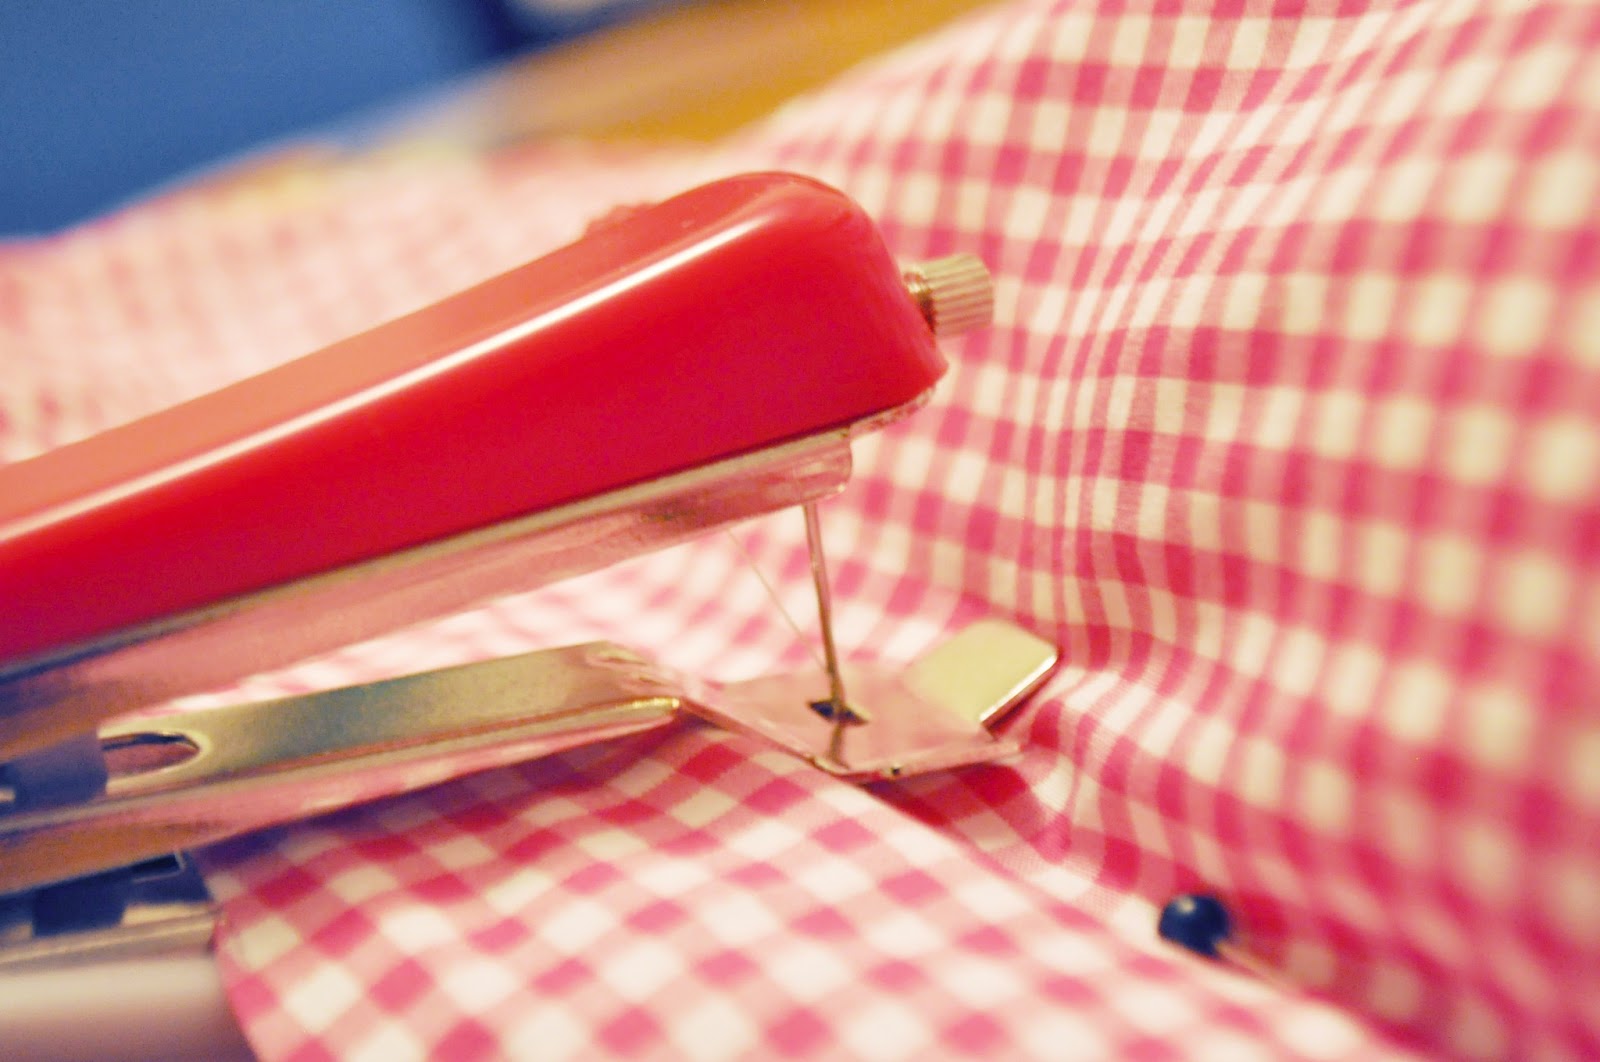
6. (Before we start stitching…if you are indeed using a sewing machine, now would probably be the time to repeat steps 4 and 5 on the other three sides and remove the pillow. Sew away!) For the handi-stitcher folk out there, this is where the “not an exact science” part comes into play. Keeping everything as is, I just started running the stitcher as close as possible to the pins, removing the pins as I went along. Once you get to the end, follow your stitcher’s directions on how to secure the seam so it doesn’t unravel.
60K+Save
7. Once you finish the first side, pick up your shirt and give the pillow a little shake, encouraging it to nestle down against your new seam before moving to the opposite side to begin pinning.
8. Repeat steps 4 through 6 on the other three sides, starting with the opposite side (the collar), then moving to the sides under the arms.
Also, I probably should’ve mentioned this earlier, but I also made a variation that includes the collar. It’s not as cute, but my thought was that as the duckling gets older, this would be more of a “play pillow”, encouraging him to button and unbutton, add a bow tie or even pop the collar as he sees fit. Here’s a picture for reference if you’re interested in making a similar one.
60K+Save
9. Back to our collarless pillows – now that you’ve done all four sides, trim any excess fabric.
60K+Save
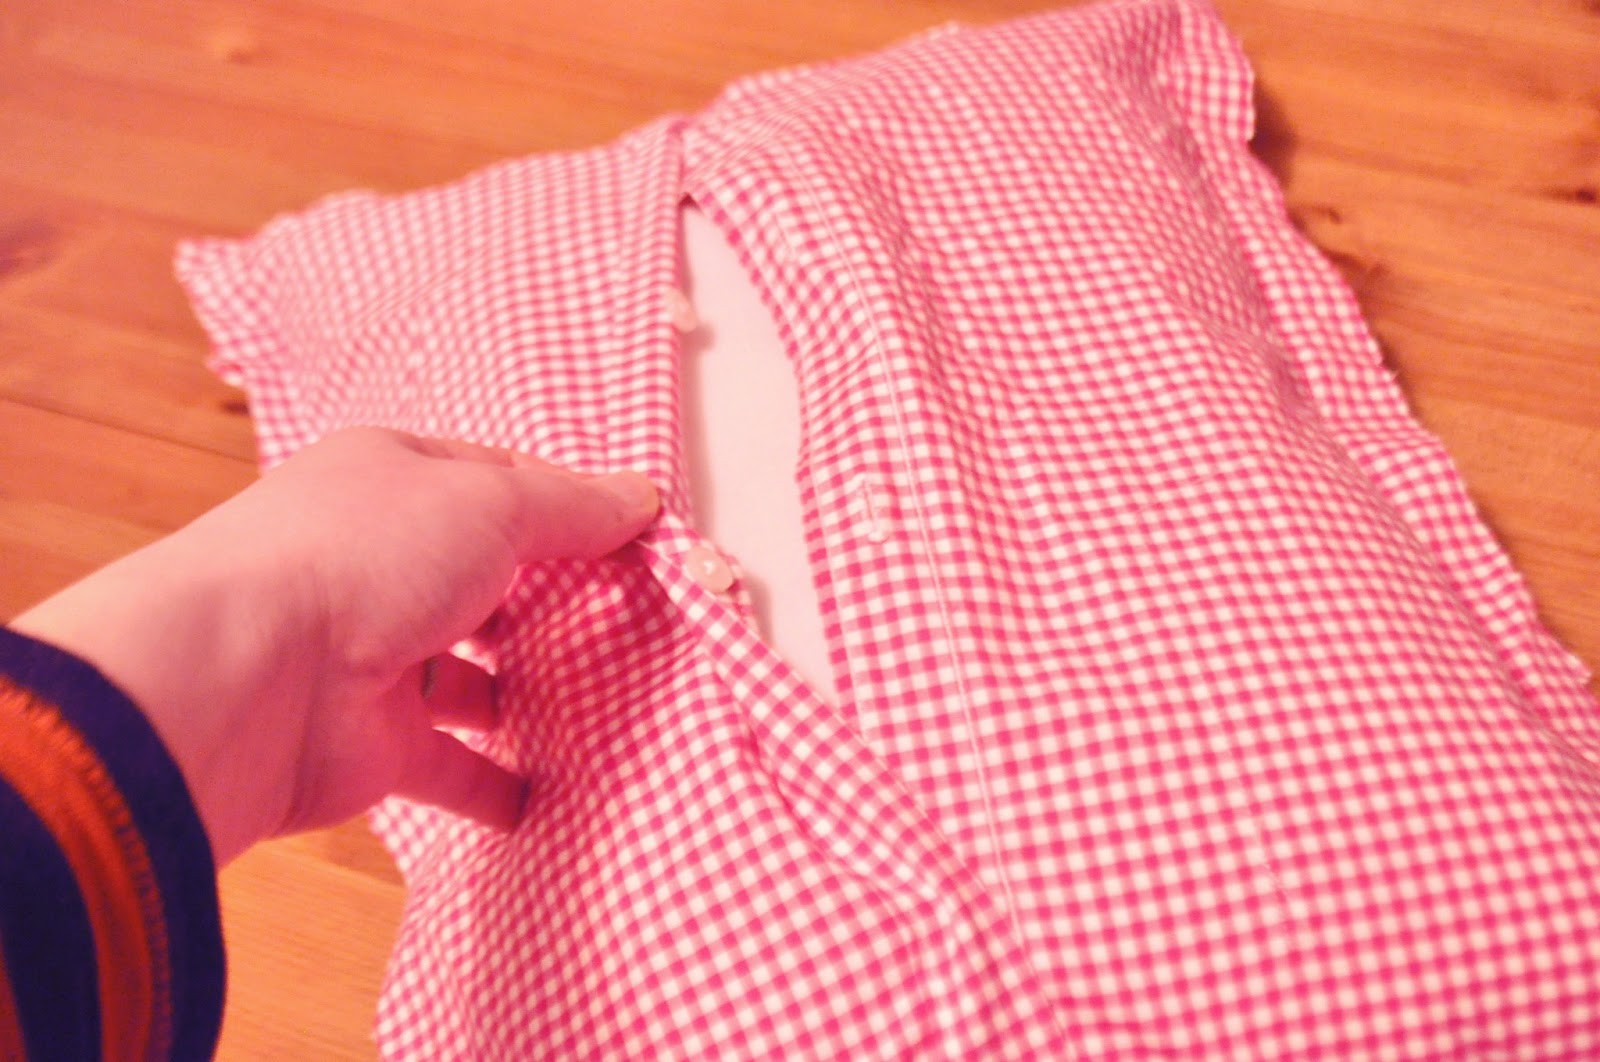
10. Unbutton your shirt. The one on the table, that is.
60K+Save
11. Remove the pillow insert and turn your shirt right-side out.
60K+Save
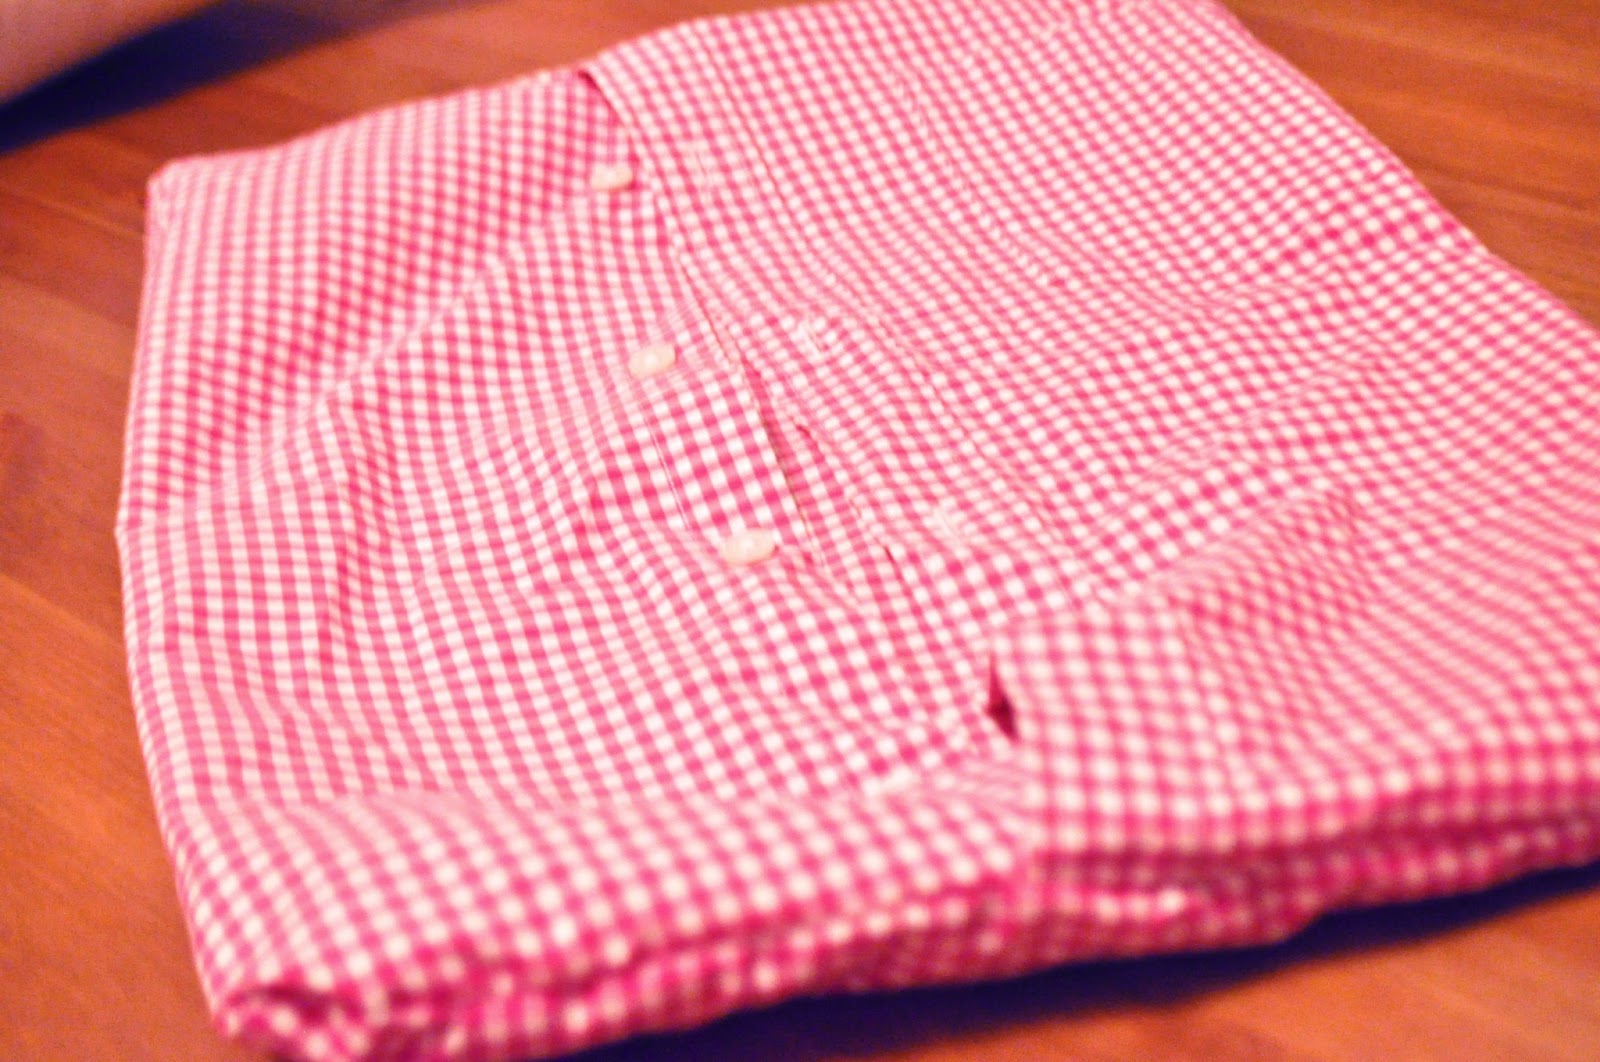
12. Put the shirt back on the pillow and button.
60K+Save
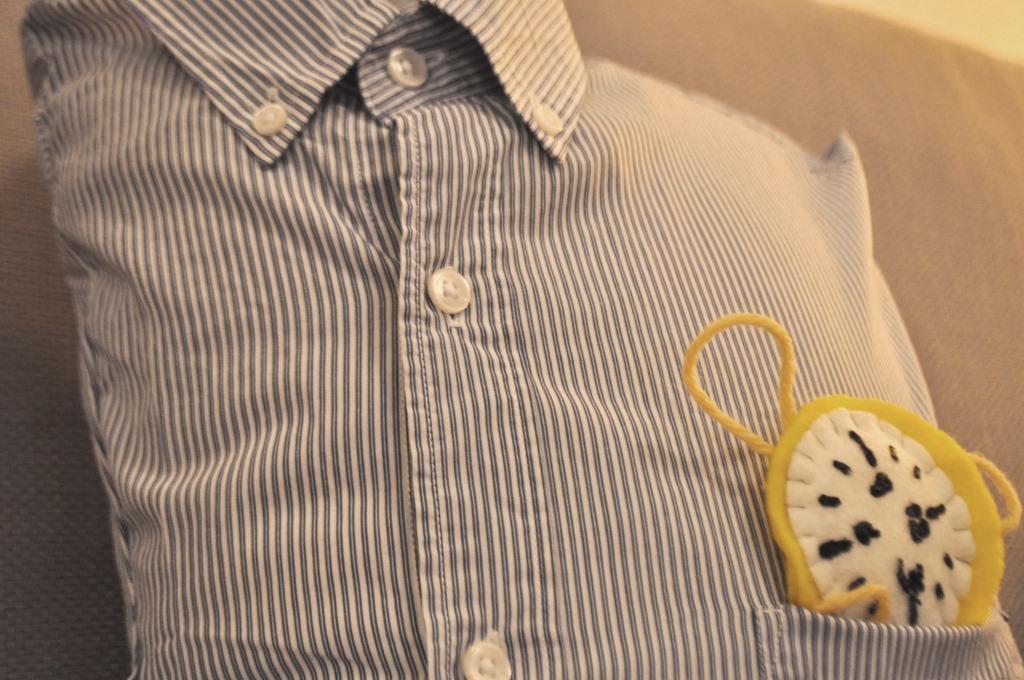
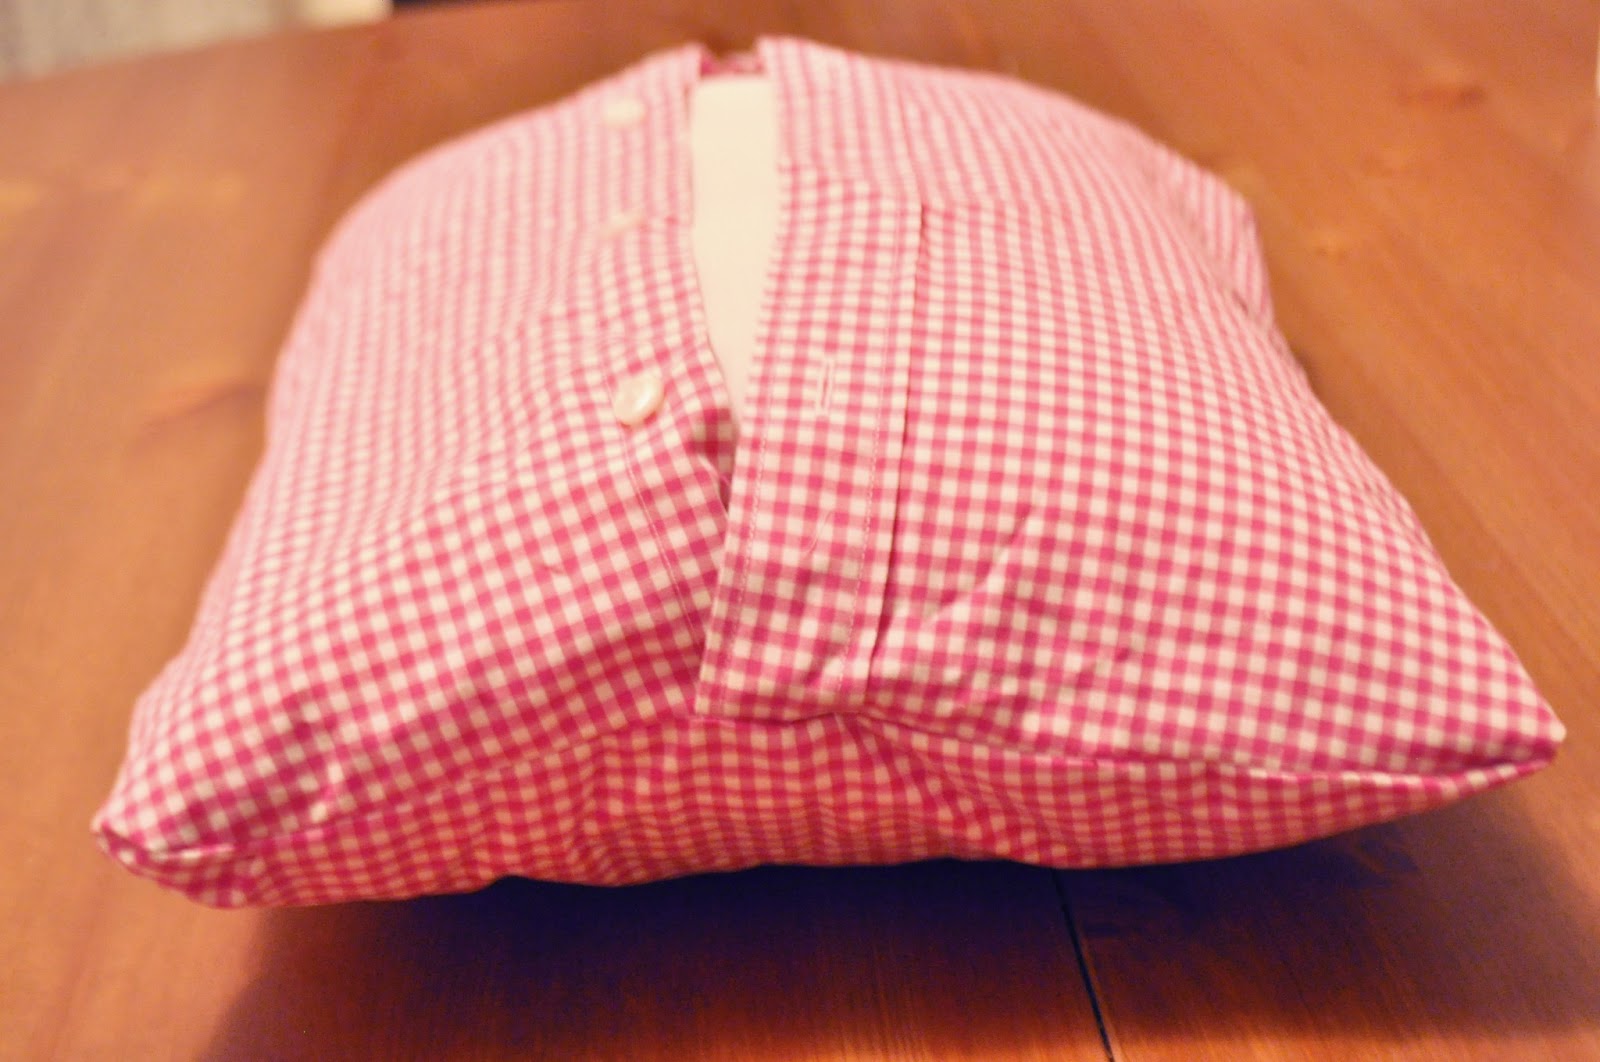
You’re done (unless you’re adding felt pocket accessories like mine, in which case the instructions and a few more pictures are below) !
Here are a hefty bunch of pictures of the finished project.


