{How to make) Shamrock Wreath!

I really haven’t ever decorated for St. Patricks day before. I normally can’t wait and just skip right
to Easter!This year I decided the holiday should get it’s fair chance so I decided to try out a yarn wreath and it turned out really great, and super easy. I wasn’t planning on making this a tutorial but people are already asking how to do it, so sorry for a gap in some pictures!
Gather your suplies: foam wreath, scissors, green yarn, marker, sheet of green felt, hot glue gun, ribbon (I used gold), gold beads, and clover template (below).
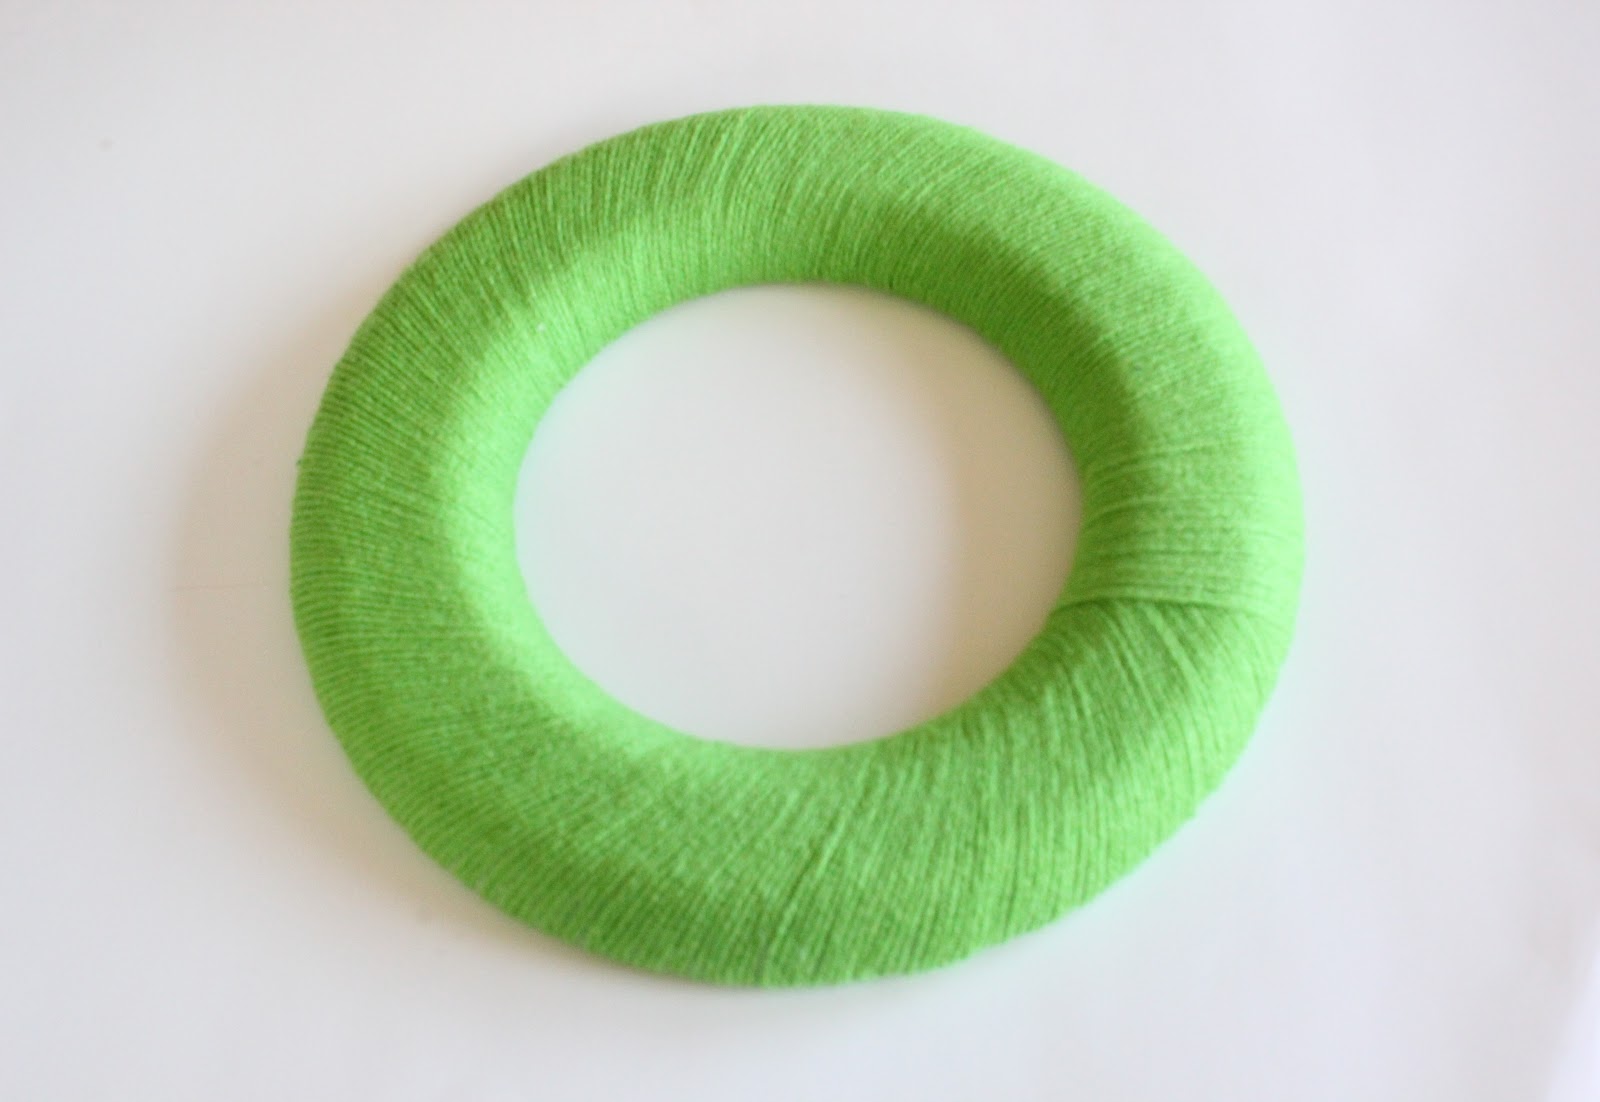
Step 1: To cover the wreath I cut yarn into long pieces instead of going right off the roll. I found this easier. Apply a drop of hotglue to somewhere on the back of the wreath and begin wrapping. The trick is to be consistent with how tight you pull the yarn, this will keep it looking smooth and even. Every few inches add a drop of glue on the back to hold in place. The yarn begings to tilt as you go round since the inside is smaller, so at the end I had to over lap. Not a problem thought because that will be covered up. Sry about the lack of pics!
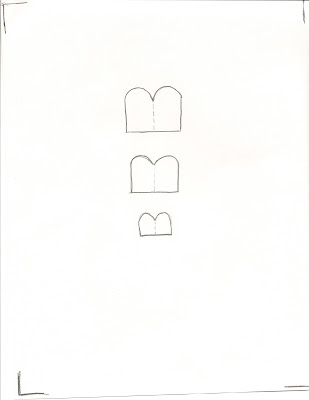
Step 2: Print and cut this template for the clover leafs. Or you could make your own. (click pic to print)
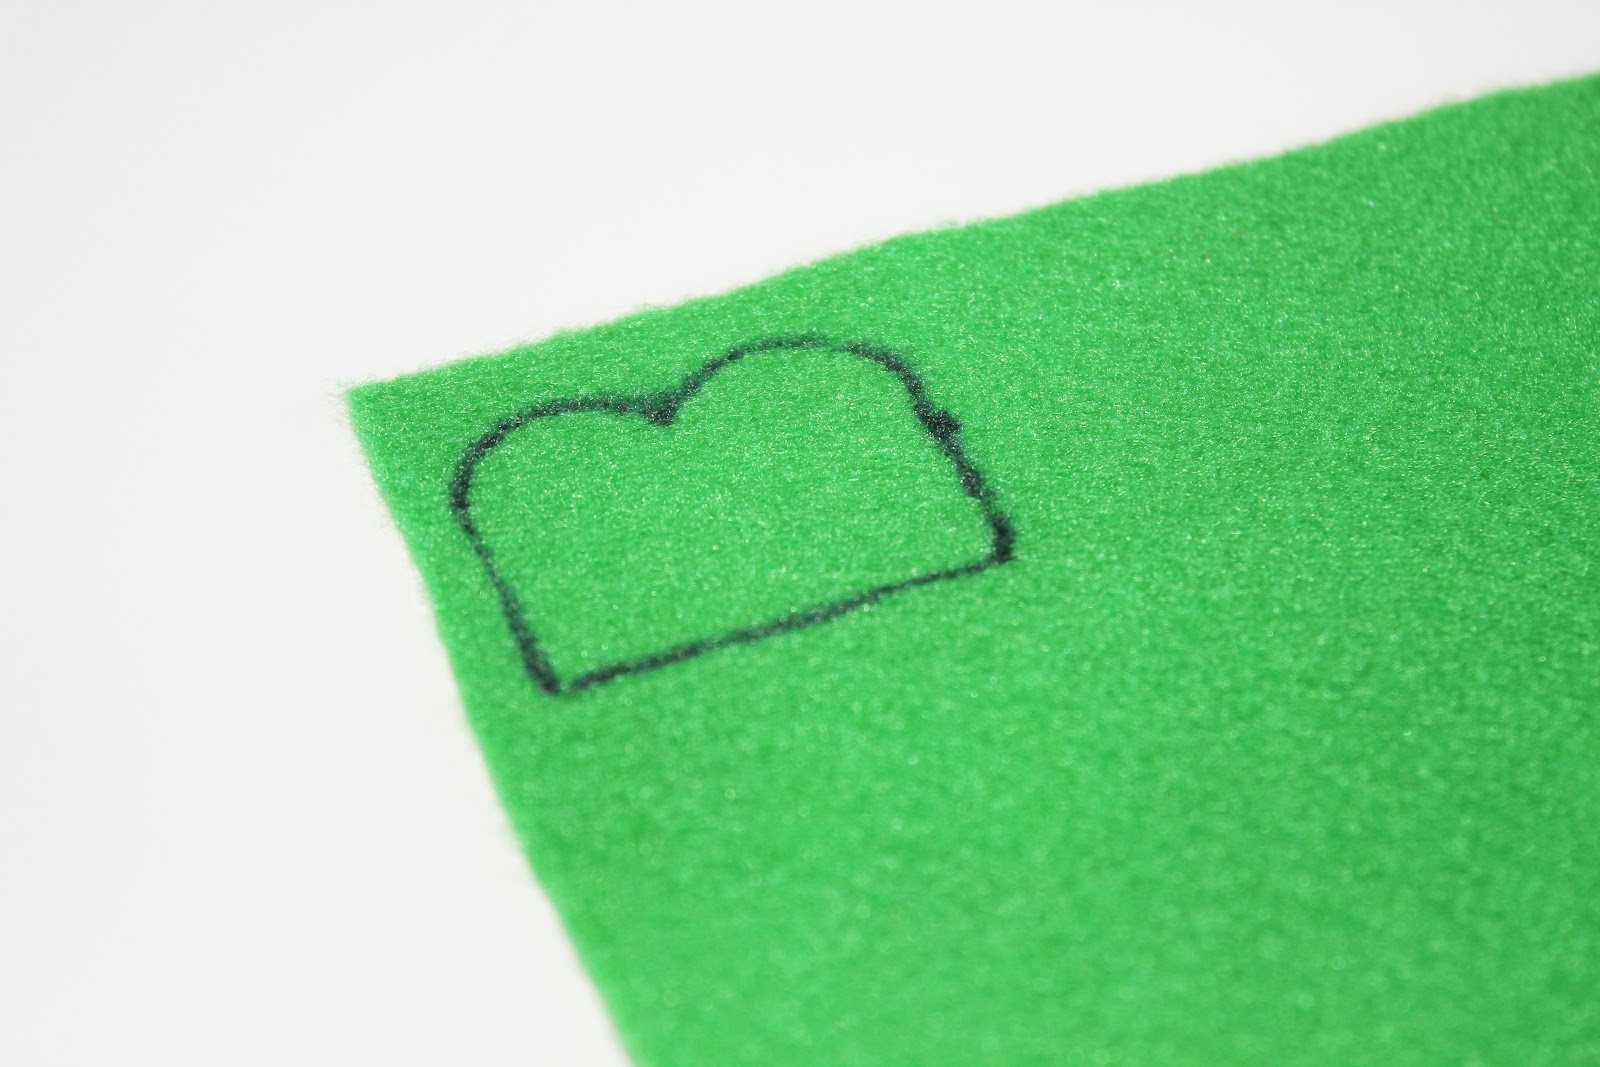
Step 3: Trace patterns onto the felt and cut. You will need eith 3 or 4 of one size for a clover. I mixed 3 and 4 leafe clovers.
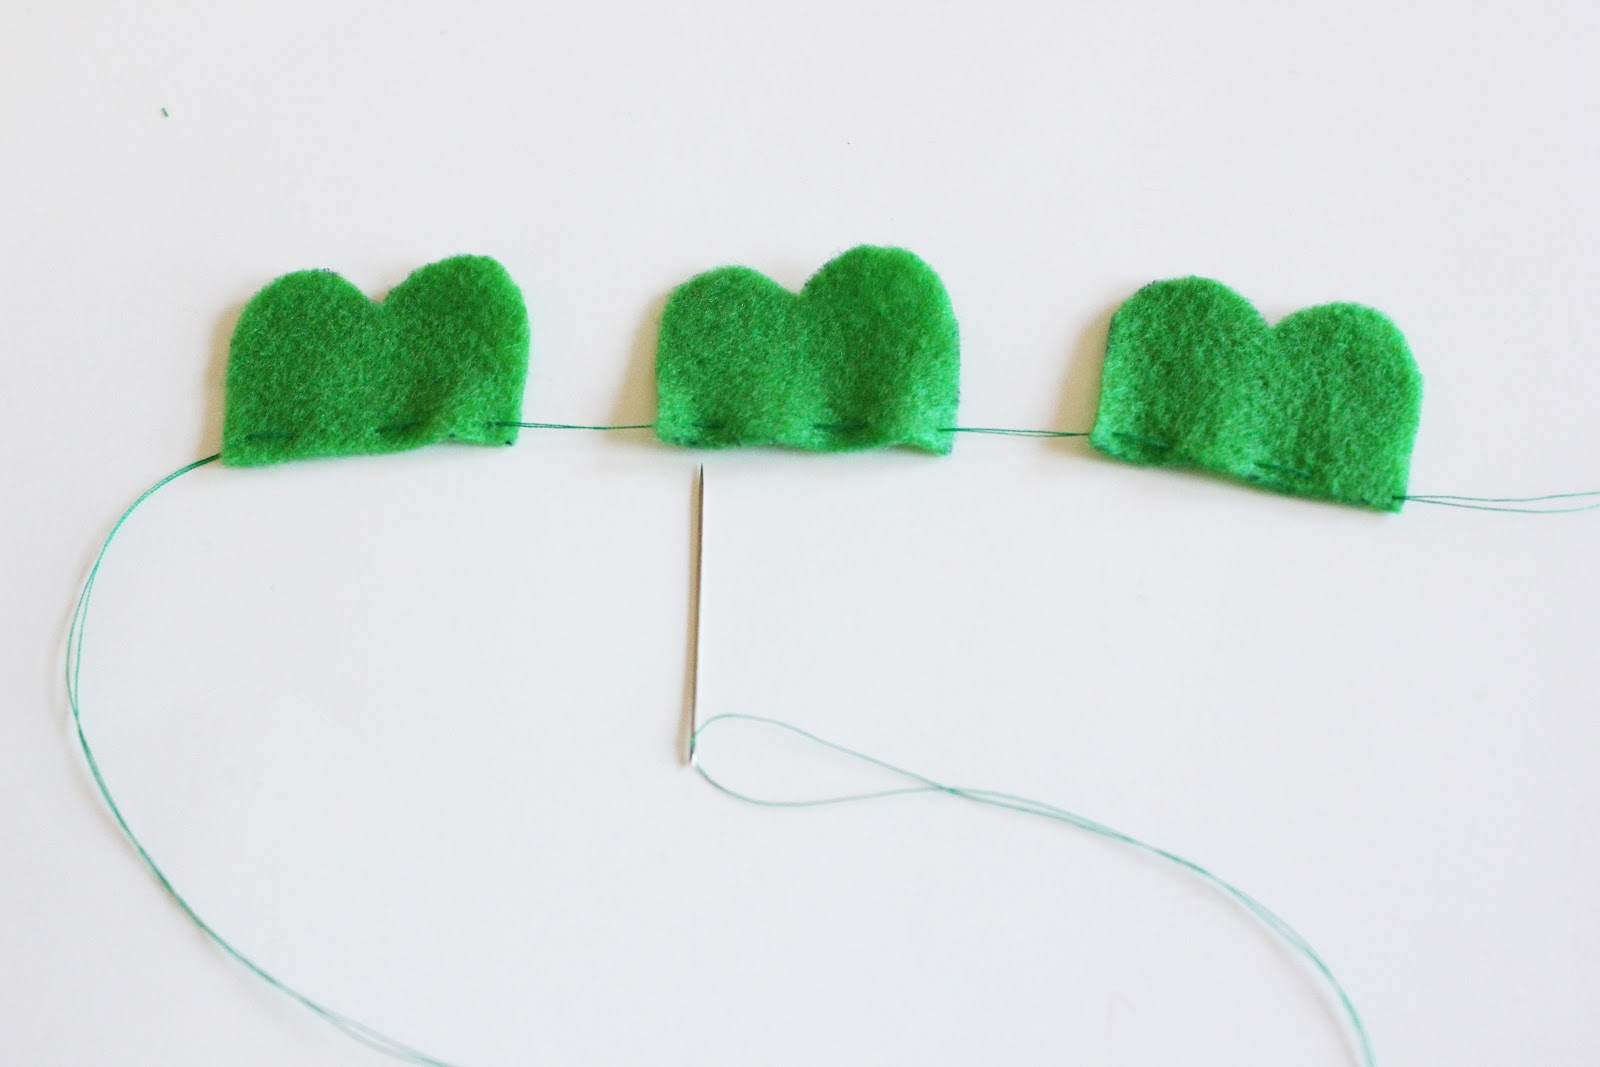
Step 4: Thread a needle and tie a knot. Sew under, over, under, over to each leaf.
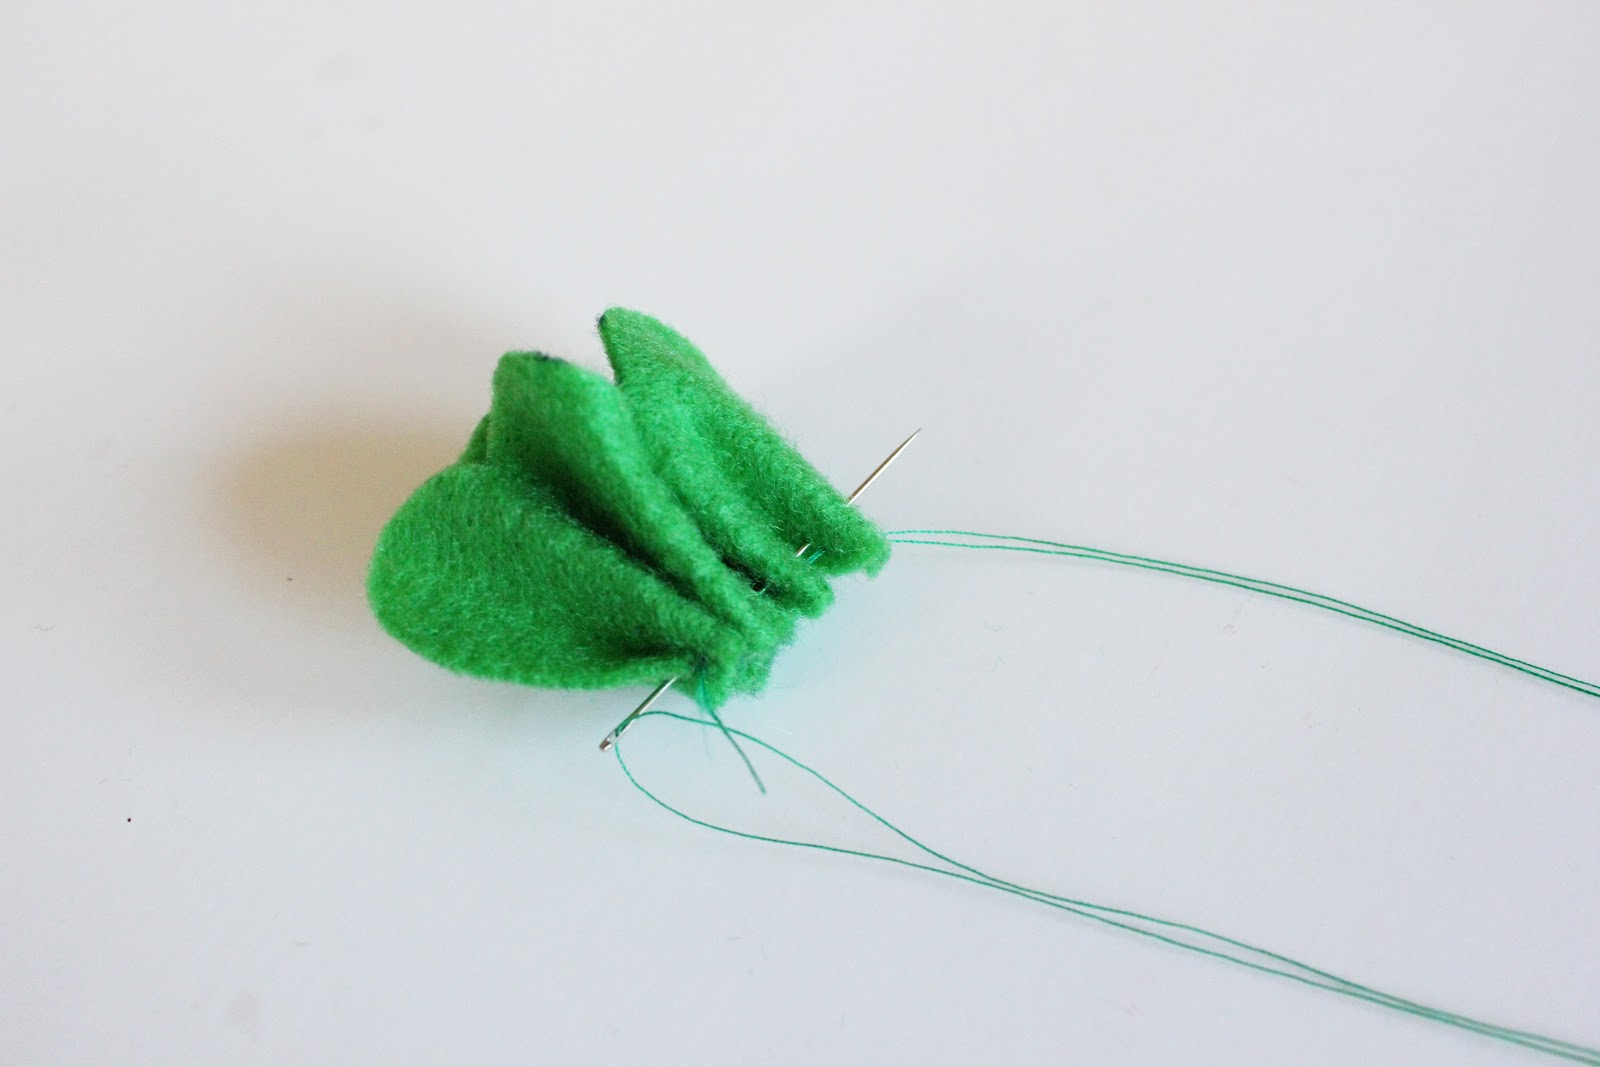
Step 5: Gently pull the thread till the clovers gather. Continue to gather until they fold into a nice straight line so you can slide the needle through the bottom.
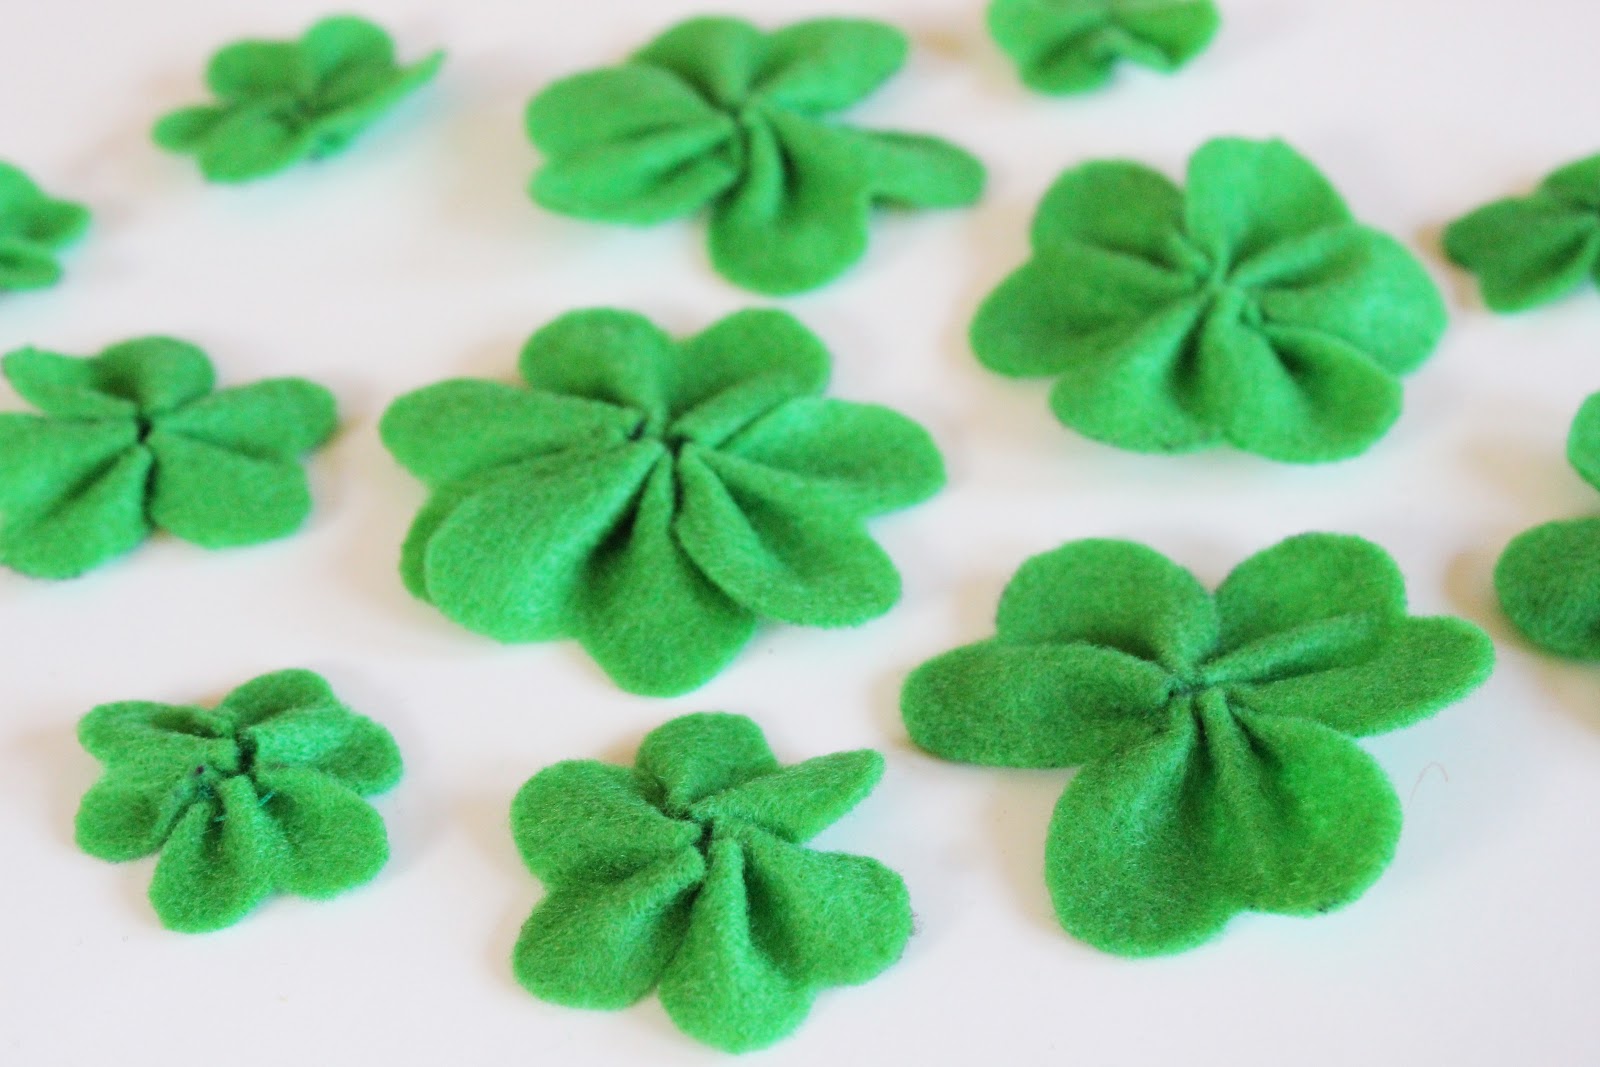
Here’s what they should like! Wouldn’t these be cute on hair clips??
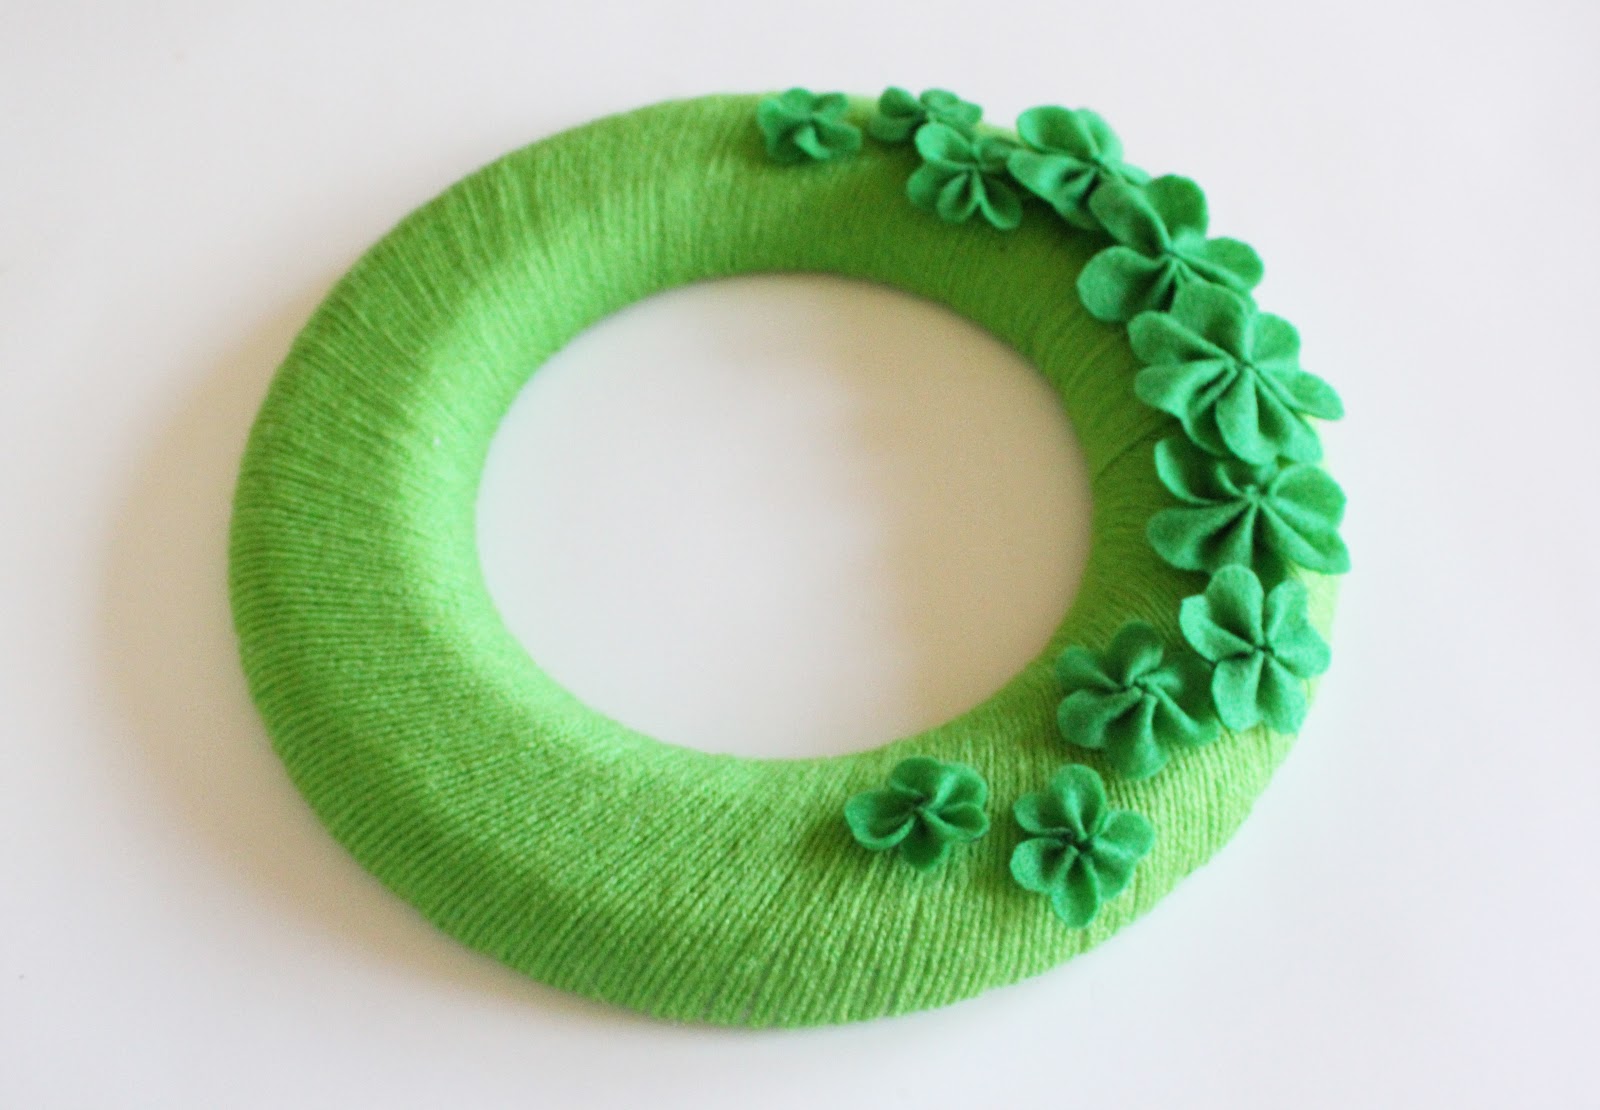
Step 6: Arrange you clovers how you would like, then gently life one side of each and put a drop of glue underneath.
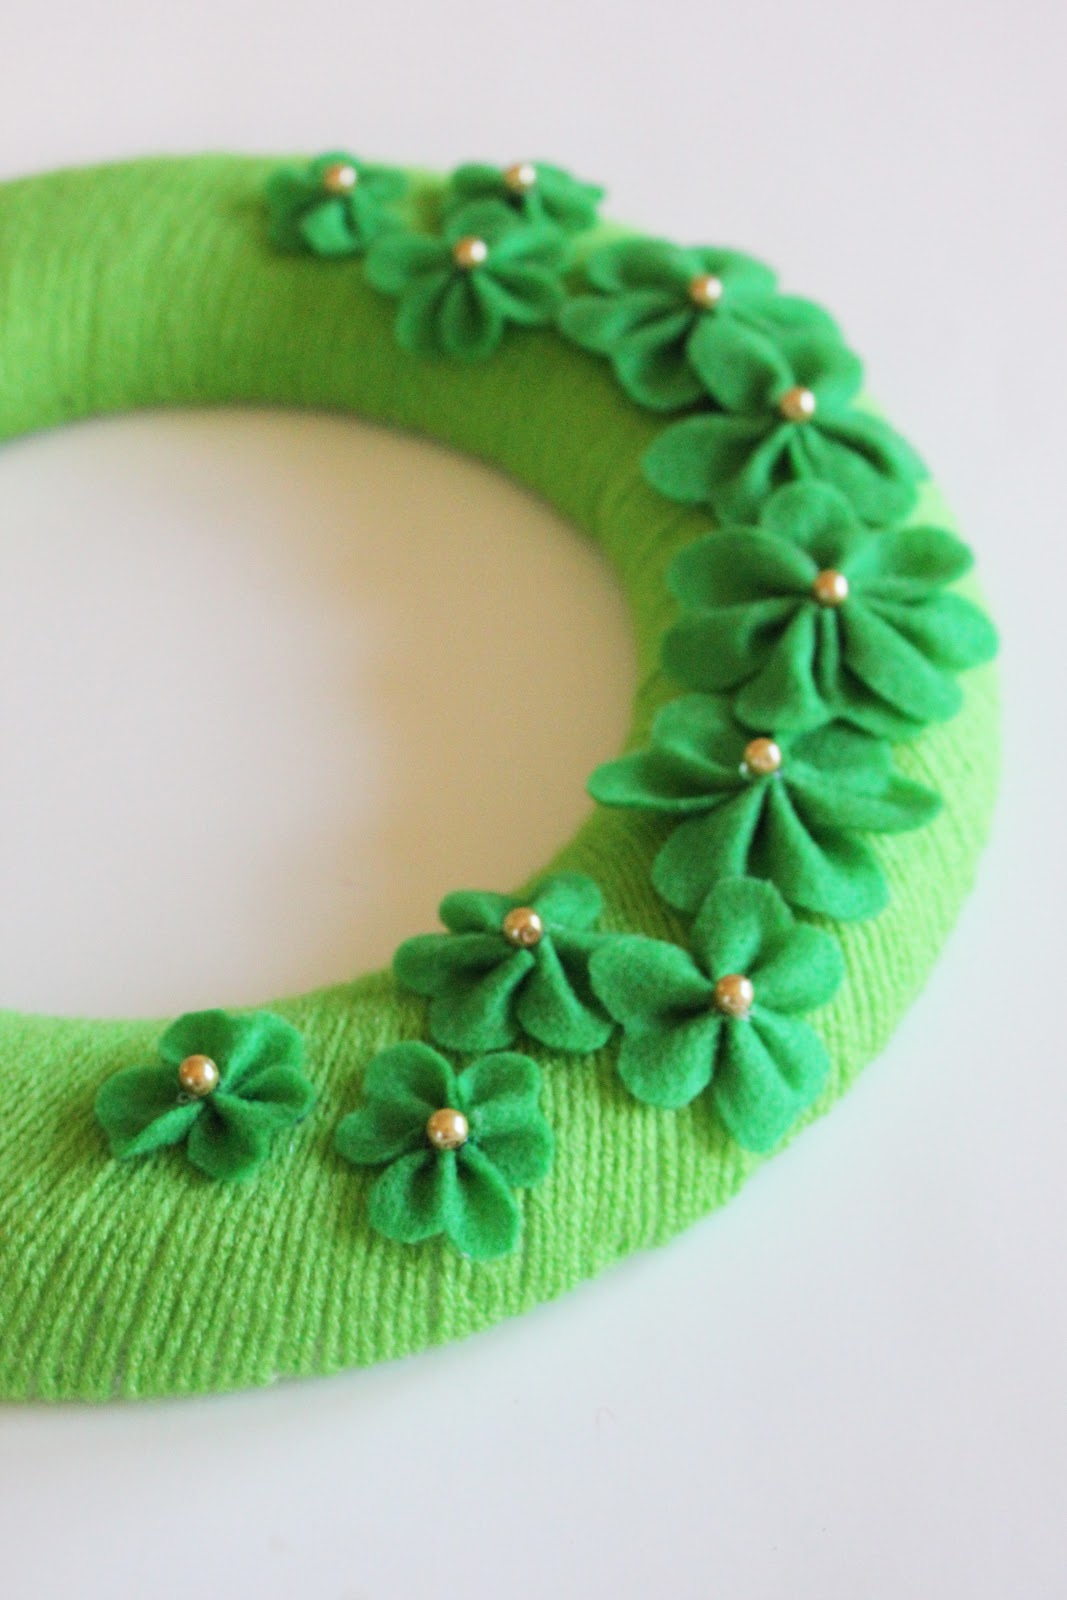
Step 7: Add a little gold bling if you would like!

Step 8: Attach a ribbon loop on the back with hot glue, whatever length you would like!
All done!
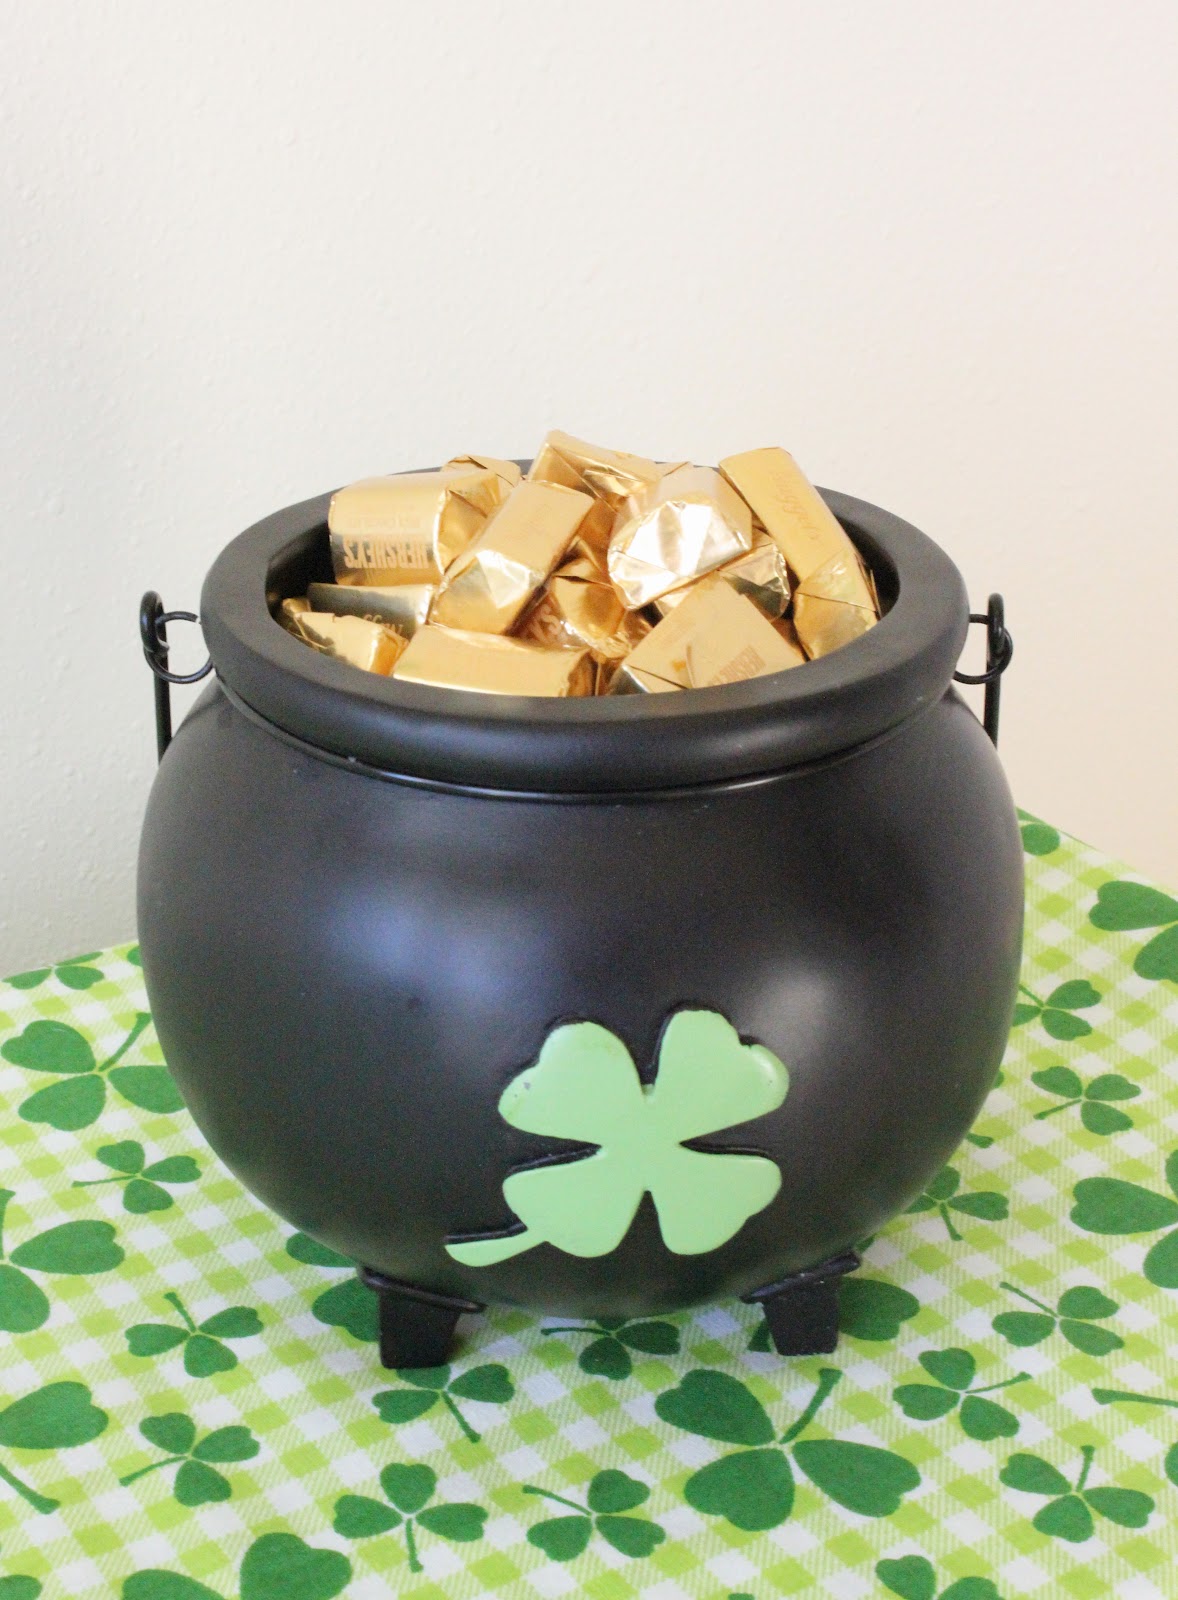
I can’t wait to try more yarn wreaths. This was SO easy, cute, and cheap! I displayed it in our entry way with this little ceramic pot filled with gold hershy bars. 🙂