Shamrock Wreath

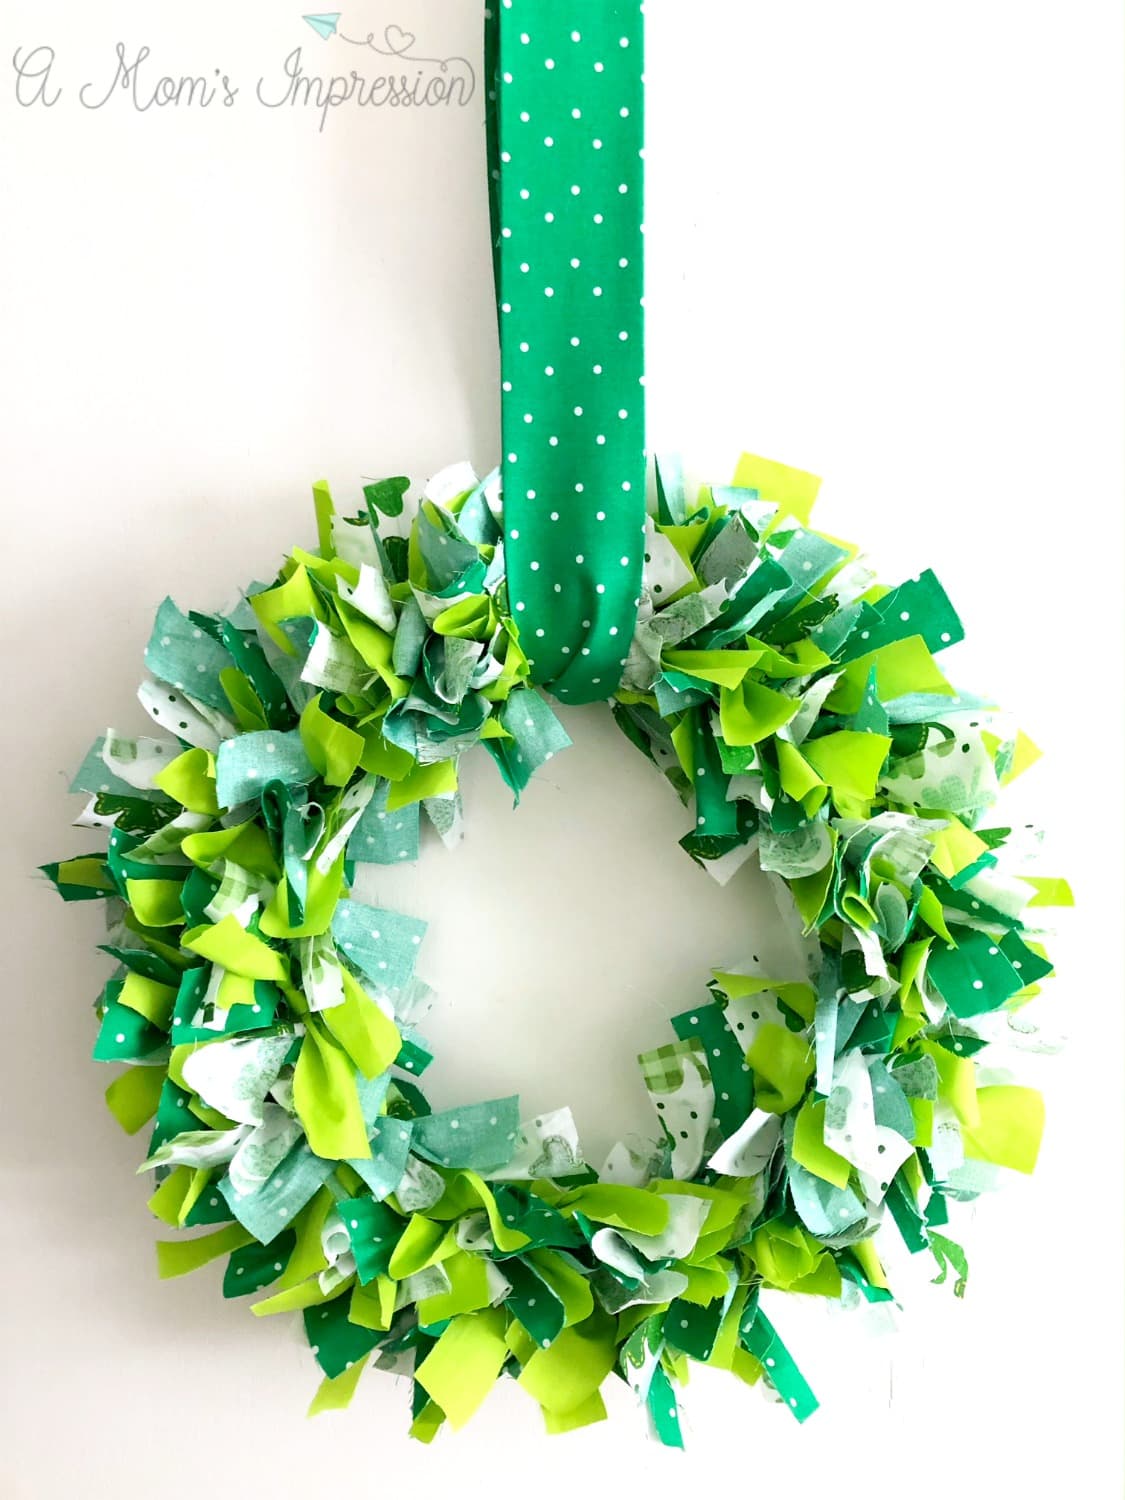
How to Make a Shamrock Wreath – DIY St. Patrick’s Day Decor Idea

How to Make a Shamrock Wreath

This project was a bit time consuming, but it wasn’t hard at all. You can get your kids involved and make it a fun family project.

DIY Shamrock Wreath

Shamrock Wreath Supplies

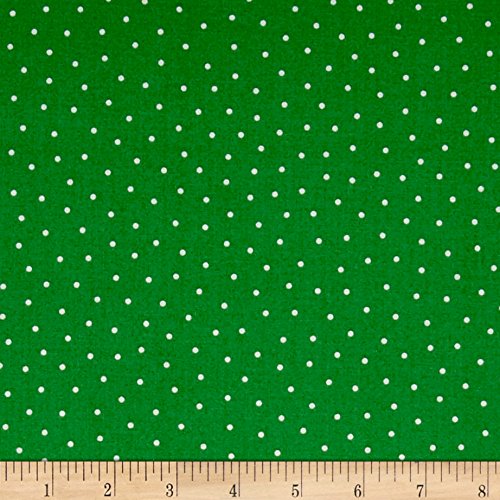
  • 1-yard green polka dot fabric
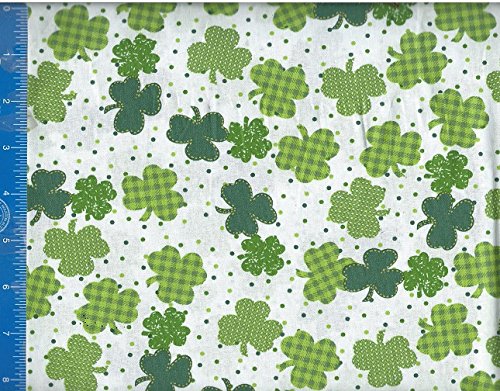
  • 1-yard shamrock fabric
  • 1-yard lime green fabric
  • 1/4” yard green polka dot fabric
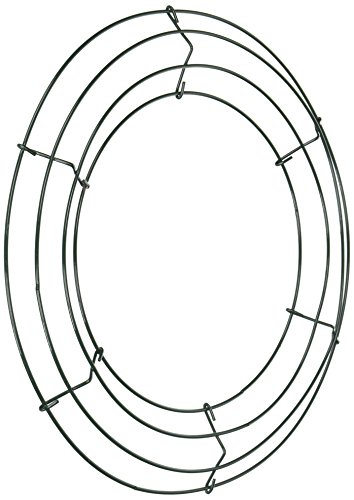
  • 12” wire wreath frame
  • Scissors
  • Iron/ironing board
  • Measuring tape
Wire Wreath Frame 12
Patchwork Farms Dots Green Fabric By The Yard
St Patrick Design Shamrock and Polka Dot Fabric Home Decor Crafting Quilting
Cotton Polyester Broadcloth Fabric Premium Apparel Quilting 60
Singer 60-Inch Tape Measure

How to Make A Shamrock Wreath For St. Patrick’s Day

St. Patrick's Day fabric cut into strips
Green Fabric tied onto the frame will make your wreath perfect for St. Patrick's day!
tying the green strips onto the shamrock wreath can be time consuming.

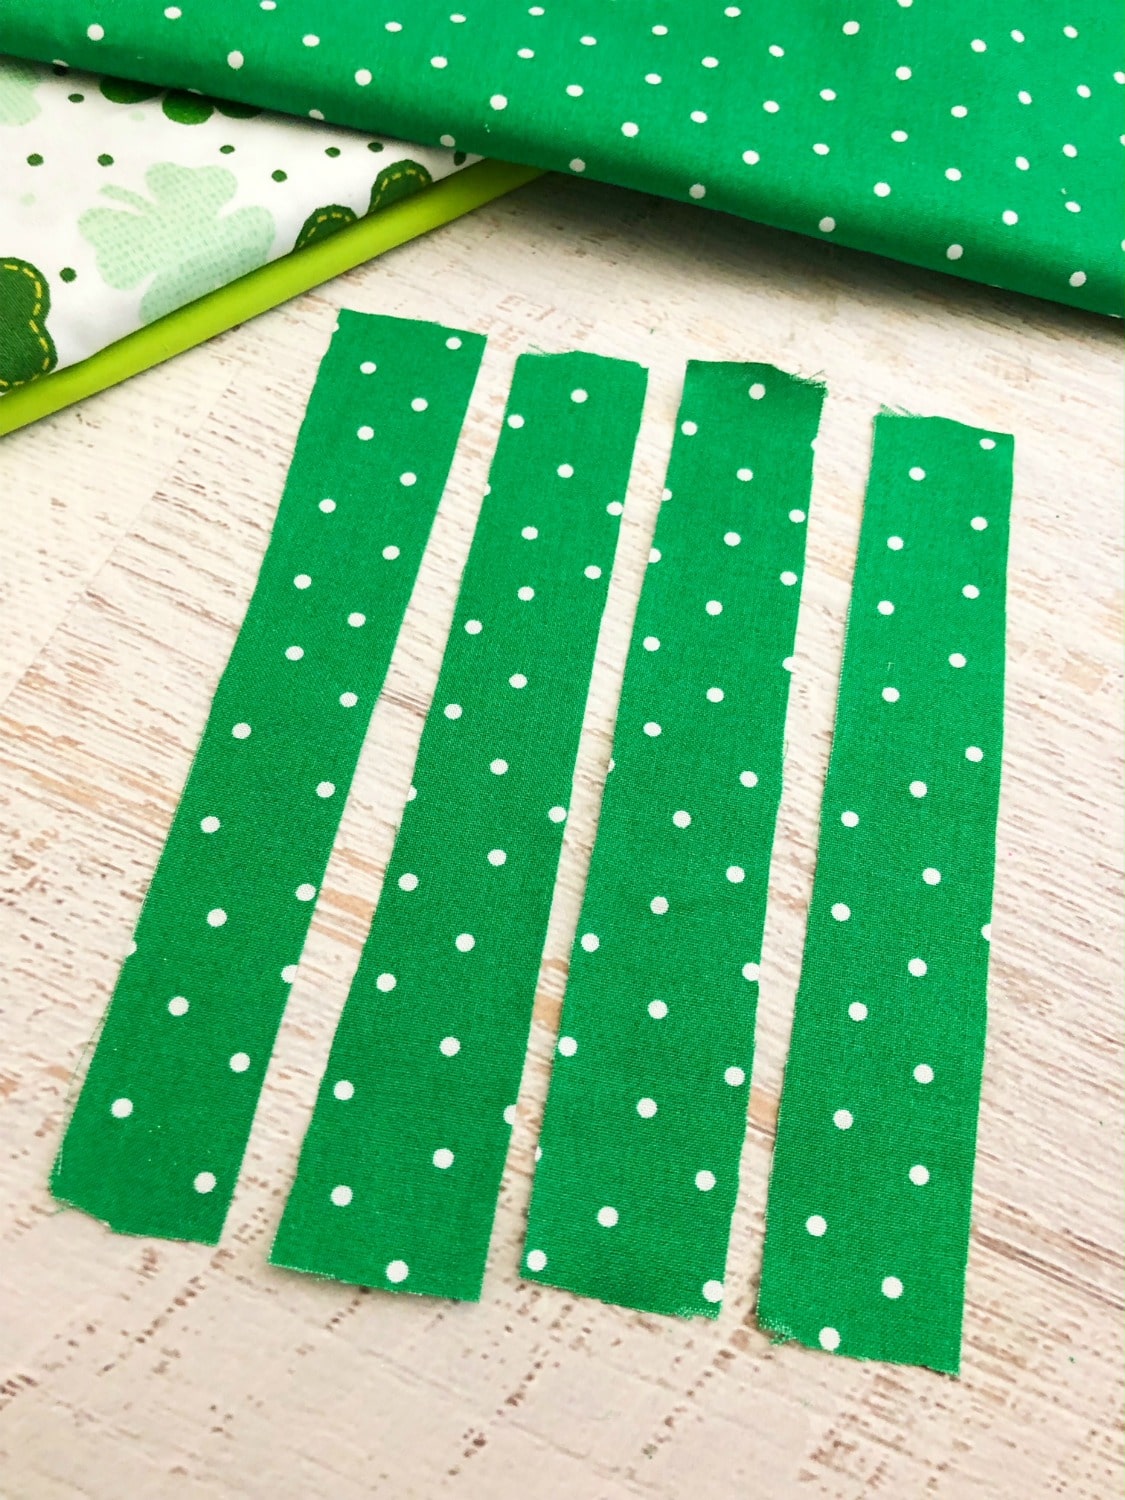
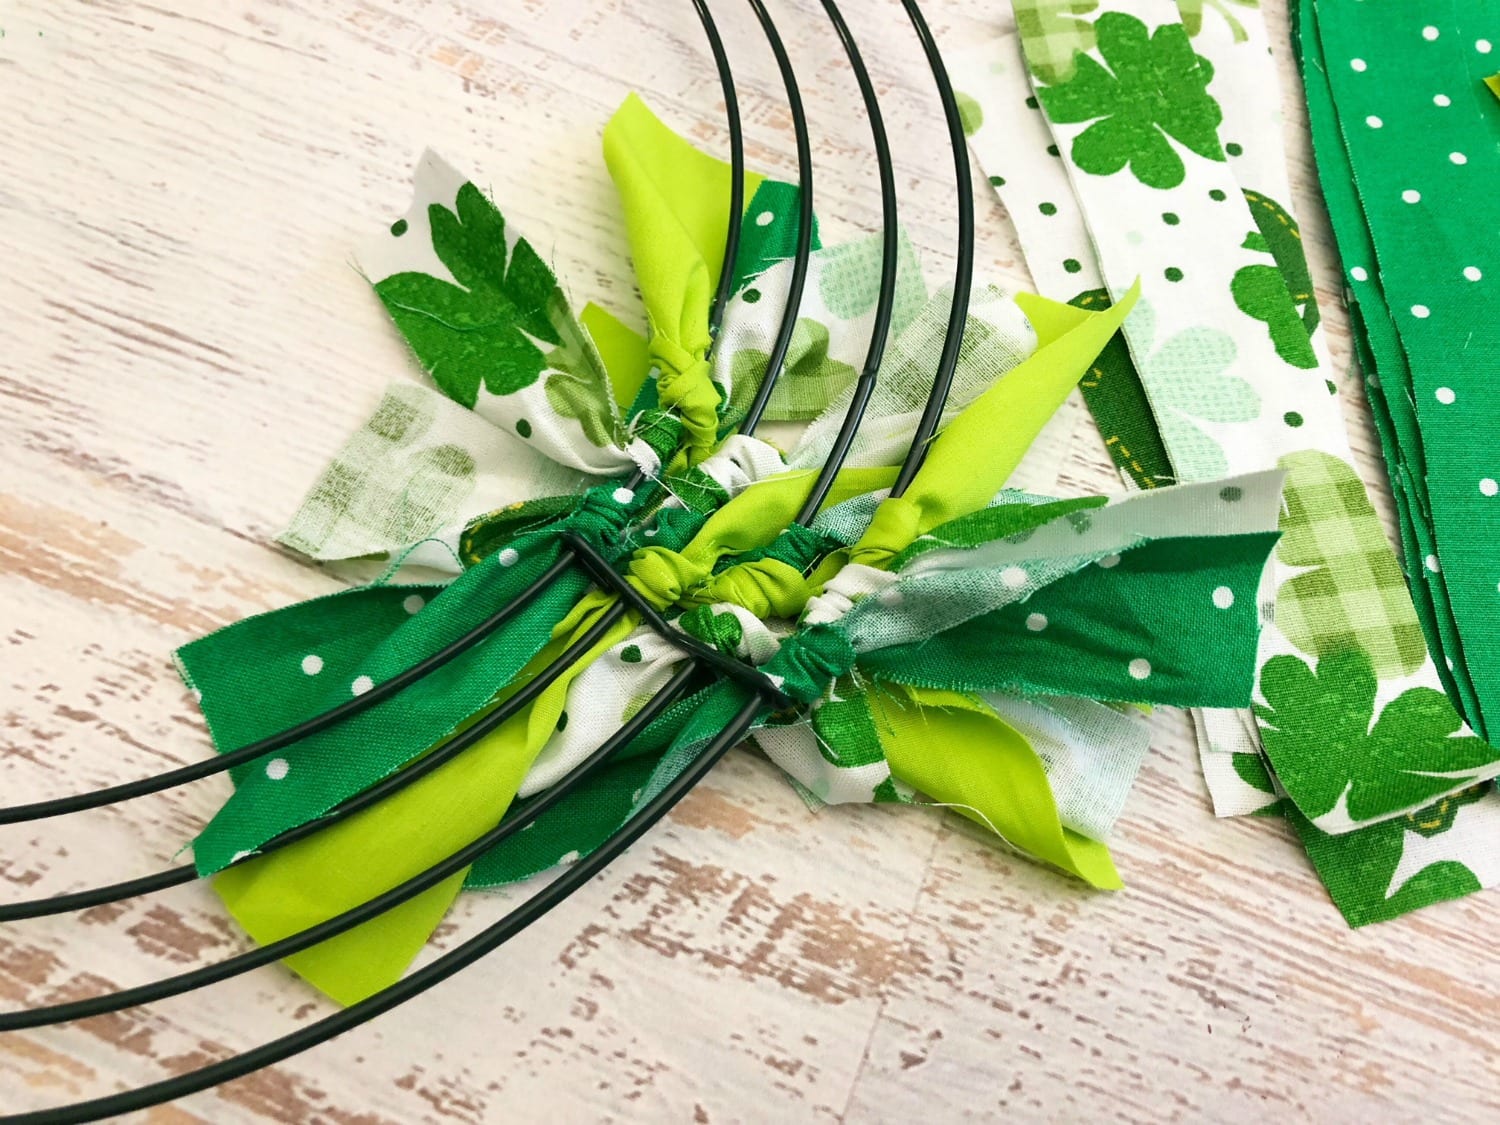
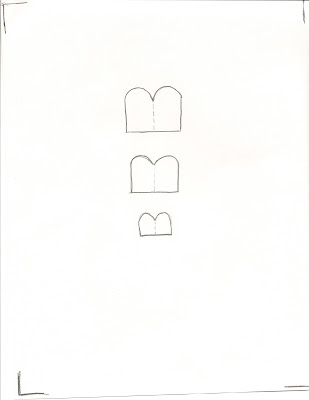
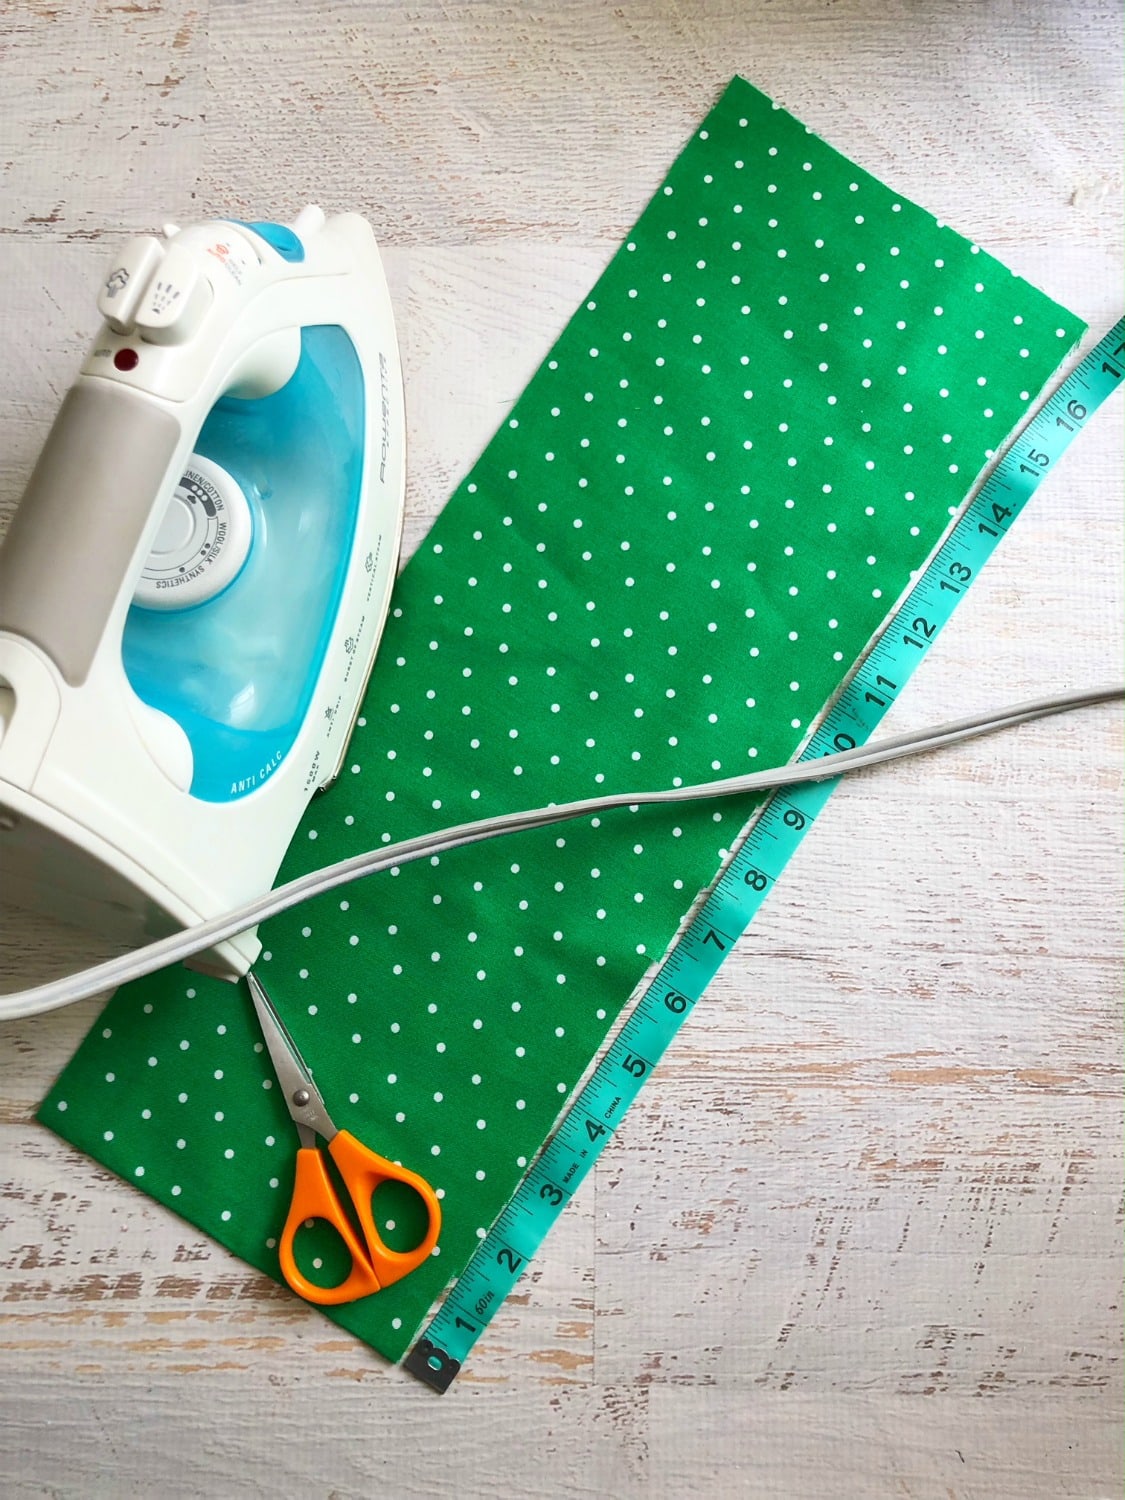
1. Measure and cut your 3 yards of fabric into 1.5” x 7” strips of fabric.
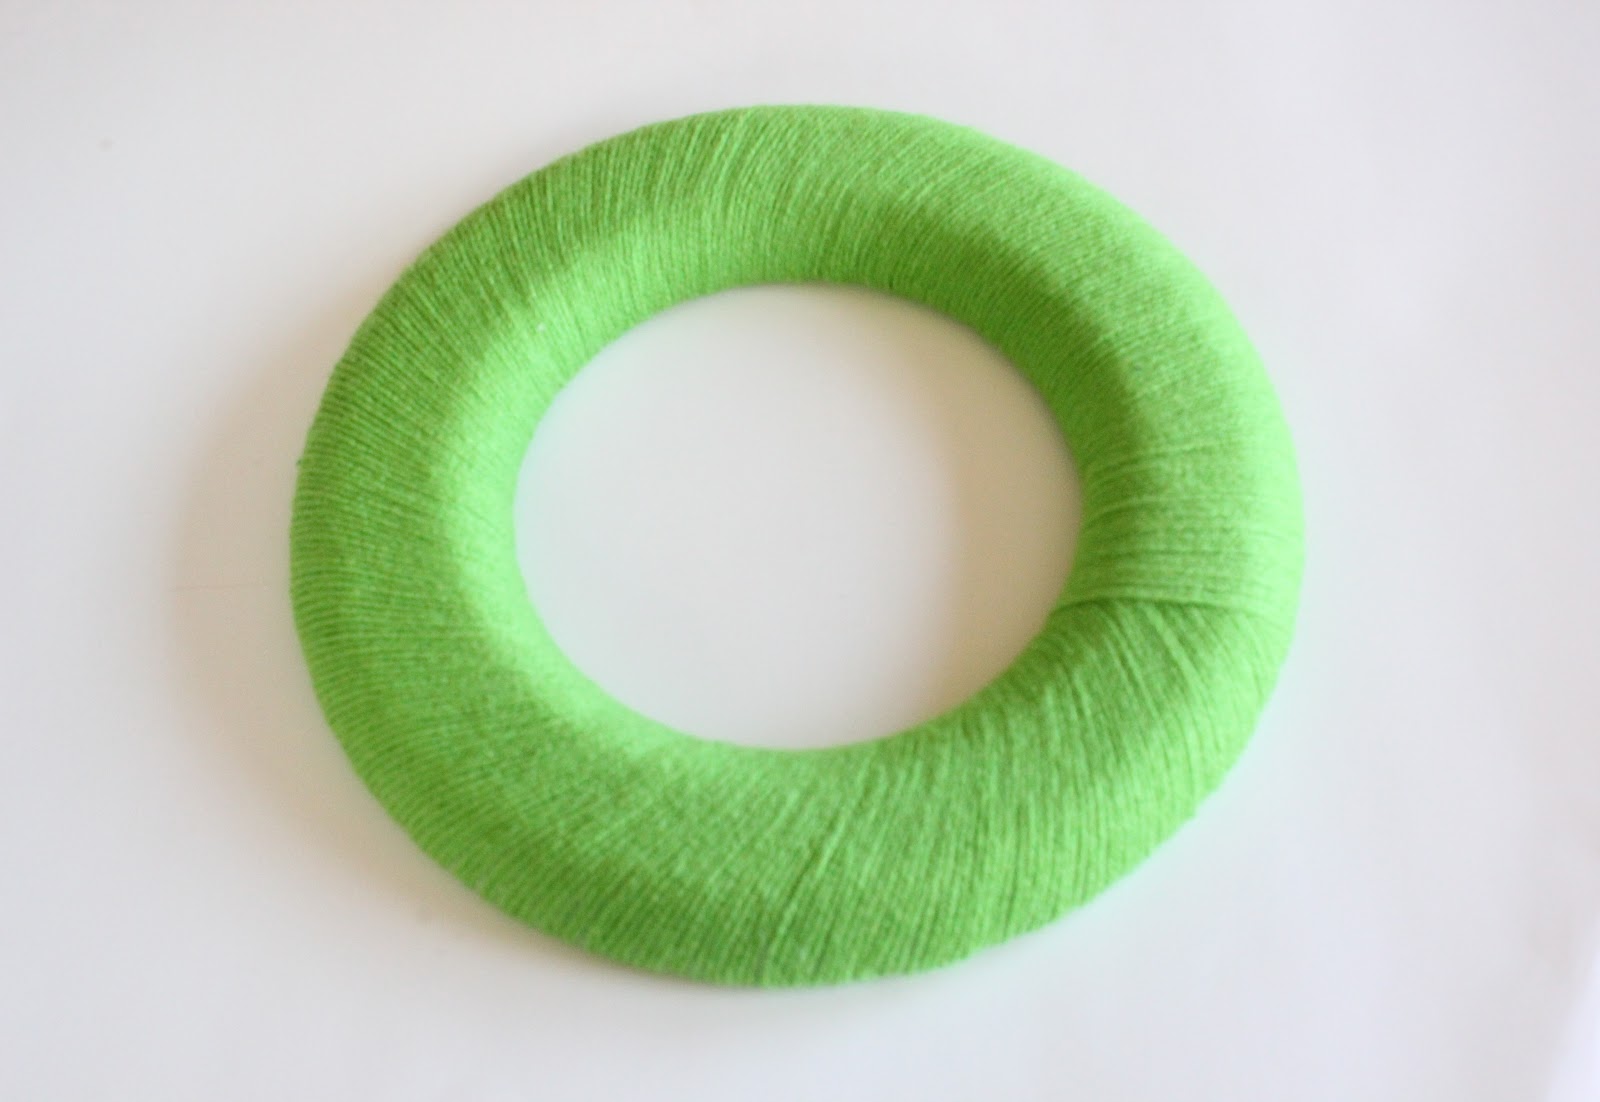
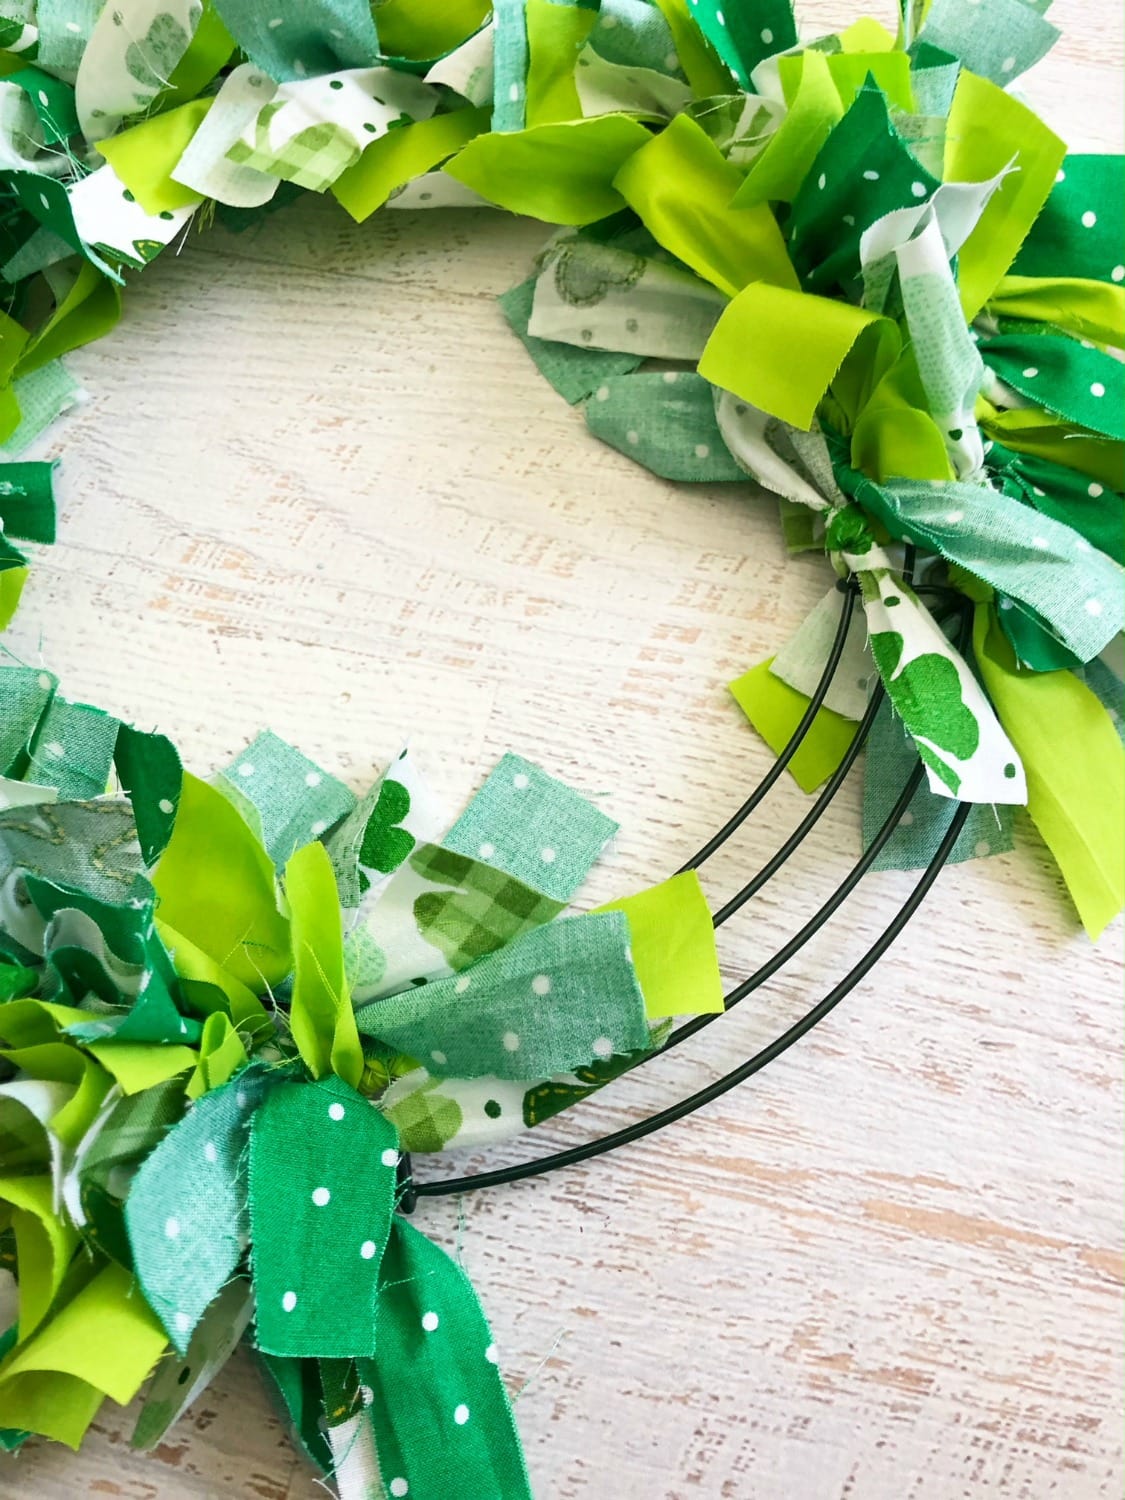
2. Tie on strips of fabric on your wire wreath in a pattern (green polka dot, shamrock, lime green) one at a time starting on the outer edge and working your way in.
3. Keep tiring your fabric strips on in a pattern once section at a time.

Green Fabric being ironed to hang the shamrock wreath with.
DIY Shamrock Wreath

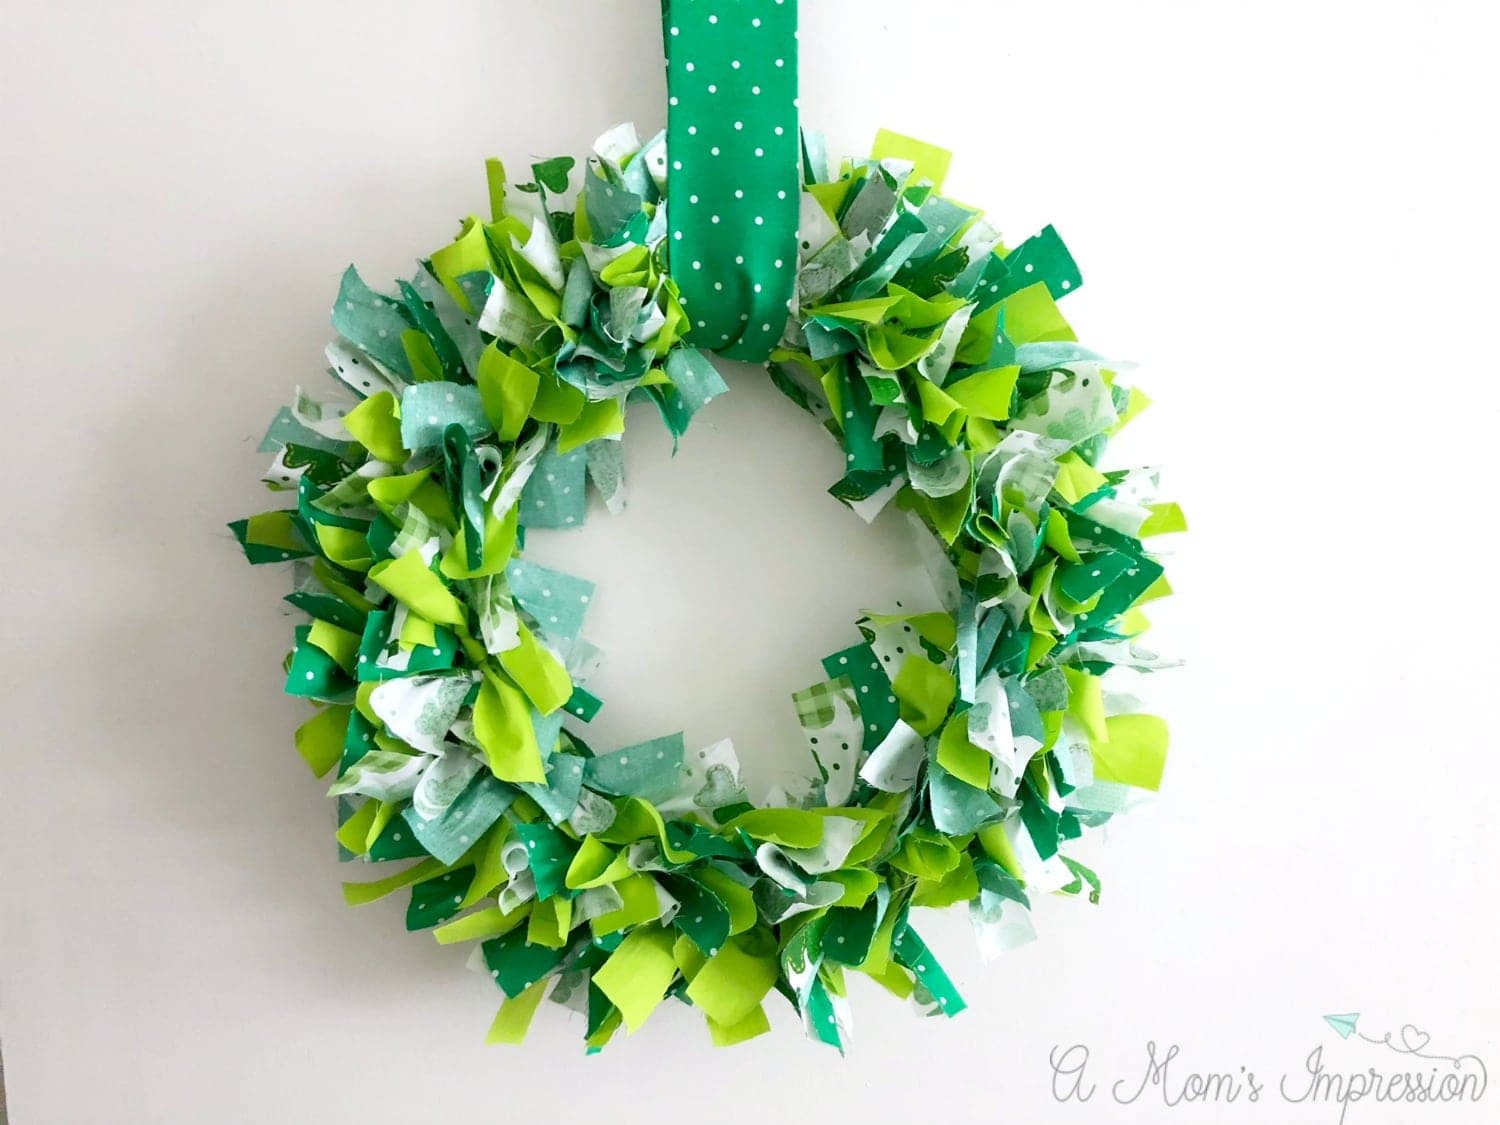
4. When your wreath is full cut a piece of fabric that is 34” x 7” from your 1/4” yard green polka dot fabric.
5. Fold the vertical sides in and iron in place making the fabric look like a strip of 3” wide ribbon.
6. Place your strip of fabric through the center of the wreath and tie the ends into a knot. Pull the knot behind the wreath and your wreath is ready to hang.

Pin for Later

This fabric shamrock wreath is easy to put together and is the perfect addition to your St. Patty's decor!

About Mom

Find Your Influence

Copyright ©2020, A Mom’s Impression | Recipes, Crafts, Entertainment and Family Travel. All Rights Reserved. Design by Pixel Me Designs We use cookies to ensure that we give you the best experience on our website. If you continue to use this site we will assume that you are happy with it

Shamrock Wreath~ DIY

{How to make) Shamrock Wreath!

I really haven’t ever decorated for St. Patricks day before. I normally can’t wait and just skip right  to Easter!This year I decided the holiday should get it’s fair chance so I decided to try out a yarn wreath and it turned out really great, and super easy. I wasn’t planning on making this a tutorial but people are already asking how to do it, so sorry for a gap in some pictures!
Gather your suplies: foam wreath, scissors, green yarn, marker, sheet of green felt, hot glue gun, ribbon (I used gold), gold beads, and clover template (below).

Step 1: To cover the wreath I cut yarn into long pieces instead of going right off the roll. I found this easier. Apply a drop of hotglue to somewhere on the back of the wreath and begin wrapping. The trick is to be consistent with how tight you pull the yarn, this will keep it looking smooth and even. Every few inches add a drop of glue on the back to hold in place. The yarn begings to tilt as you go round since the inside is smaller, so at the end I had to over lap. Not a problem thought because that will be covered up. Sry about the lack of pics!

http://makebakecelebrate.blogspot.com/2012/02/how-to-make-shankrock-wreath.html

Step 2: Print and cut this template for the clover leafs. Or you could make your own. (click pic to print)

Step 3: Trace patterns onto the felt and cut. You will need eith 3 or 4 of one size for a clover. I mixed 3 and 4 leafe clovers.

Step 4: Thread a needle and tie a knot. Sew under, over, under, over to each leaf.

   Step 5: Gently pull the thread till the clovers gather. Continue to gather  until they fold into a nice straight line so you can slide the needle through the bottom.

Here’s what they should like! Wouldn’t these be cute on hair clips??

Step 6: Arrange you clovers how you would like, then gently life one side of each and put a drop of glue underneath.

 Step 7:  Add a little gold bling if you would like!

Step 8: Attach a ribbon loop  on the back with hot glue, whatever length you would like!
All done!
I can’t wait to try more yarn wreaths. This was SO easy, cute, and cheap! I displayed it in our entry way with this little ceramic pot filled with gold hershy bars. 🙂