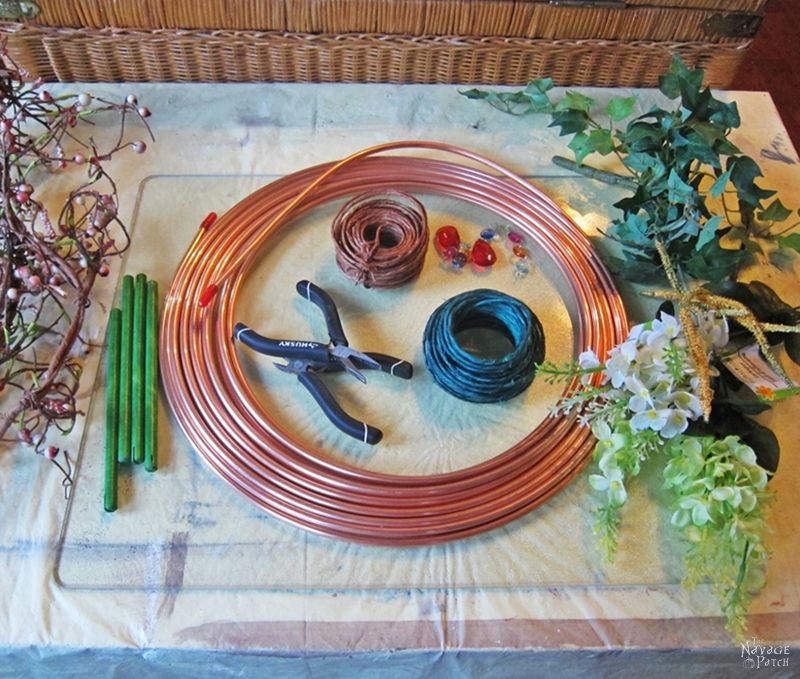
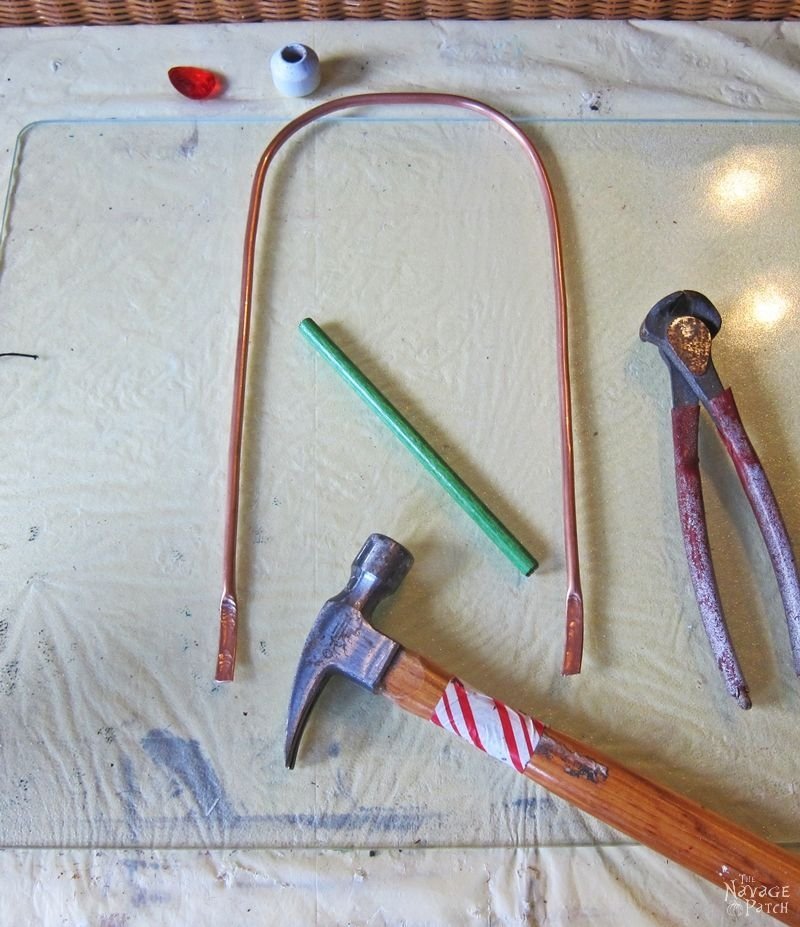
To make a hummingbird perch, all I used was a short dowel (which I found among our son’s old toys), some floral wire, copper pipe (thick and sturdy wire could substitute) and some old faux flowers. I also used a red prism/faux gem, because the red color attracts hummingbirds.
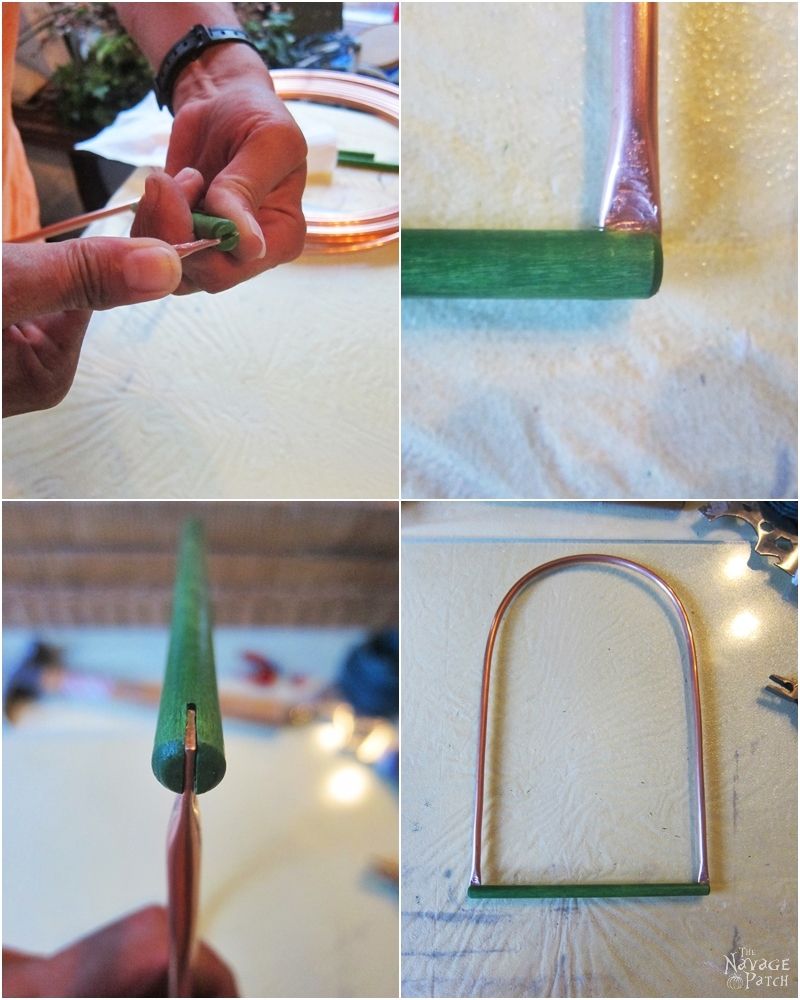
First, I prepared my dowel pieces. I cut the dowels into 7 inch lengths, then I cut a notch at the both ends of the dowel.
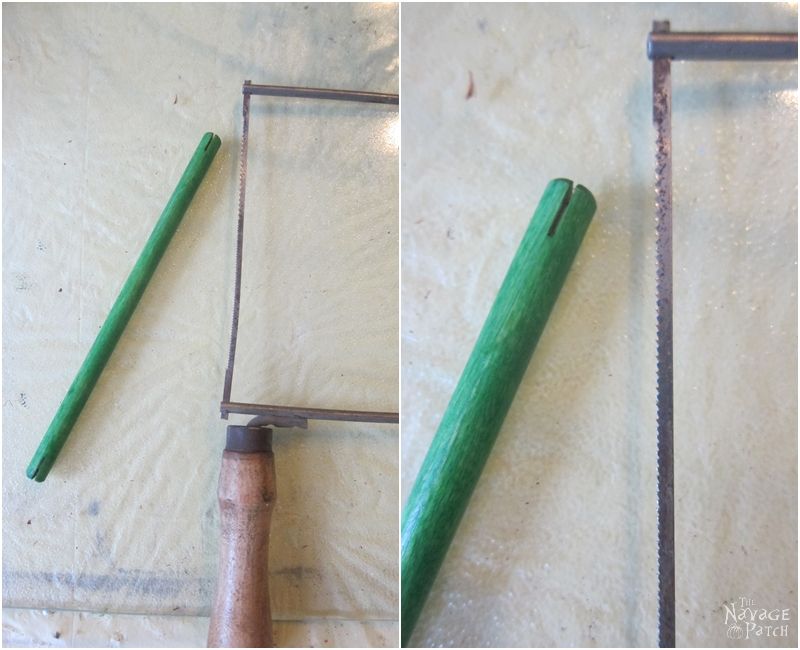
Now, you might be thinking cutting a notch like that is not easy. I am not going to argue with that, but instead I will give you a workaround. Therefore, if you don’t want to bother with the notches, then just have your 7 inch dowel and move on to the next step.
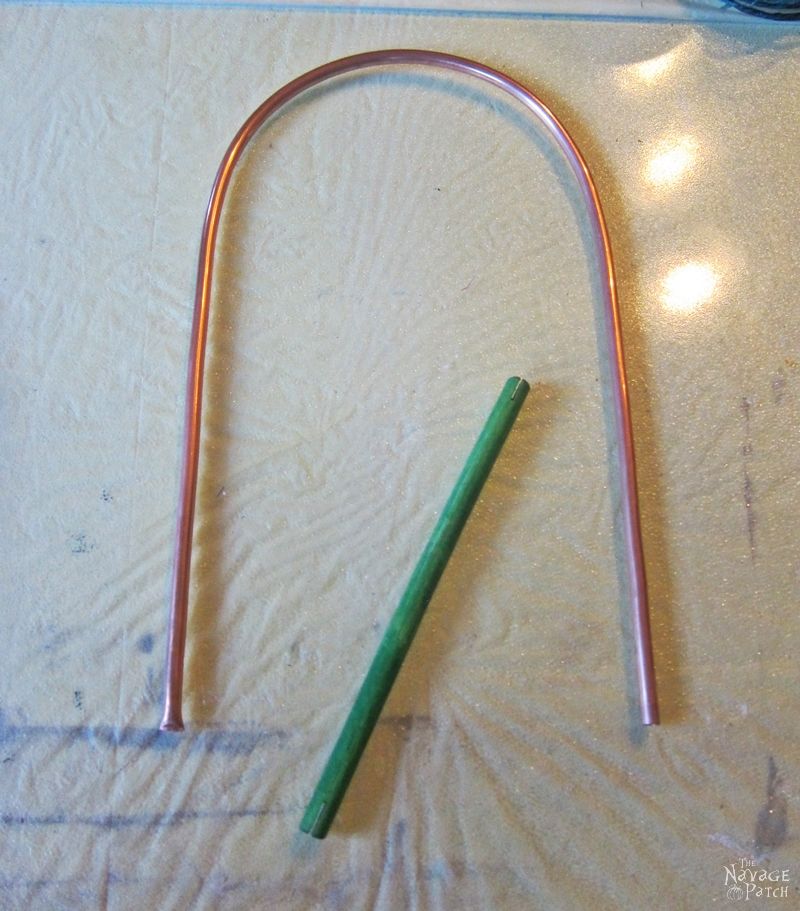
Next, I cut a 24 inch length of copper pipe and bent it to make an arch shape.
Then, I took my hammer and the copper arch outside to a stone (or concrete) surface, and hammered the ends of the arch to flatten them. For the dowel with the notches, I flattened only a little part of the ends…
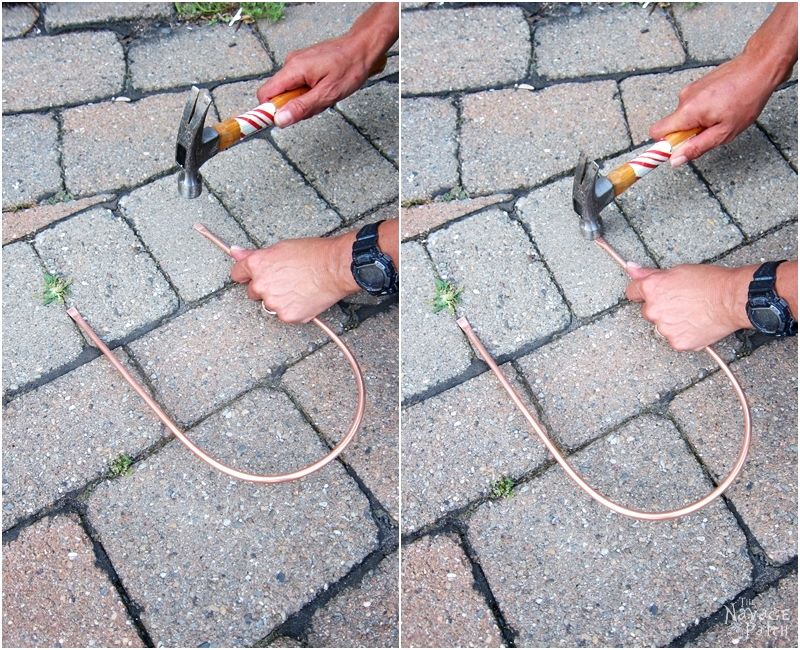
…but for the dowel with no notches, I flattened a longer part of the copper arch, as shown in picture below.
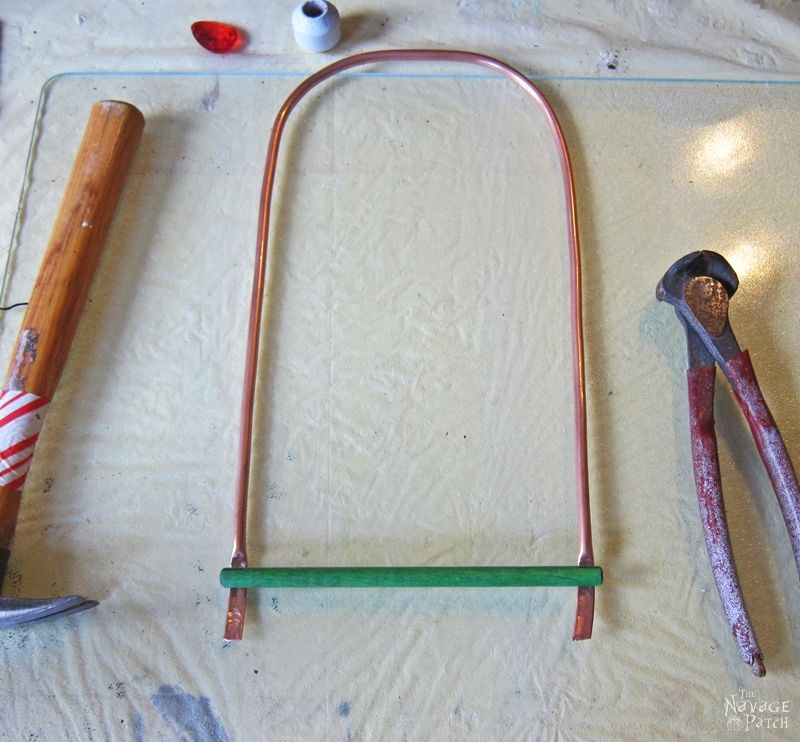
With the notch version, I inserted the flattened copper ends into those notches.
With the notchless version, I placed the dowel on the flattened part and…
…started to wrap the flattened ends around the dowel.
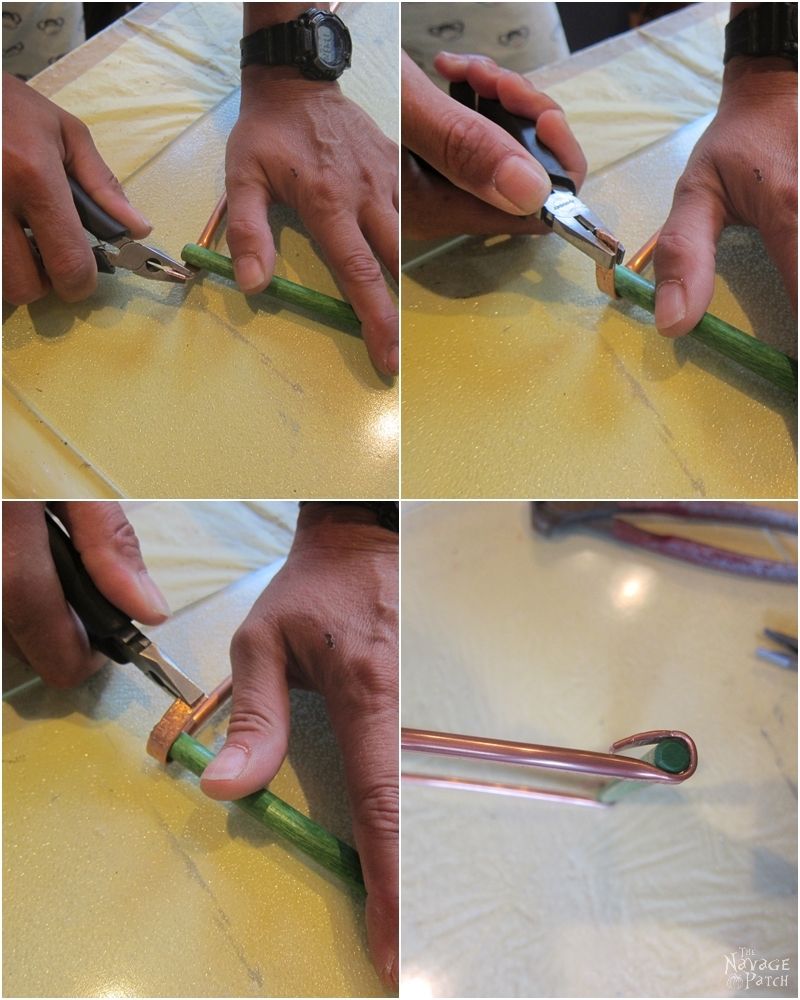
Then, I cut the excess part and…
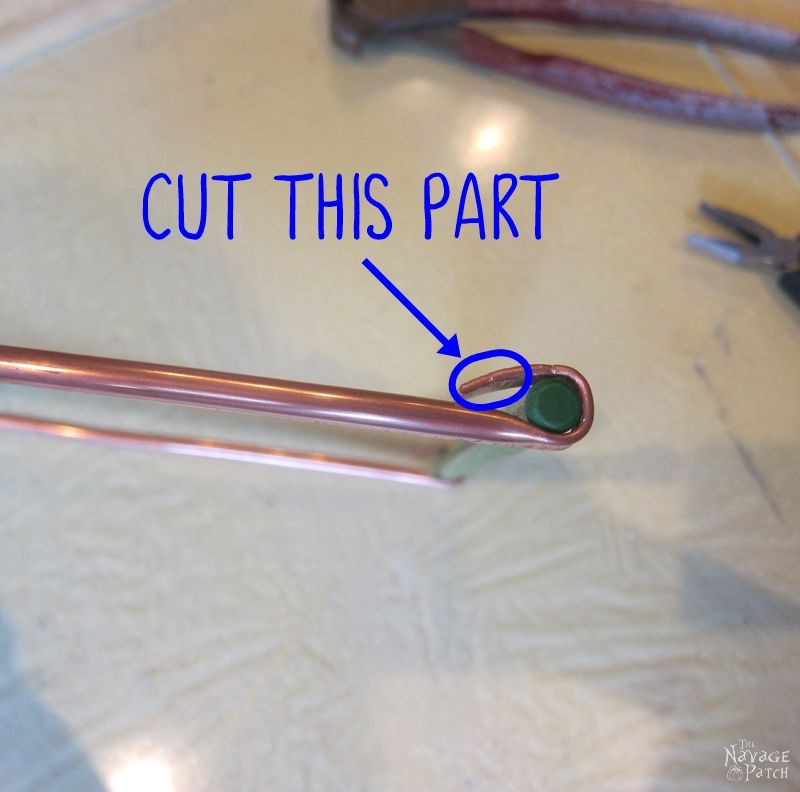
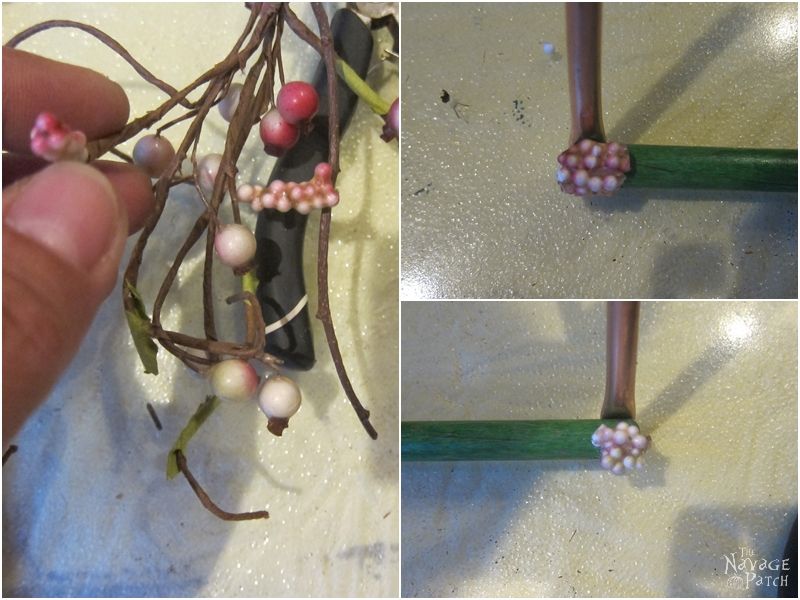
…hot glued some faux berries on the cut part. This was so the cut copper would be covered and wouldn’t hurt anyone when touched.
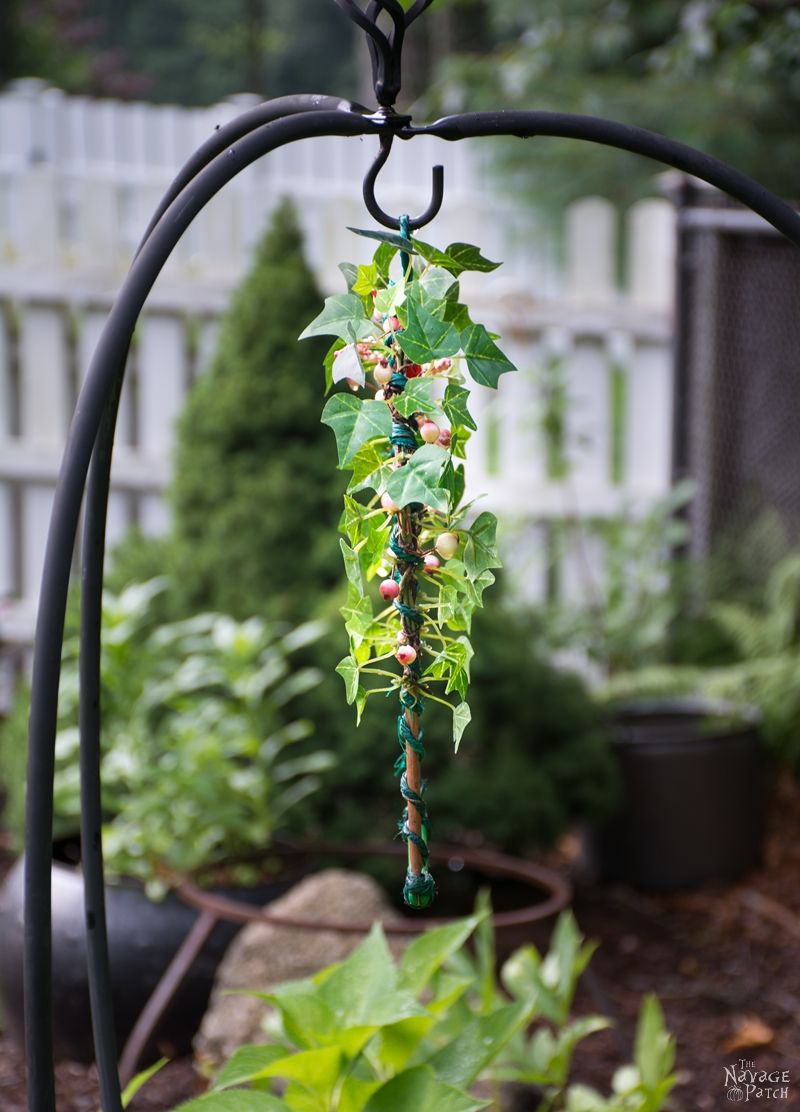
Now that both perch versions were complete, it was time to pretty them up a little bit. For that, I put together a small arrangement of floral picks I had on hand.
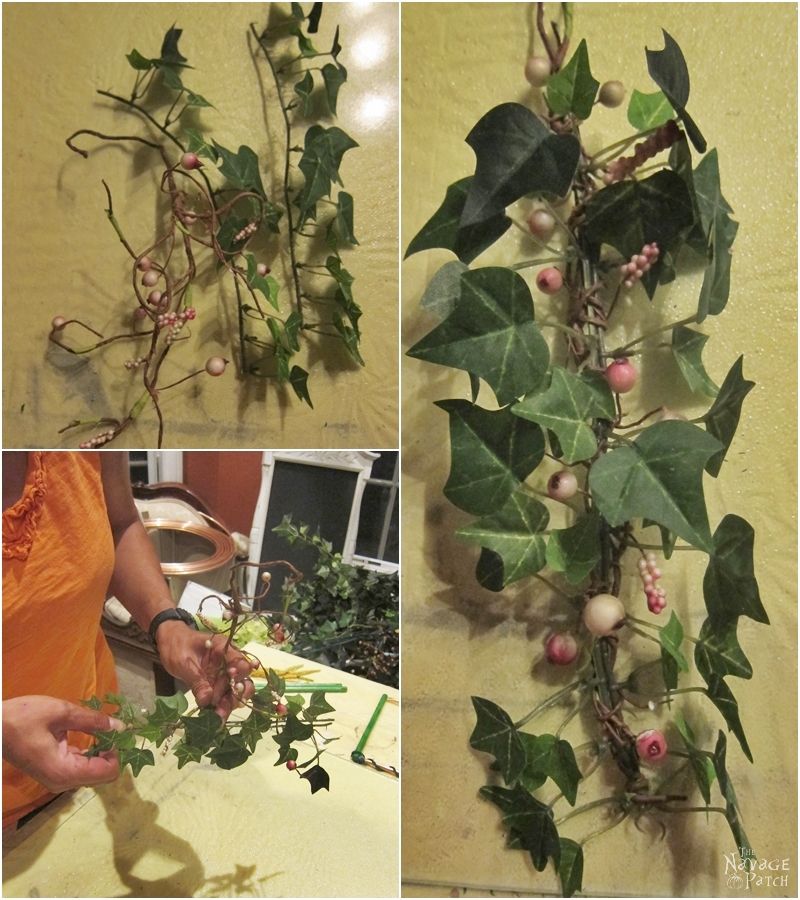
Then, using a floral wire, I attached it along the copper arch.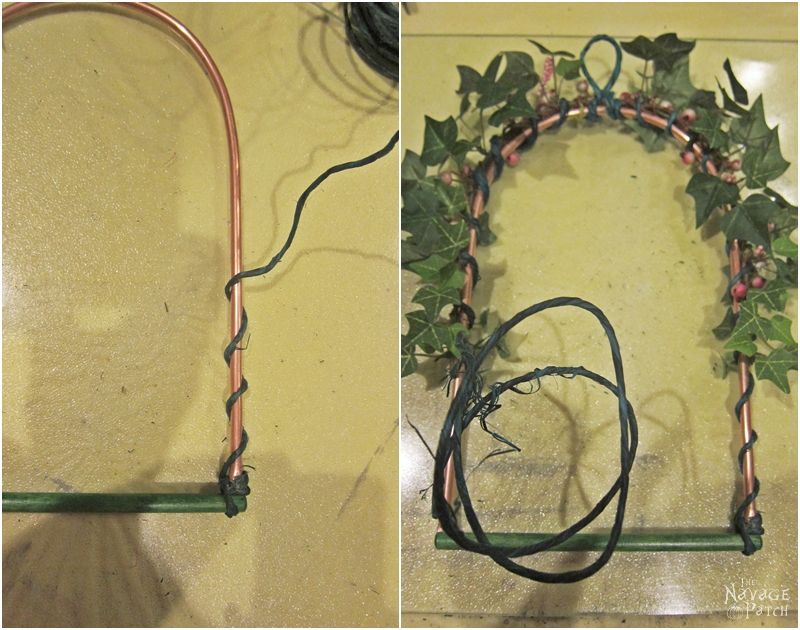
This is the one with notch.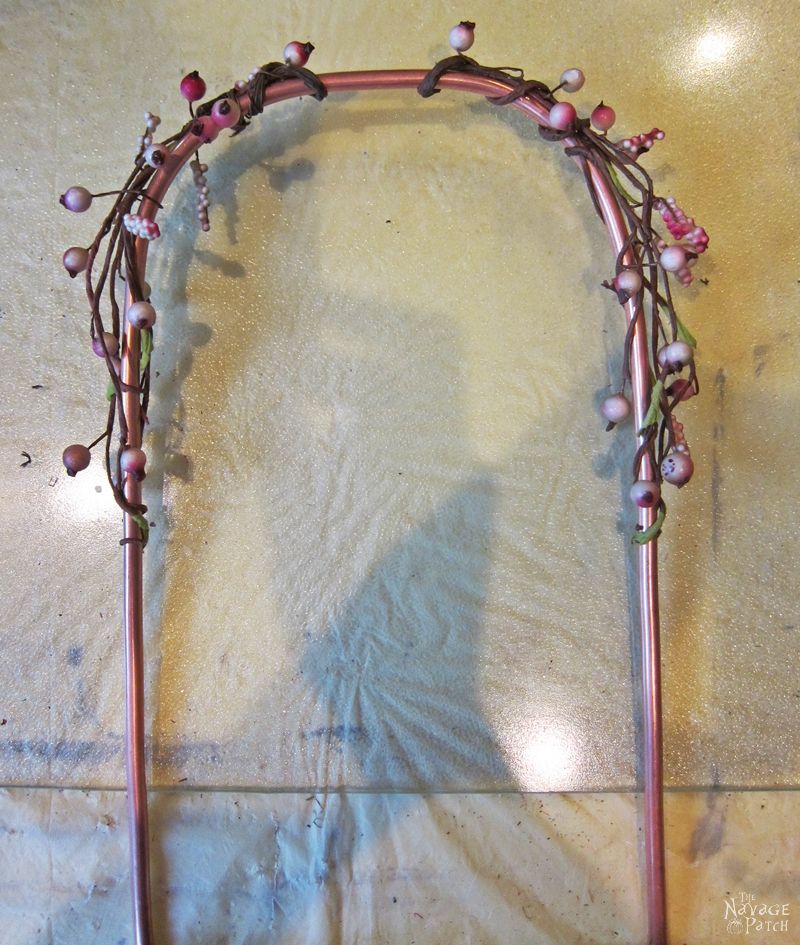
This is the notchless one.
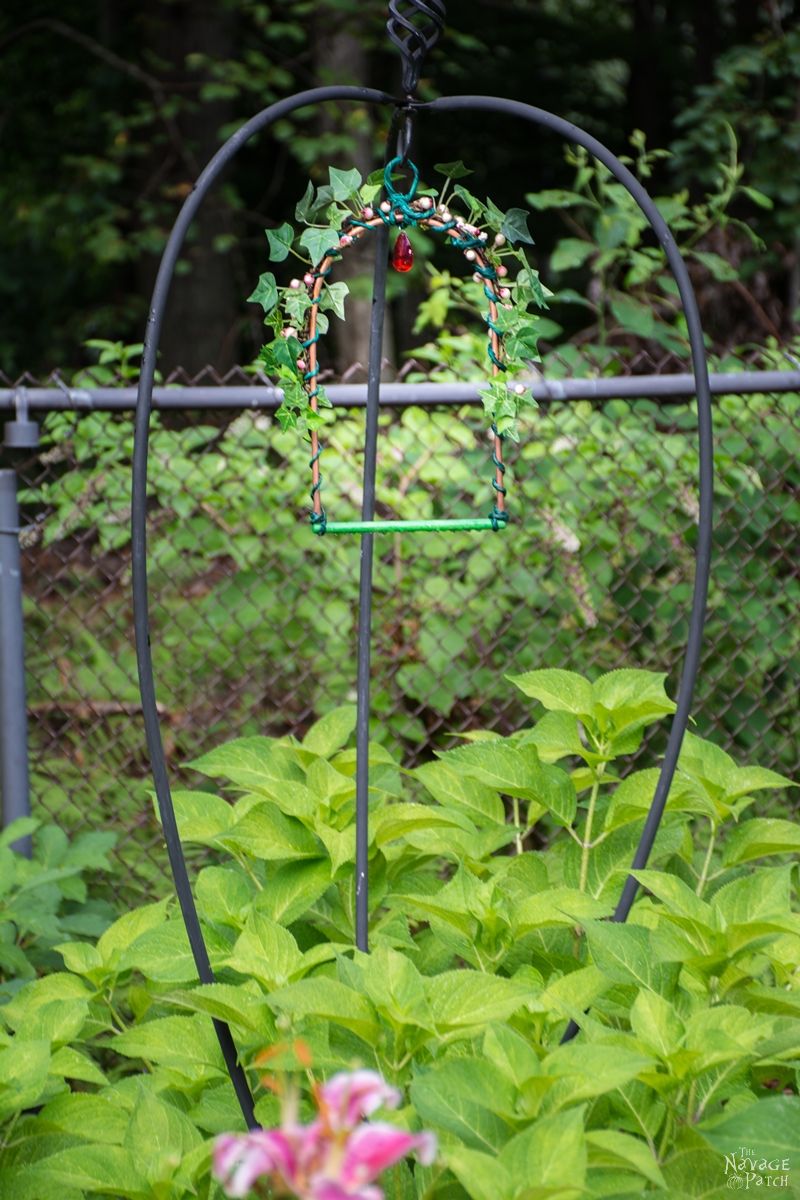
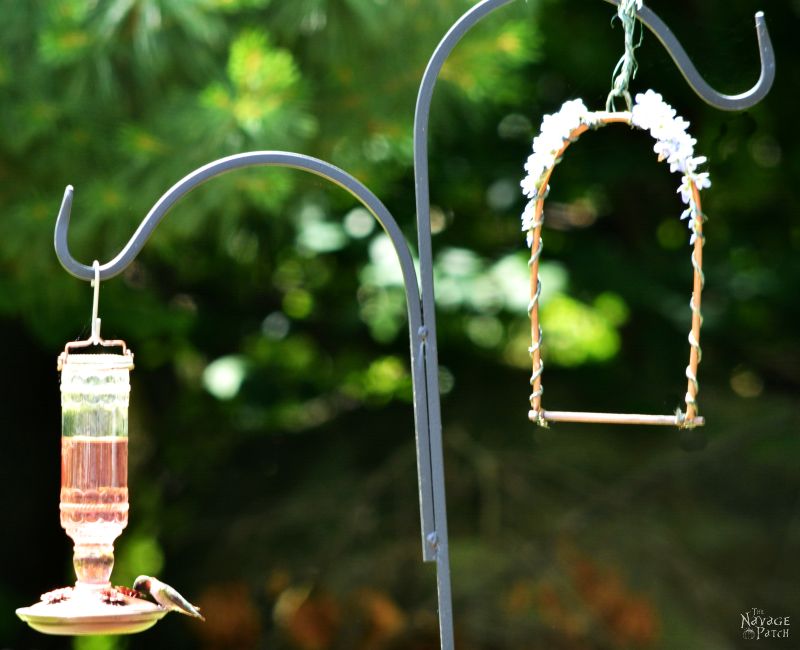
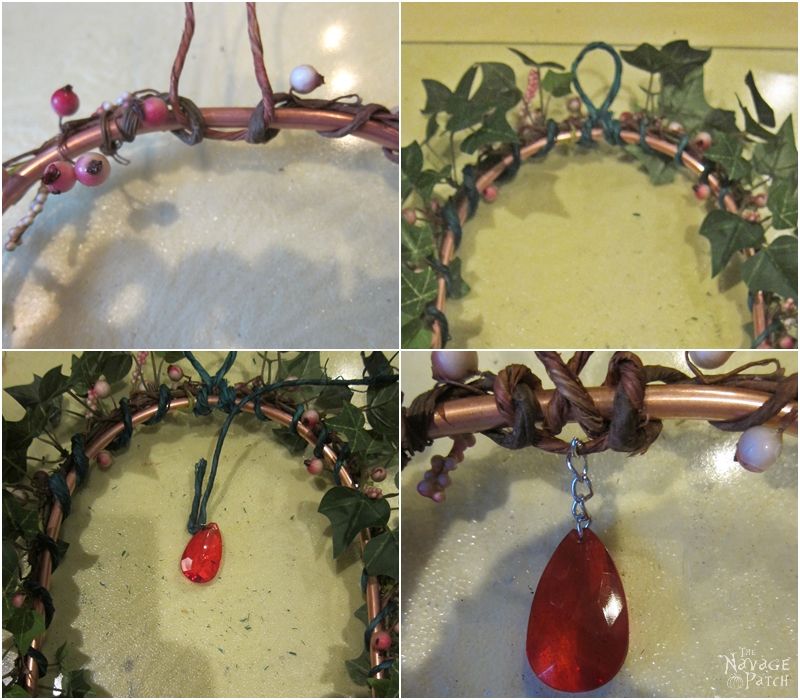
Next, using floral wire, I created hanging loops on the copper arch. As the final touch, I added a red teardrop prism on top.
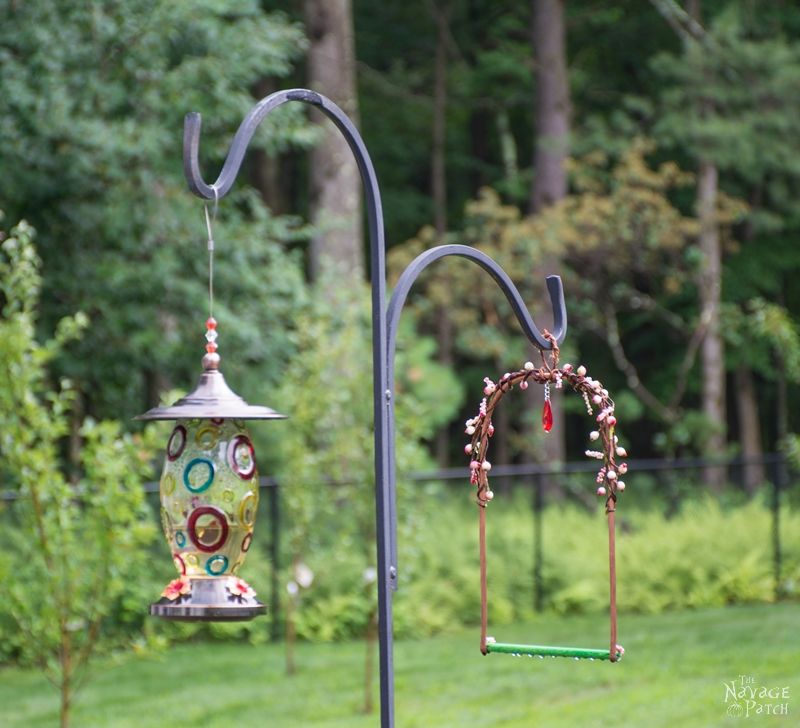
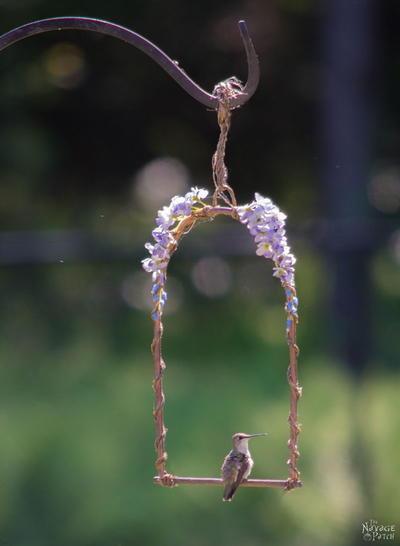
Here are our hummingbird perches.