You will use actual tin coffee cans or vegetable cans
The first step is to punch holes in the bottom for drainage and drill the holes in the back for hanging. Use the hammer for the drain holes and a drill with a metal bit for the rope holes. Make sure you get it just big enough for the rope to go through, not too big.
Give ’em a few good coats of spray paint. However many you need until it looks good. Let them dry.
Put one of the rope through one of your rope holes and knot it. Then decide on your length and cut the other end accordingly. Knot that end through the other hole.
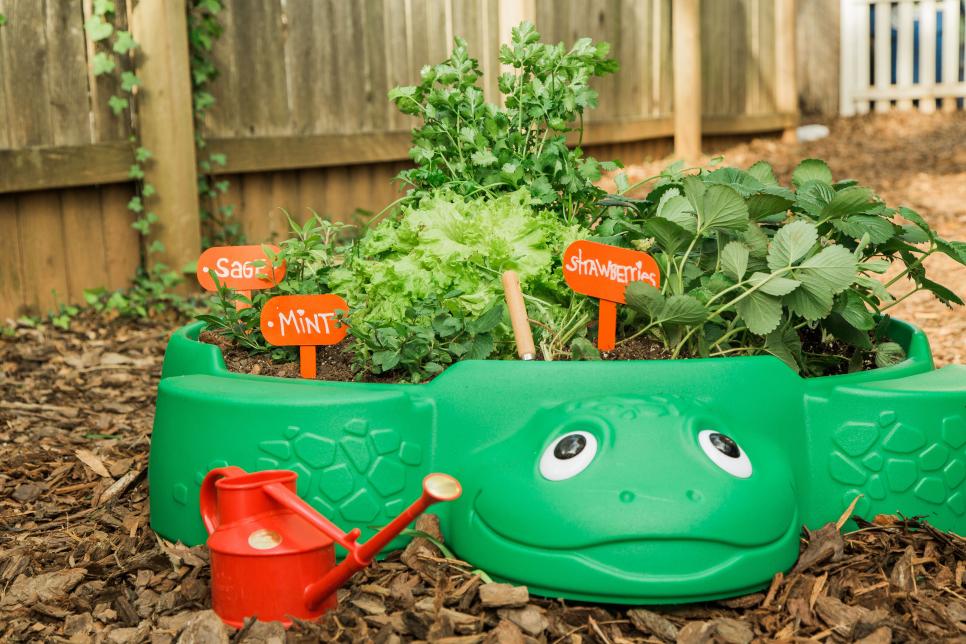
They may have outgrown their sandbox, but you can still reap the benefits of its perfect size and shape. Here’s what you’ll need: BPA-free sandbox, pavers (optional), gravel, weed barrier fabric (cut to fit interior of sandbox), potting soil, soil supplements (optional), assorted edible starter plants with shallow root systems, utility knife, drill and 5/8-inch bit, garden trowel, garden gloves, kid-sized garden tools
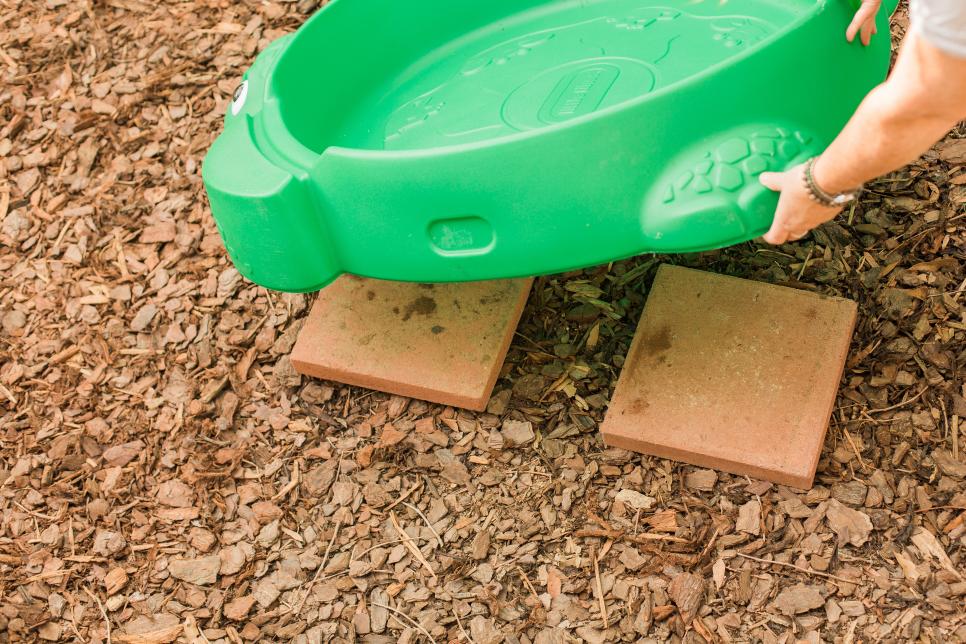
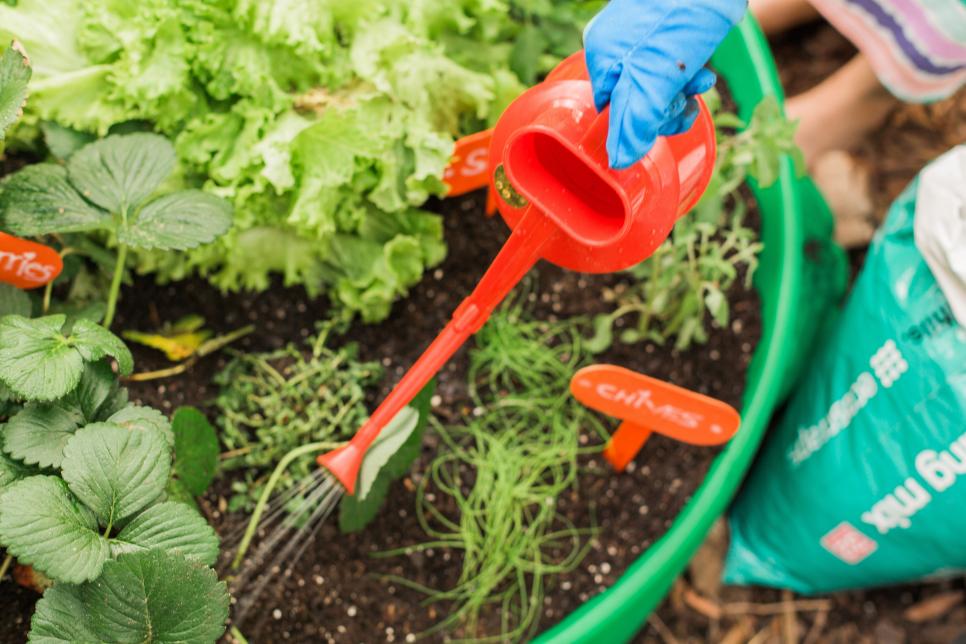
Prep the Location Determine the location of your new garden based on sunlight. Make sure it has enough sun or shade for the plants you intend to grow. Partial shade is usually best for many container-friendly edibles. Move the emptied sandbox into place, then layer a few pavers underneath the box to elevate it and ensure optimum drainage. Ensure Good Drainage Good drainage keeps plants healthier and staves off root rot. Once you’ve added pavers and adjusted them so the bottom of the sandbox is level, add several drainage holes using a drill and large bit. Make a hole every 6-8 inches in the bottom of the sandbox. Add Weed Barrier Cut weed barrier fabric to size and lay down in the sandbox so the bottom and sides are covered. This will help create a barrier and discourage any weeds attempting to make their way into the garden through the drainage holes. Add Gravel Spread a 2-inch layer of gravel along the bottom of the sandbox, directly on top of the weed barrier. Add High-Quality Soil Premium soil is key to the success of your garden, so make sure it’s suited to your plants and climate. Consider mixing in a supplement or soil additive that’s specifically suited to your plants.Select your plants
Plant Thoughtfully Get your kids in on the planting process so they’ll be fully invested. Make sure to plant companion plants together. Strawberries like beans, lettuce, onions and thyme, while lettuce, like arugula, prefers beans and mint. Try to follow along with spacing as dictated on the plants’ tags. Kid-Sized Everything Keep aprons, tools and garden stools kid-sized to encourage hours of play that’s fun and parent-friendly, too.
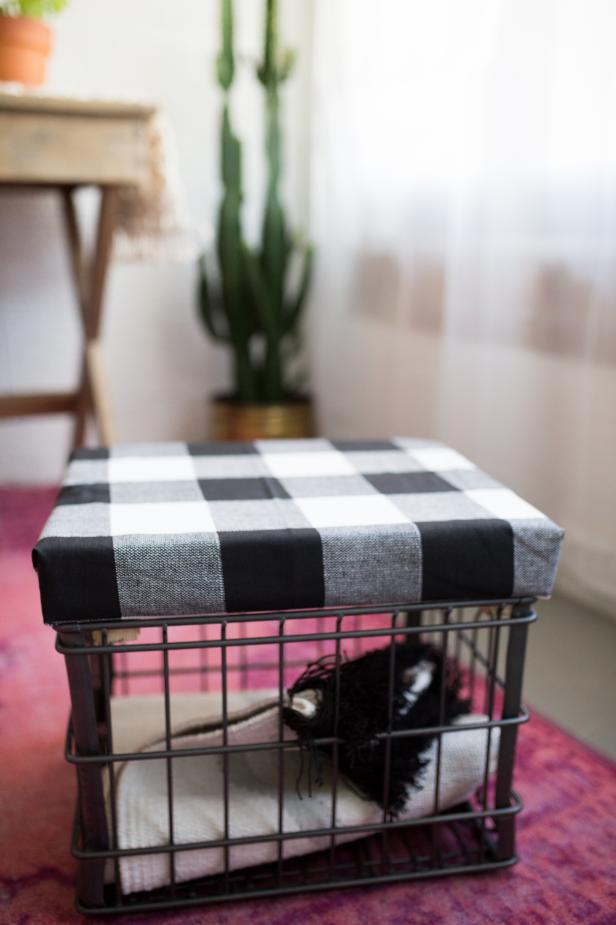
The first step is to prep the milk crate or the soon-to-be base of the ottoman. The age and patina of the crate will determine the amount of elbow grease needed. Remove any unwanted paint or rust with a sanding block. Once the surface is smooth, add a pop of color with spray paint.
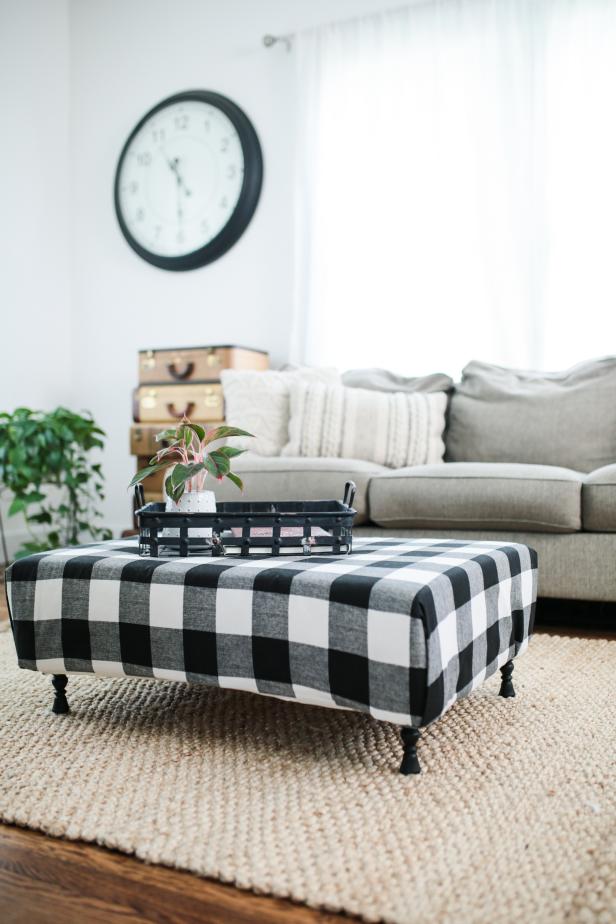
Nothing says cozy like a plush ottoman. Coffee tables are great and all, but an ottoman can be a footrest, a chair and, with the addition of a tray, it does all the work of a coffee table. But before draining your savings on one, consider making your own for under $100.
Materials Needed
heat-treated pallet
(4) wooden candlesticks
drill + 1/4″ bit
(4) 1/4″ lag bolts
wrench
4″ foam
spray adhesive
batting
stapler
fabric
Attach some legs
To begin, flip the pallet over. Ensure the pallet you are using is marked “HT” for “heat-treated.” This verifies it is safe for indoor use. Drill a 1/4-inch hole in each of the four corners, equidistant from the edges. Run small lag bolts through the holes, and secure the candlestick legs after drilling corresponding holes in them.
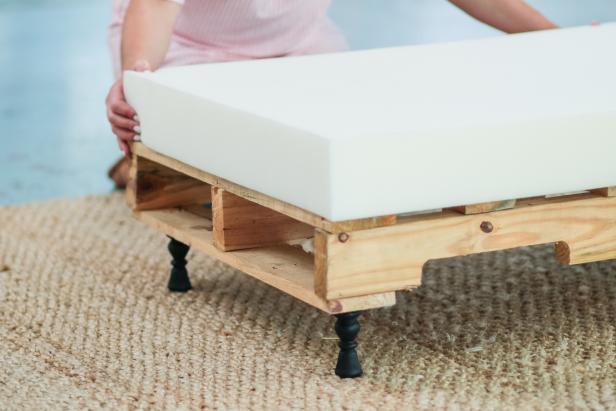
Secure the Foam
Once the legs have been tightly fastened, flip the frame upright and place a piece of foam cut to the size of the pallet on top. Coat the surface of the foam and pallet with spray adhesive and set the foam piece on the pallet.
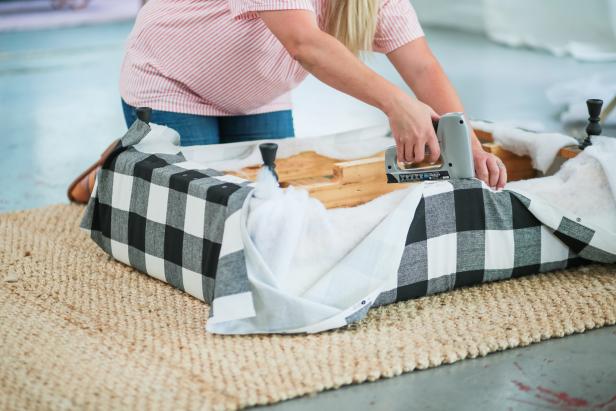
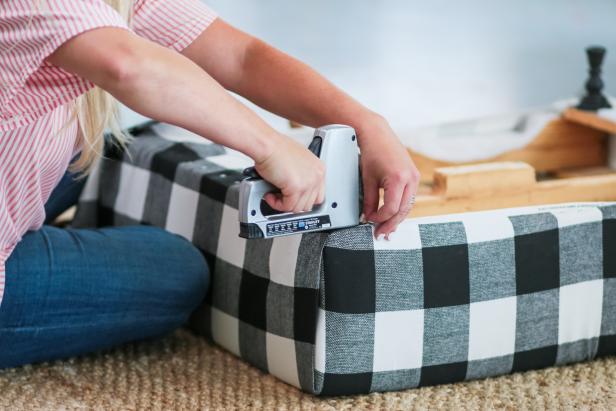
Fasten Batting and Fabric
Once the adhesive has dried, cover the foam with a large piece of batting and flip the ottoman back over. Fold the batting around, and staple it to the bottom of the pallet no more than two inches apart. Repeat this step with the fabric, making sure to fold the corners neatly and tightly while stapling to ensure a beautiful final product.https://www.hgtv.com/design/make-and-celebrate/handmade/diy-pallet-ottoman
You can create a range of beautiful furniture for your home using concrete blocks. These blocks can be used for night stands, patio furniture, outdoor pots, and can even be used to make a frame for your sofa or bed. A coat of paint is all it takes to give these blocks a modern yet homely feel.
Well, this will save you the hassle of using the vacuum machine and taking it from one room to another. These vacuum systems are built into your walls, and all you need to do is sweep the floor and dust to get the job done!