
DIY Pillows Made from Daddy’s Shirts


Want a little insight into what my husband signed up for when he said “I do”? I’ve had a box squirreled away in the bottom of the closet for the past three years. Every time my husband has announced that he’s going to sort through his clothes and get rid of old items, I’d hover over him like a ravenous vulture circling a horse carcass. I would wait on baited breath for an old button-down shirt to hit the “give away” pile, swoop in, nab the shirt with my sharpened craft talons, and hastily slink off to the box in the bottom of my closet. I hope your mental image of me doing this involved drooling and a hunchback.
So what, pray tell, could possibly evoke such strange behavior? I had the idea (yes, three years ago) to make a quilt for the duckling out of his dad’s shirts. Aw, that’s so sweet, except for two details – I don’t know how to quilt, and I don’t own a sewing machine. Holding onto the hope that those two facts would shift in my favor one day meant holding onto a musty box of discarded J. Crew shirts for 1,095 days and counting.
With no change in sight, I decided to curb my hoarding habits and do something with my secret stash of shirts before a family of squirrels decided to make a home in my closet. Enter my new DIY project…daddy inspired throw pillows for the duckling’s room.
Supplies for Shirts
– clean, ironed button down shirts (one per pillow)
– pillow forms or old pillows you want to cover
– sewing machine or handheld stitcher (I used a handheld stitcher)
– scissors
– fabric pen (optional)
– pins
The links above and in the supplies list for the felt accessories link to our Amazon page where you can purchase the craft supplies we use in this and other projects. We offer this so that you can “one stop shop” for your supplies, and there’s no additional charge to you. All of these items are also readily available at your local craft store.
Instructions for Shirts
As a disclaimer, I’m not a seamstress, so I just “winged” it with a handheld stitcher. Real sewing avids will probably shutter in horror as I describe how I made my pillow shams, but for those of you who are in the same boat as me, hopefully, it will be helpful to see that as far as it relates to this project, the sewing part isn’t an exact science.
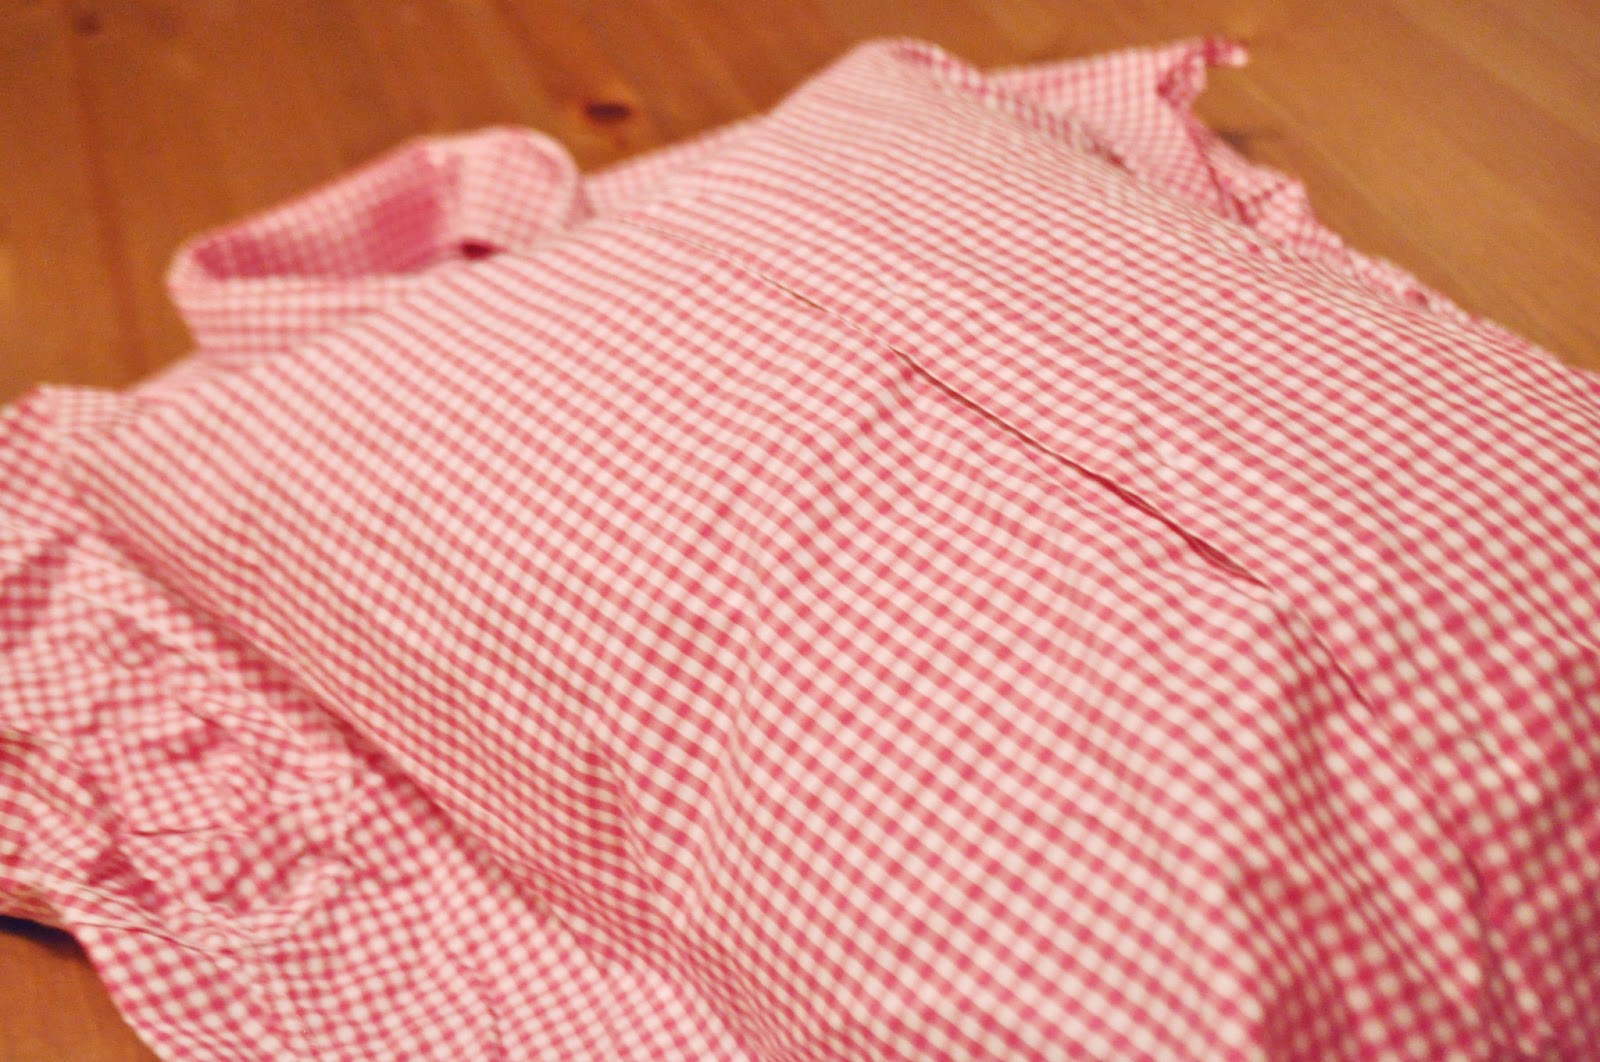
1. Start with a clean, ironed shirt. If you hate ironing like me, you can skip the sleeves because you’re just going to cut them off anyways. (Feel free to wear these like She-Ra cuffs. You know I did.)

60K+Save
2. Here’s my Eastbound & Down inspired sleeveless button-down. I feel like I’m back in Virginia.

60K+Save
3. Turn your shirt inside out (this is important hence the bold + italics for all you skimmers/photo instructions only people) and place your pillow form/insert inside your shirt. Finagle the pillow until you have it in the position you want. If you’ll be using the pockets, like I did, be sure they are positioned in a place that makes you happy on the pillow.
60K+Save
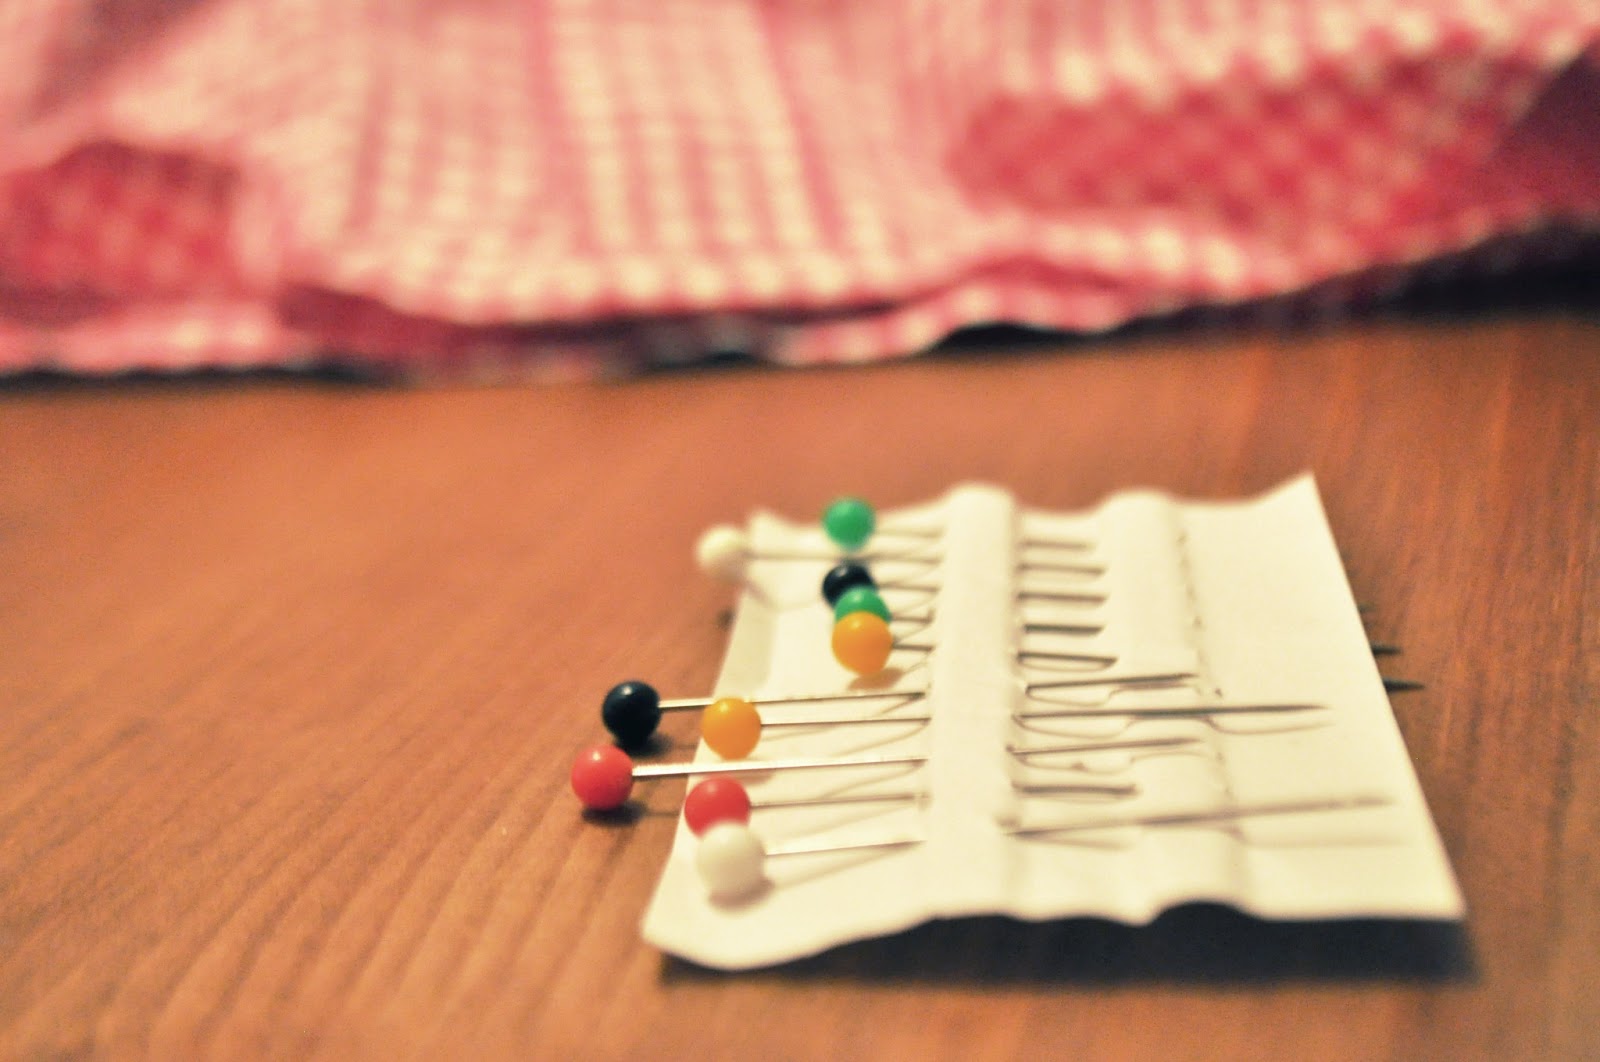
Time for our pins!
60K+Save
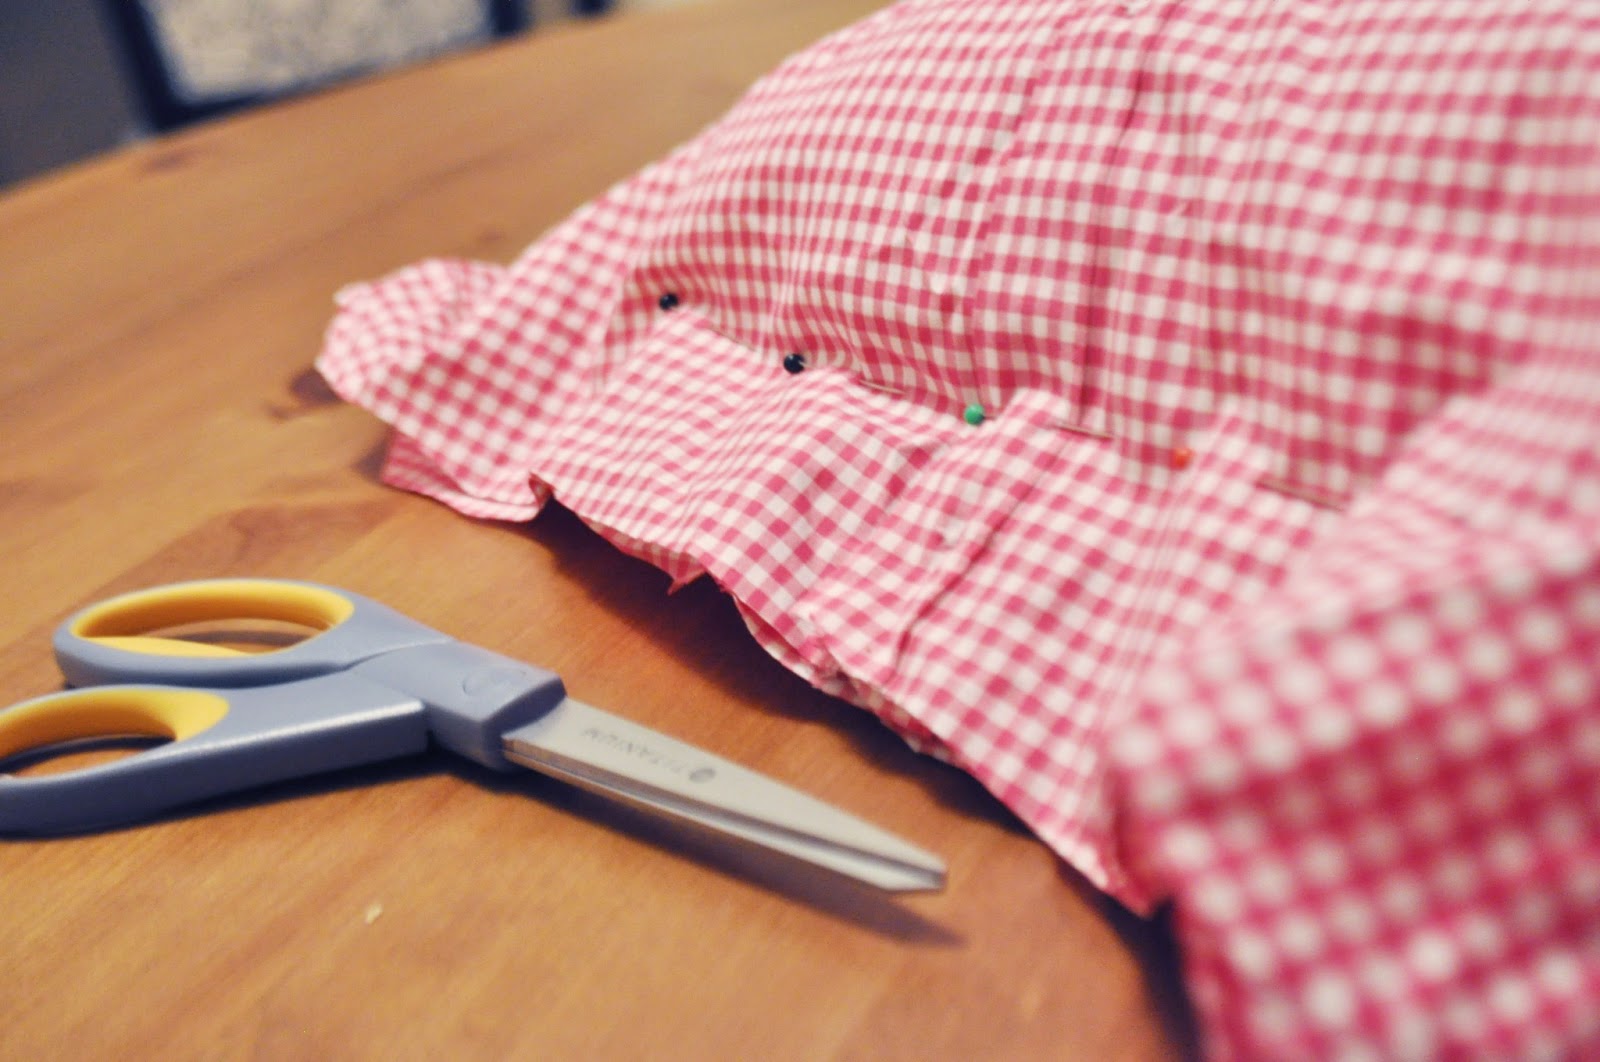
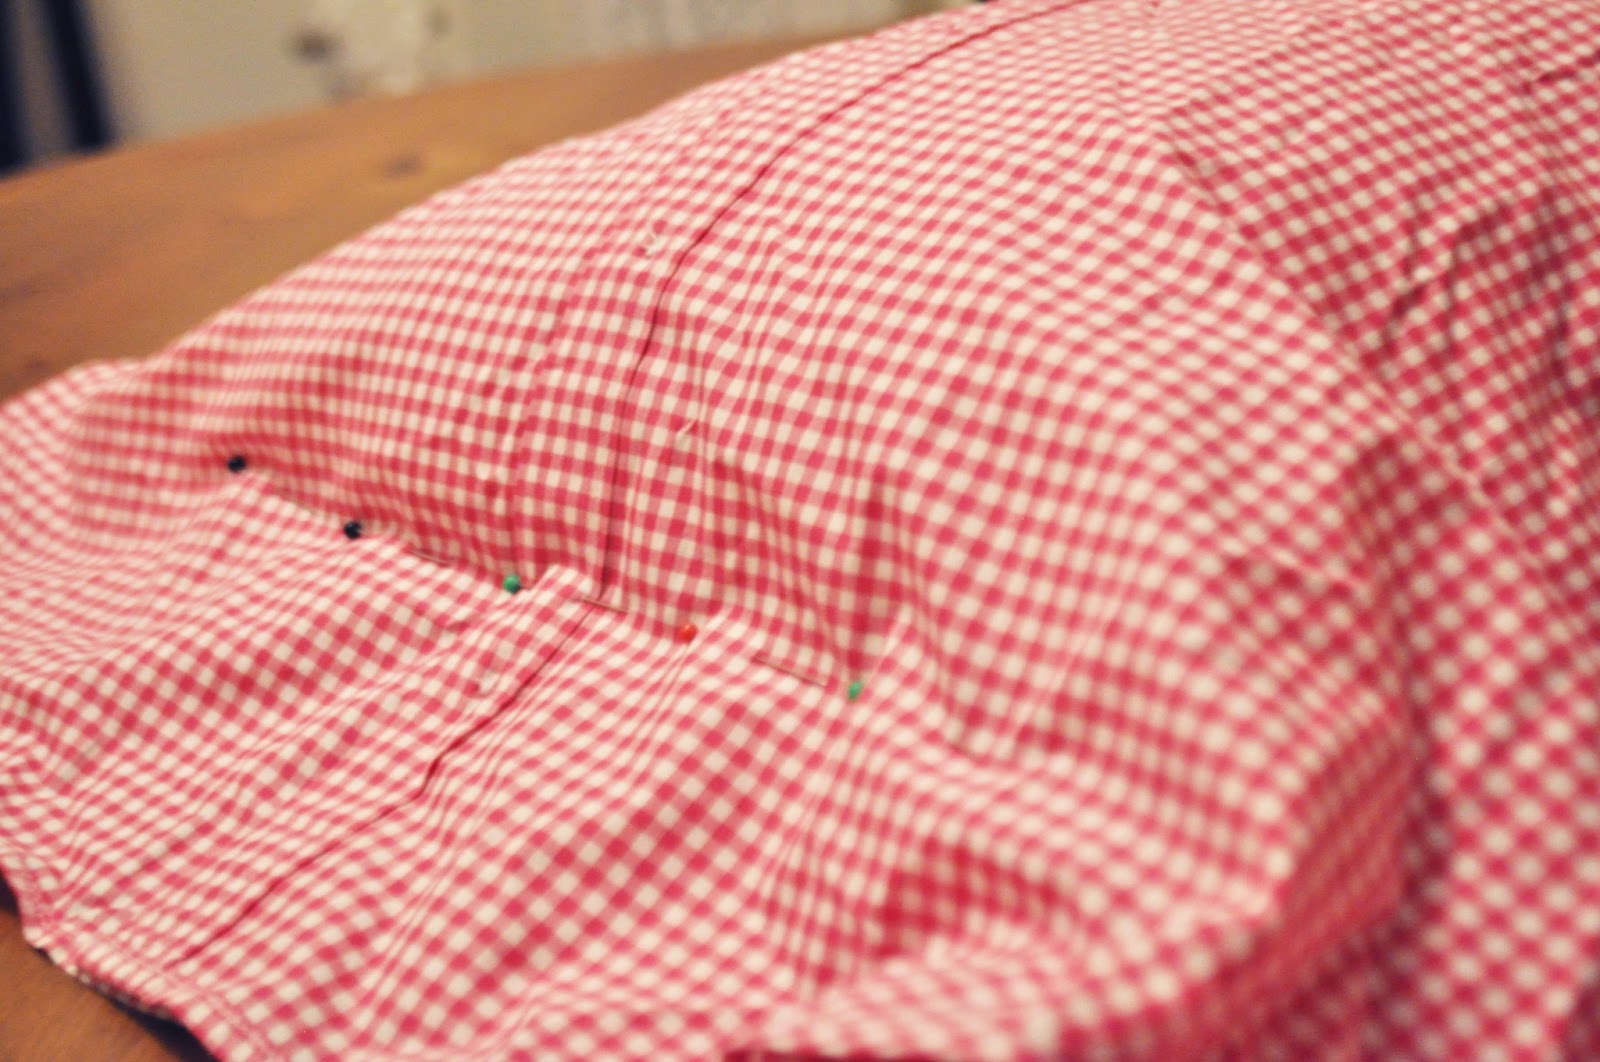
4. Pull together the bottoms of the shirt tight and pin into place beginning at the center (where the buttons are) and working your way out. The good thing about using patterned shirts is that you can use the pattern as a rough guide as you pin.
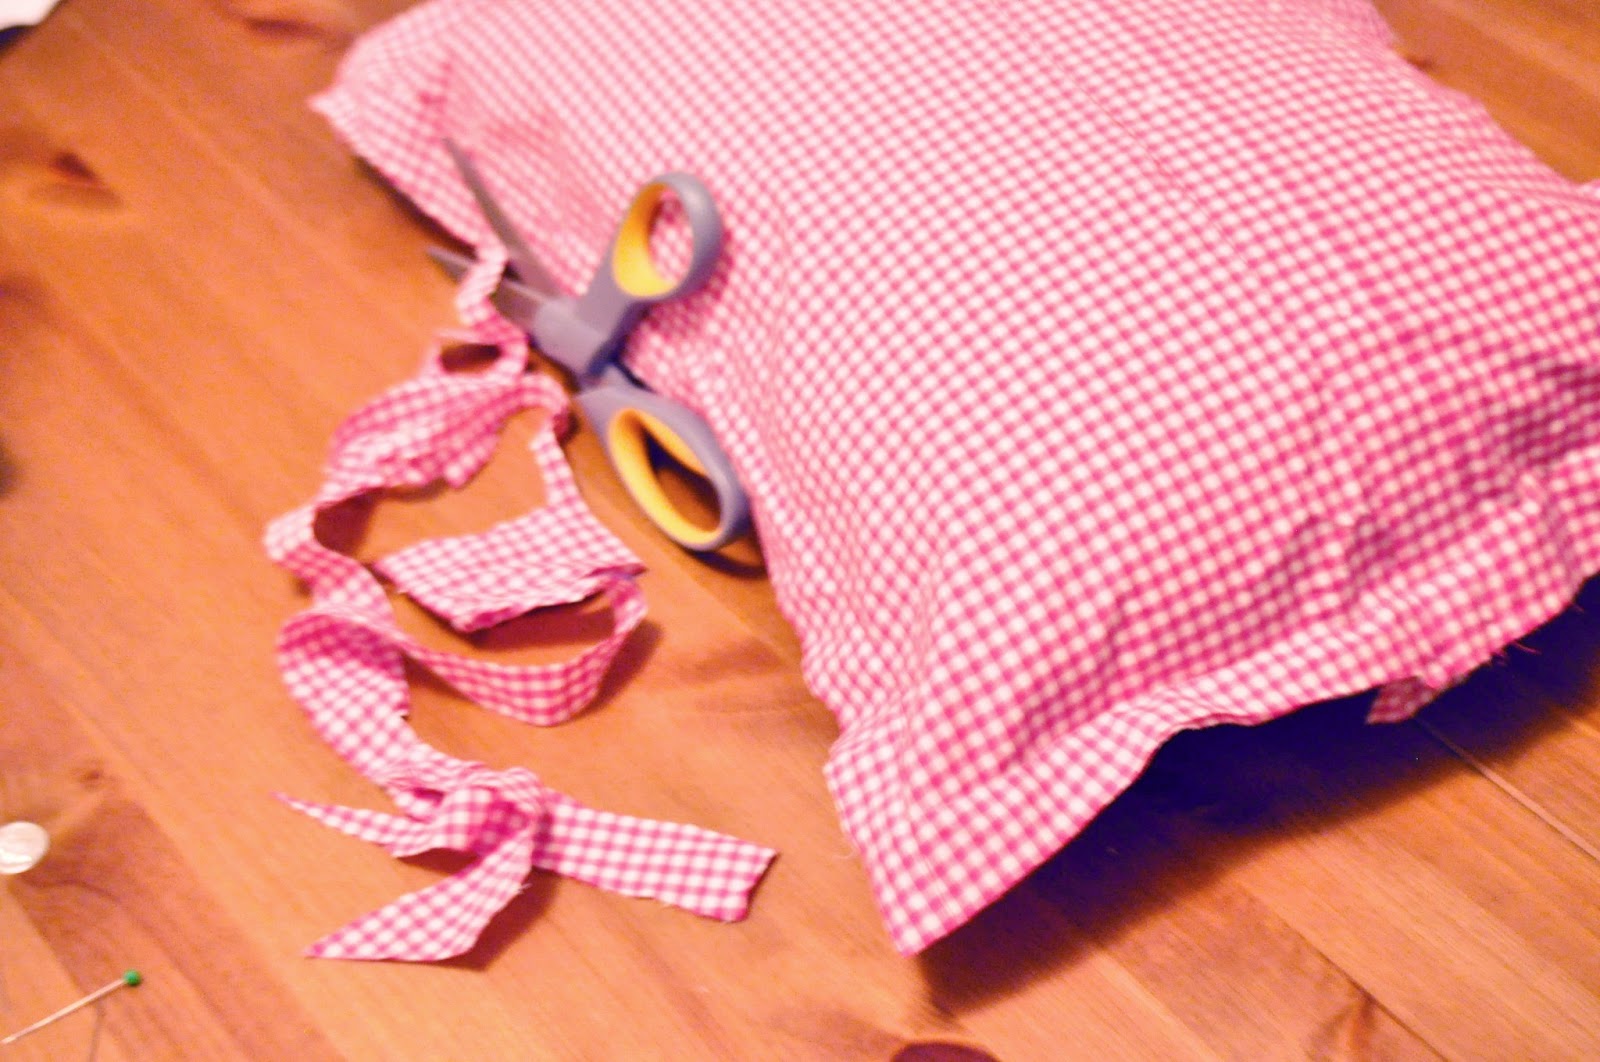
5. Trim the excess fabric leaving at least an inch margin from your pins.
60K+Save
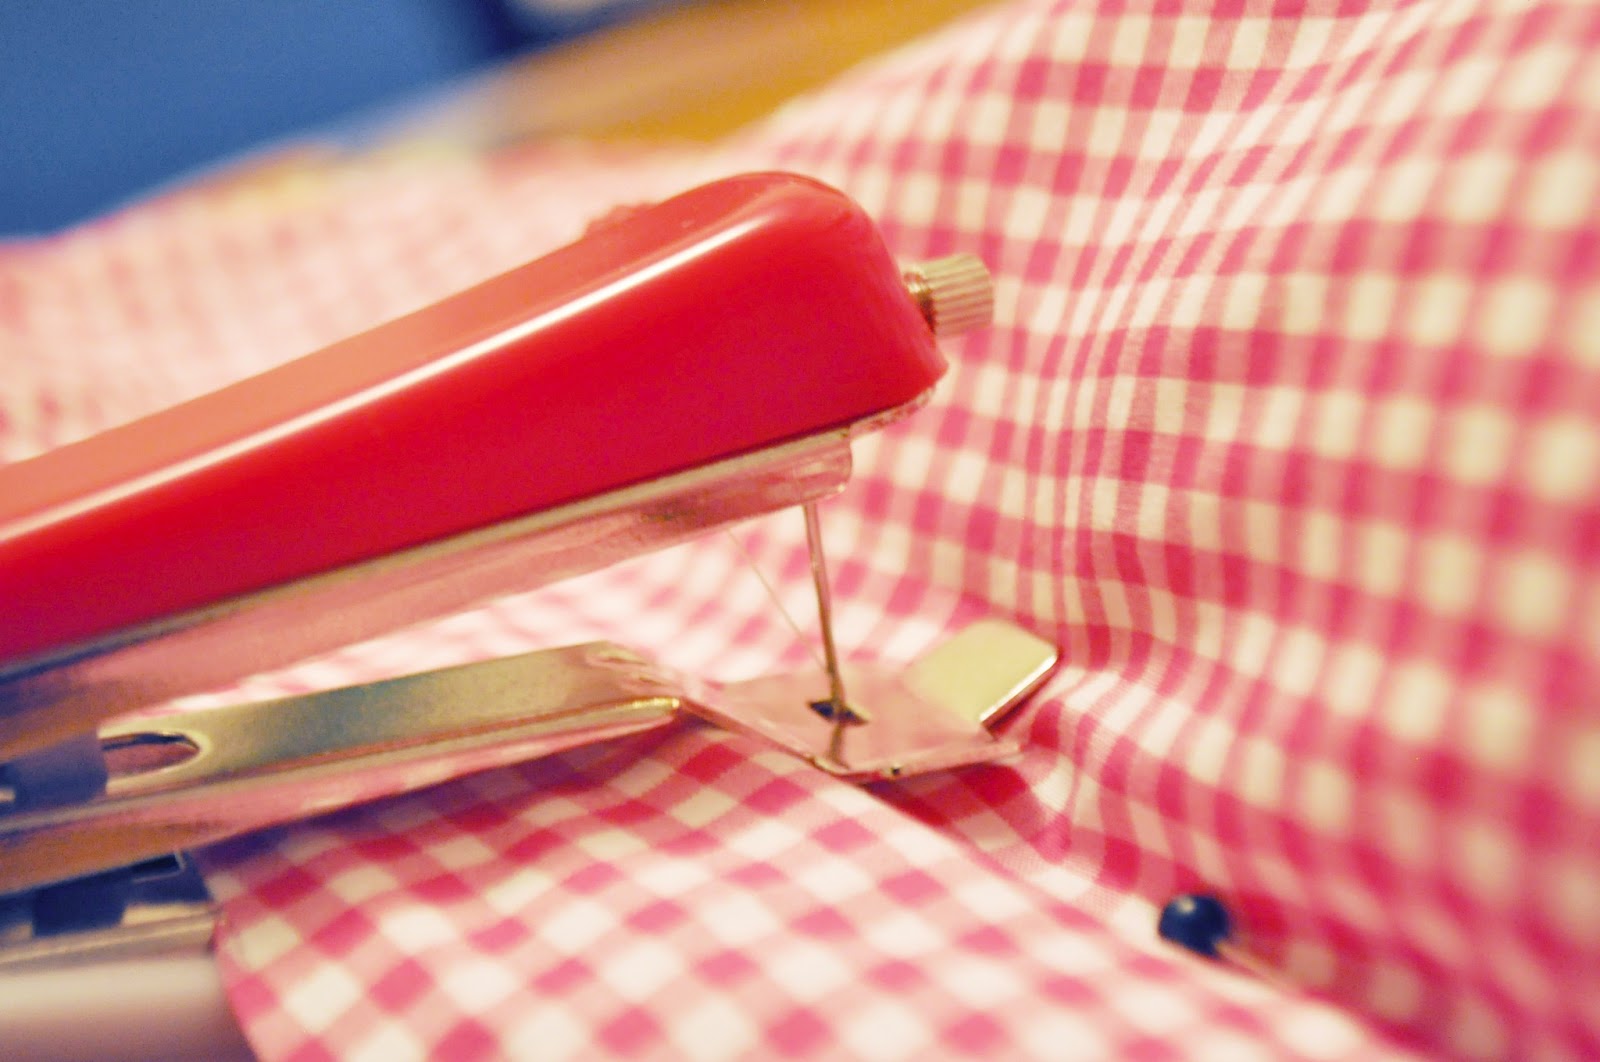
6. (Before we start stitching…if you are indeed using a sewing machine, now would probably be the time to repeat steps 4 and 5 on the other three sides and remove the pillow. Sew away!) For the handi-stitcher folk out there, this is where the “not an exact science” part comes into play. Keeping everything as is, I just started running the stitcher as close as possible to the pins, removing the pins as I went along. Once you get to the end, follow your stitcher’s directions on how to secure the seam so it doesn’t unravel.
60K+Save
7. Once you finish the first side, pick up your shirt and give the pillow a little shake, encouraging it to nestle down against your new seam before moving to the opposite side to begin pinning.

60K+Save
Like my striped pajama pants?
8. Repeat steps 4 through 6 on the other three sides, starting with the opposite side (the collar), then moving to the sides under the arms.
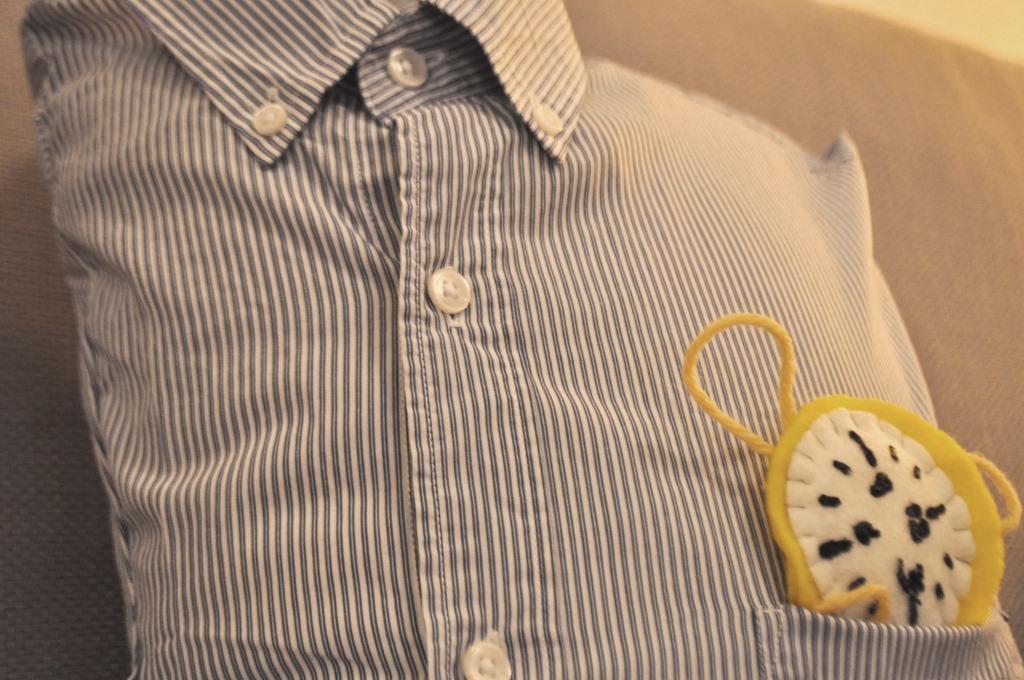
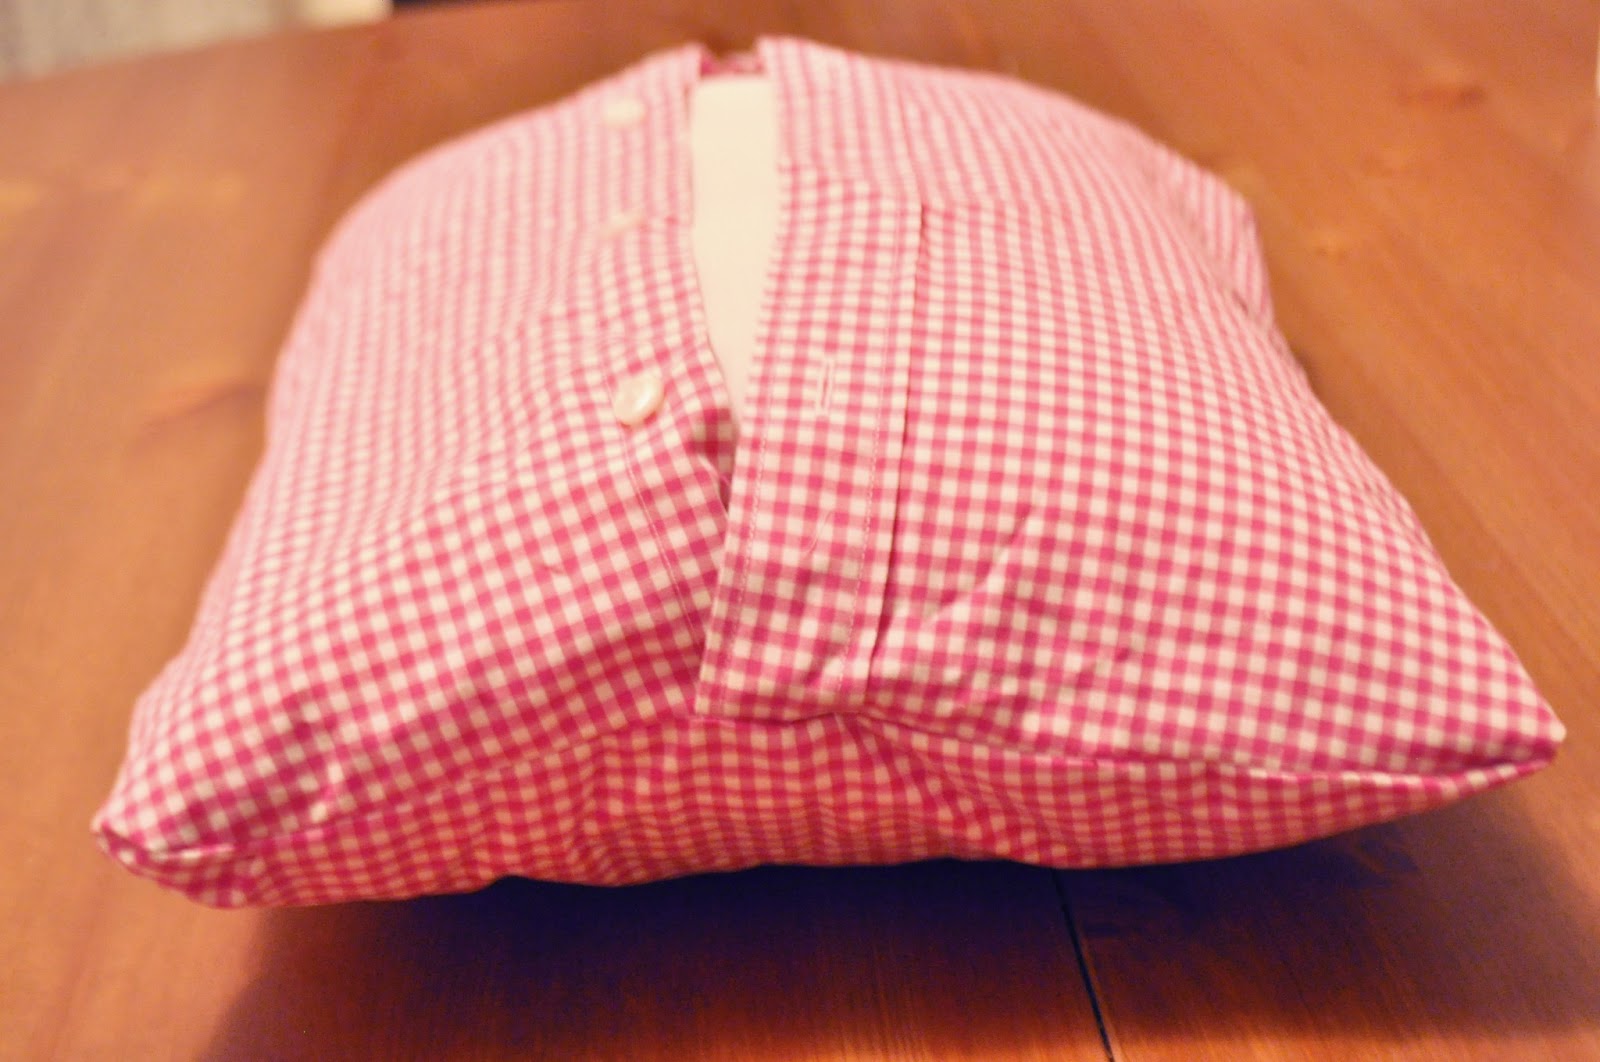
Also, I probably should’ve mentioned this earlier, but I also made a variation that includes the collar. It’s not as cute, but my thought was that as the duckling gets older, this would be more of a “play pillow”, encouraging him to button and unbutton, add a bow tie or even pop the collar as he sees fit. Here’s a picture for reference if you’re interested in making a similar one.
60K+Save
9. Back to our collarless pillows – now that you’ve done all four sides, trim any excess fabric.
60K+Save
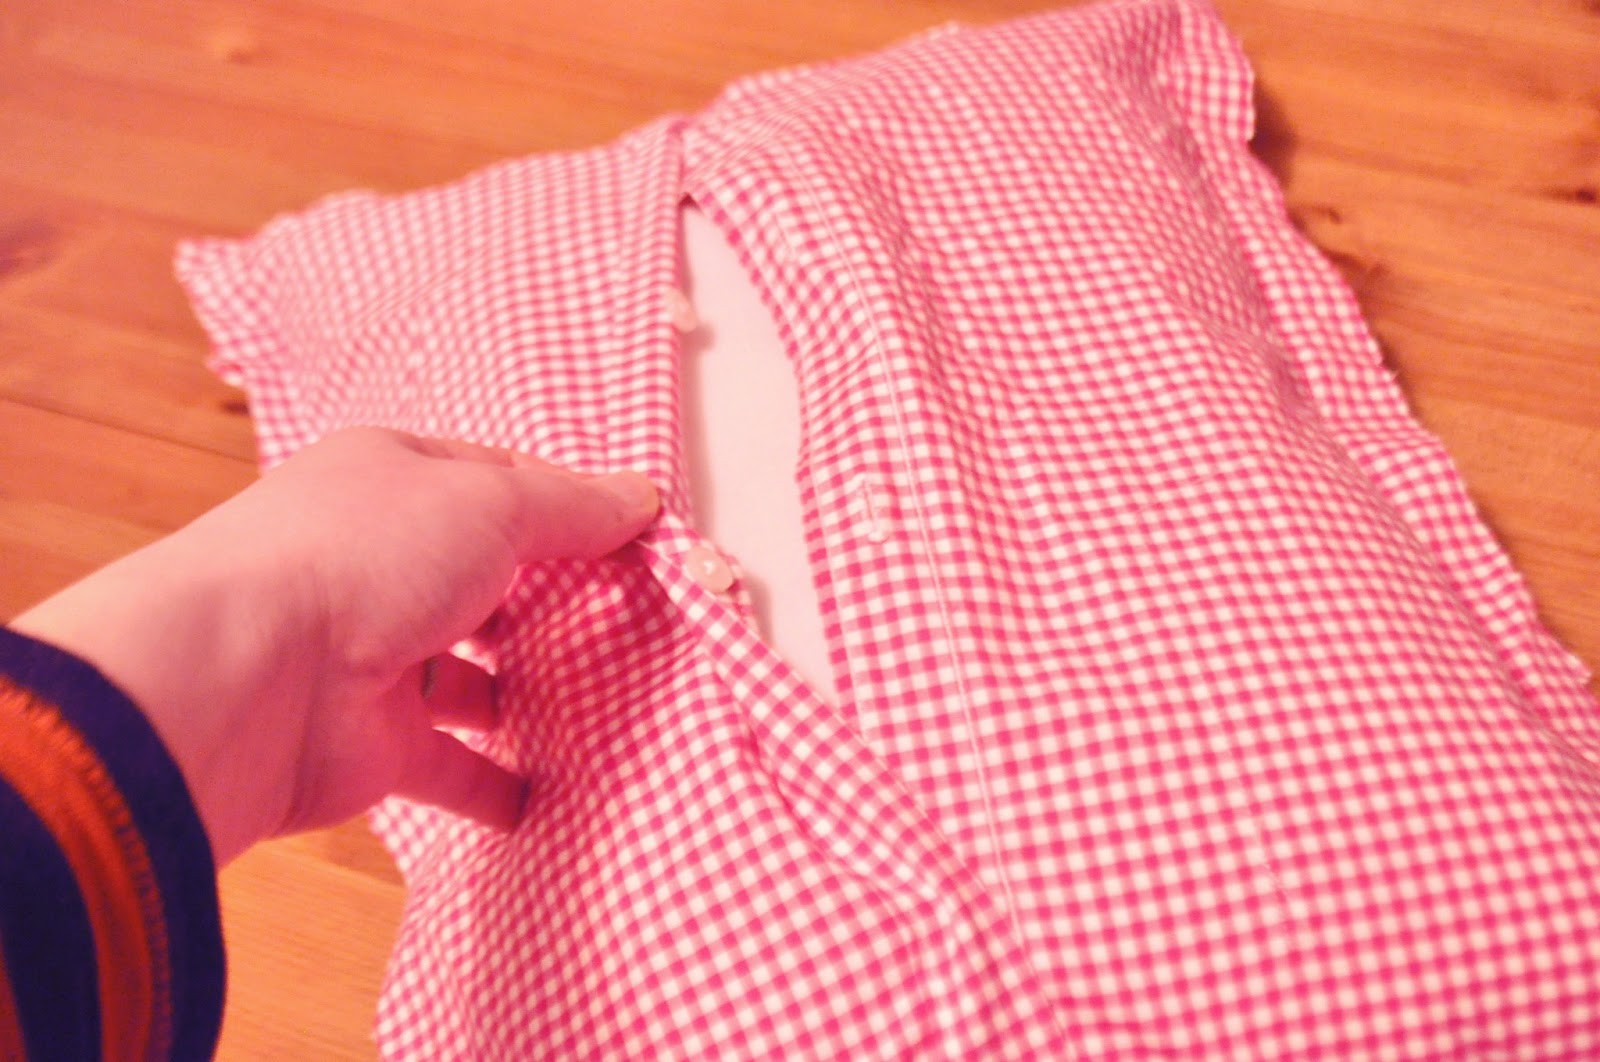
10. Unbutton your shirt. The one on the table, that is.
60K+Save
11. Remove the pillow insert and turn your shirt right-side out.
60K+Save
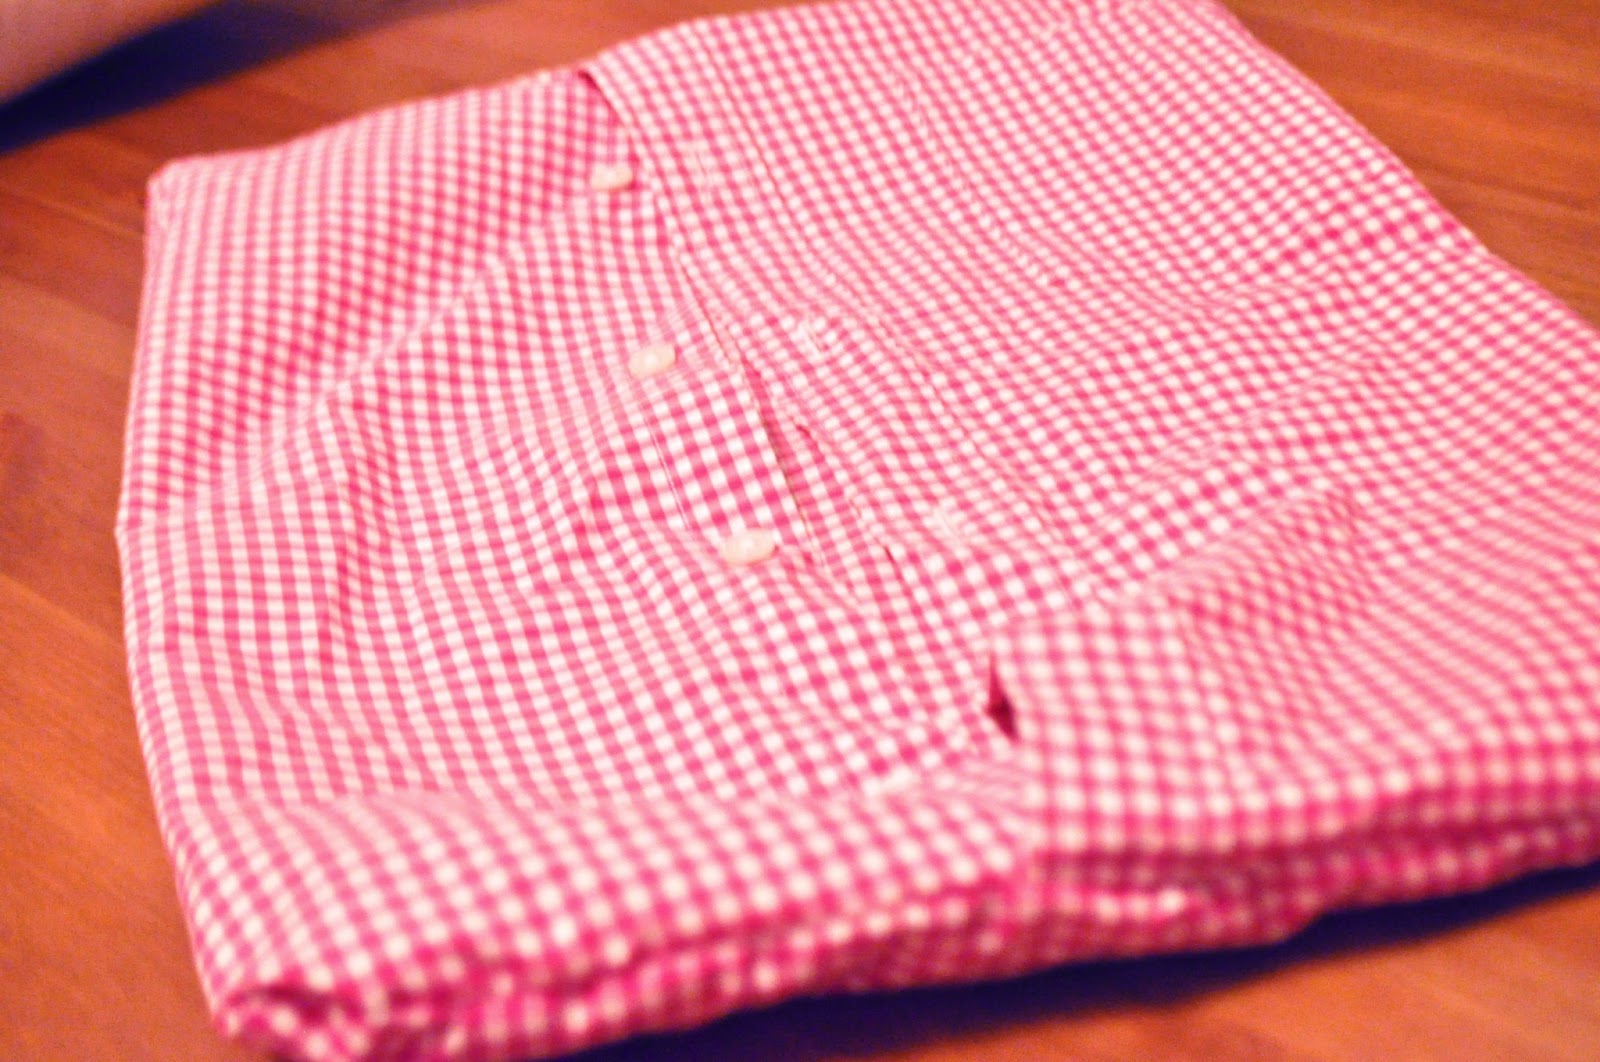
12. Put the shirt back on the pillow and button.
60K+Save
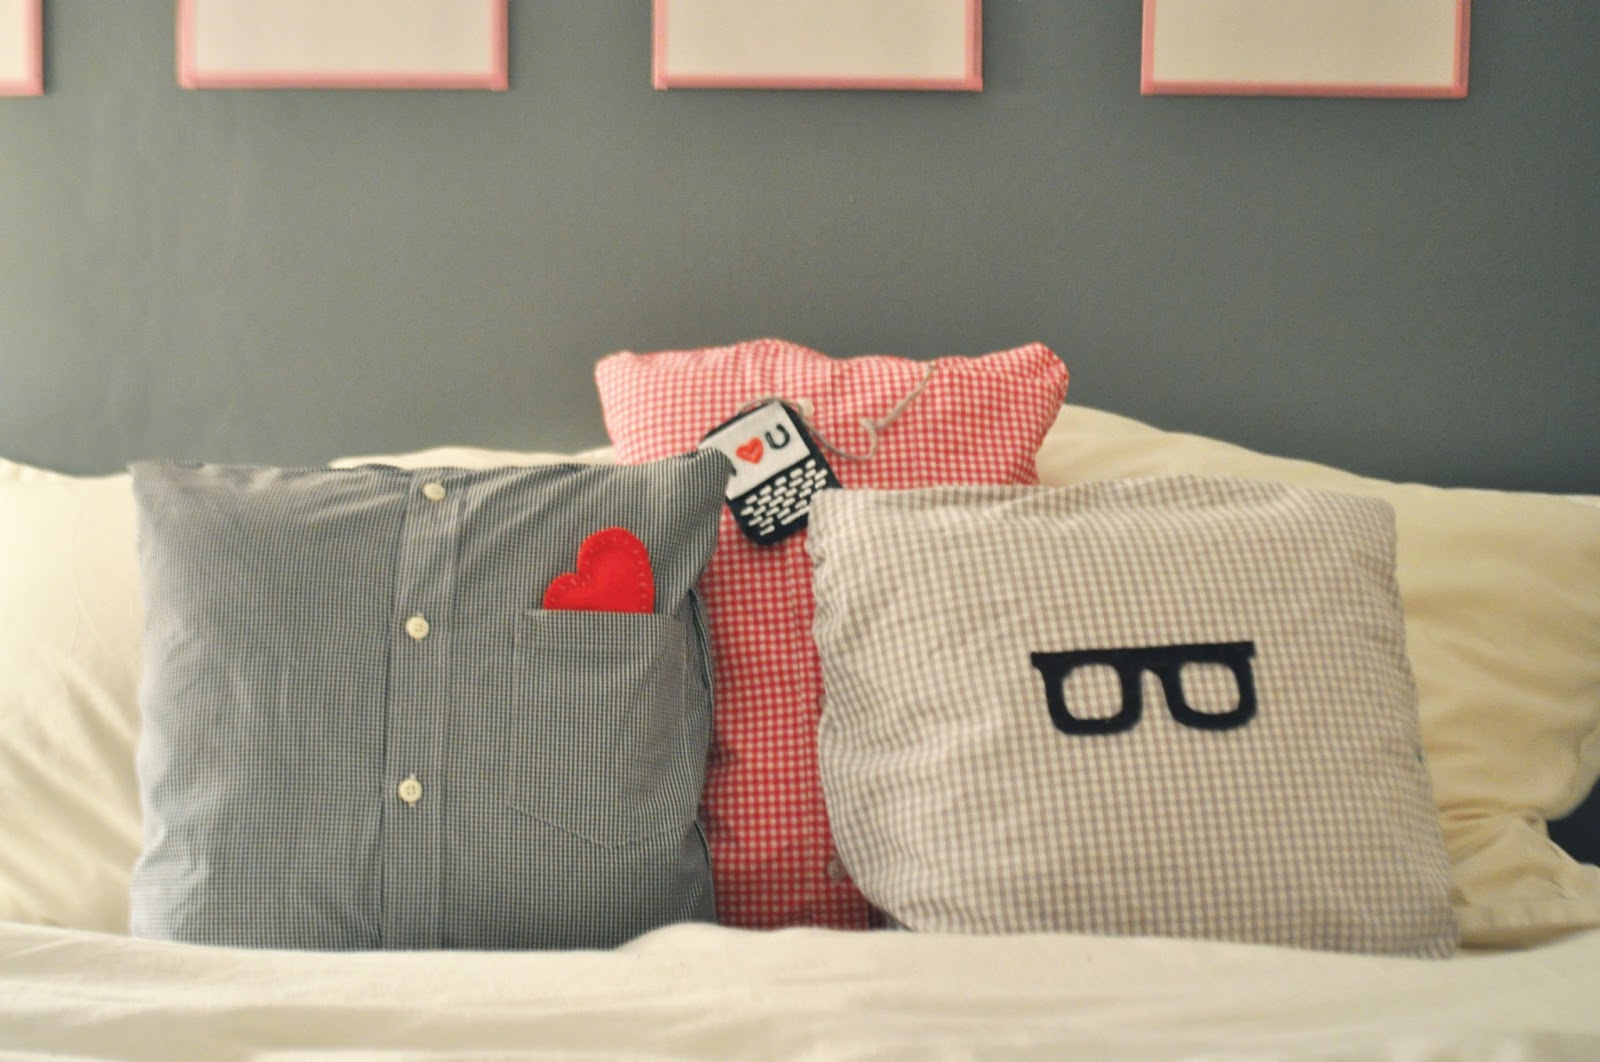
You’re done (unless you’re adding felt pocket accessories like mine, in which case the instructions and a few more pictures are below) !
Here are a hefty bunch of pictures of the finished project.


