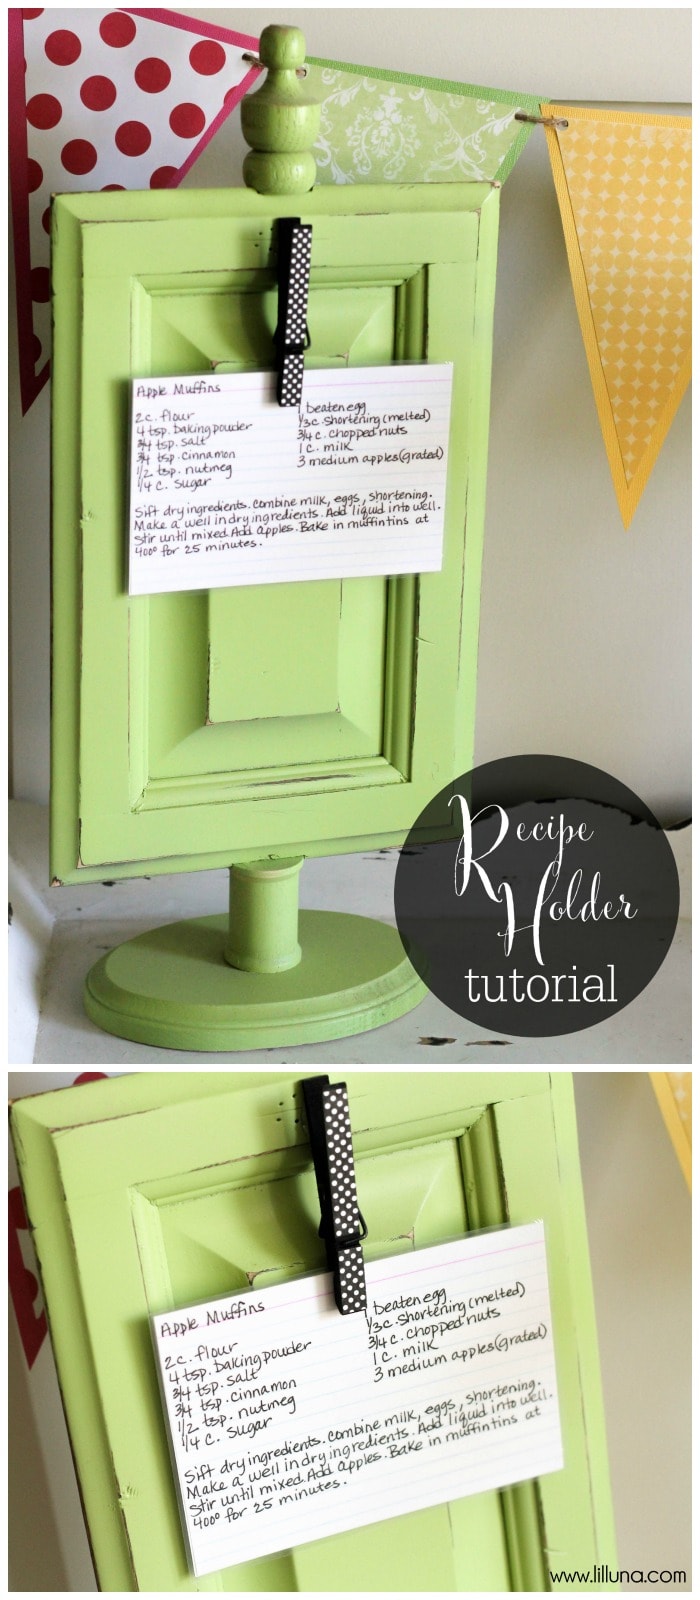
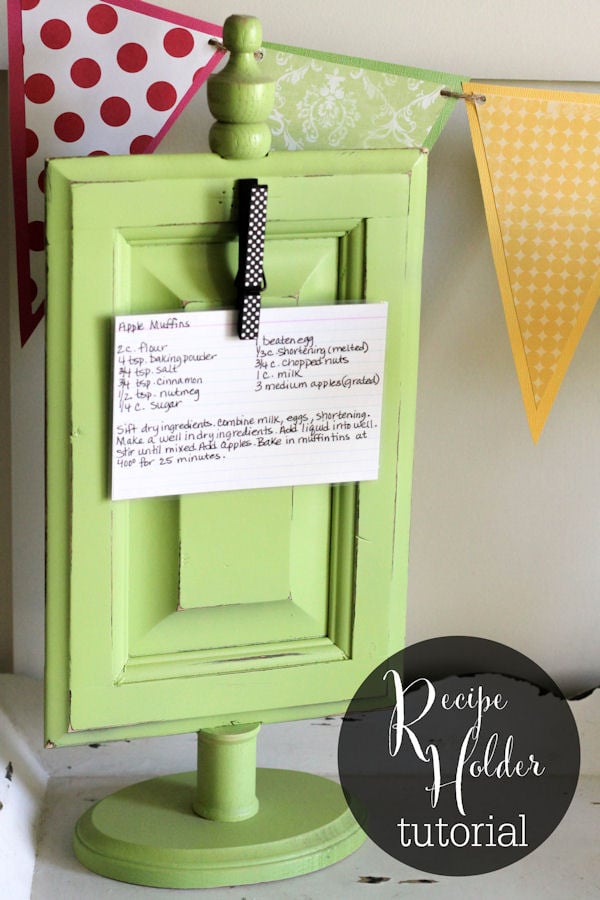
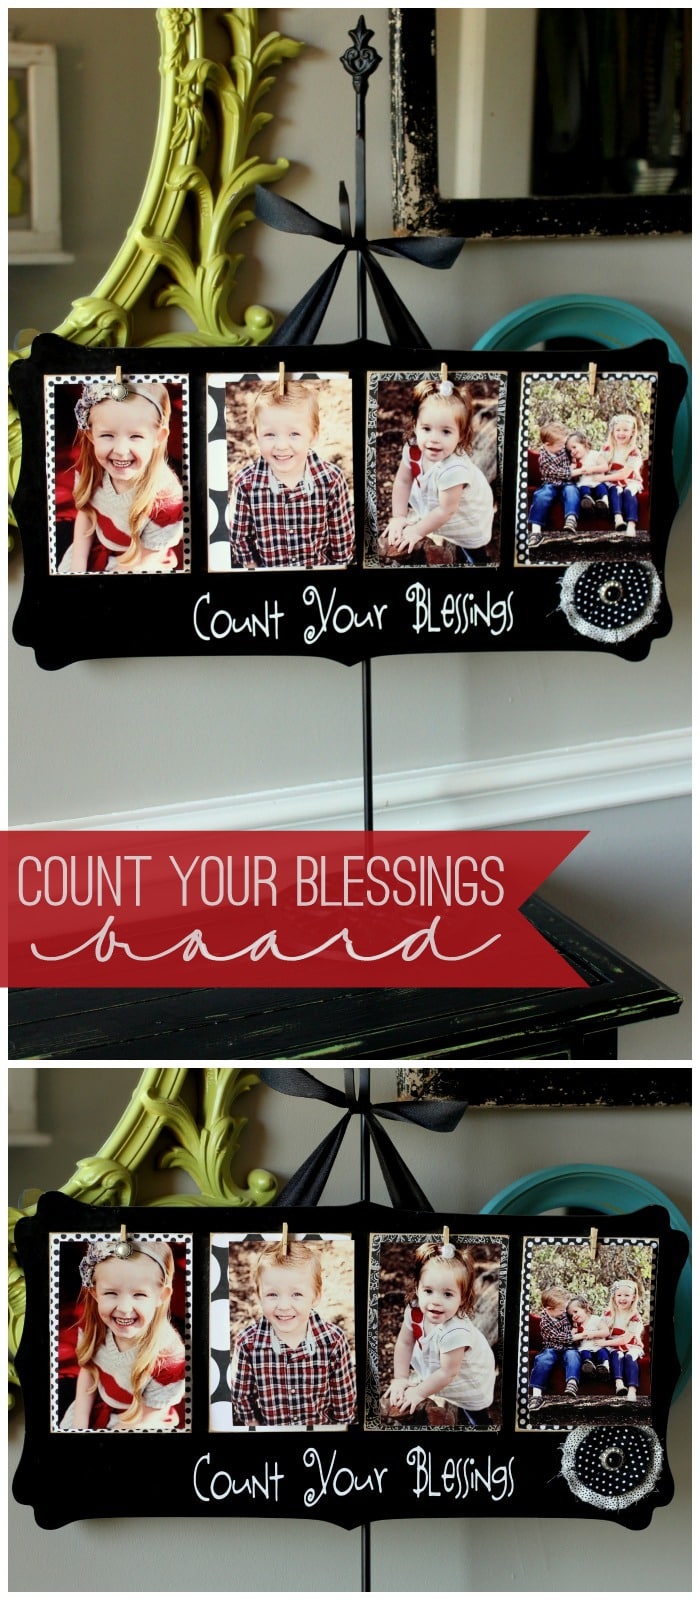
– Main wood piece {I used a cabinet door front} – Finial {top wood piece} – Spool – Oval Wood Piece for base – Drill – Wood Glue – Spray Paint – Sand Paper {to distress} – Clothes pin
MY LATEST VIDEOS
DIRECTIONS:
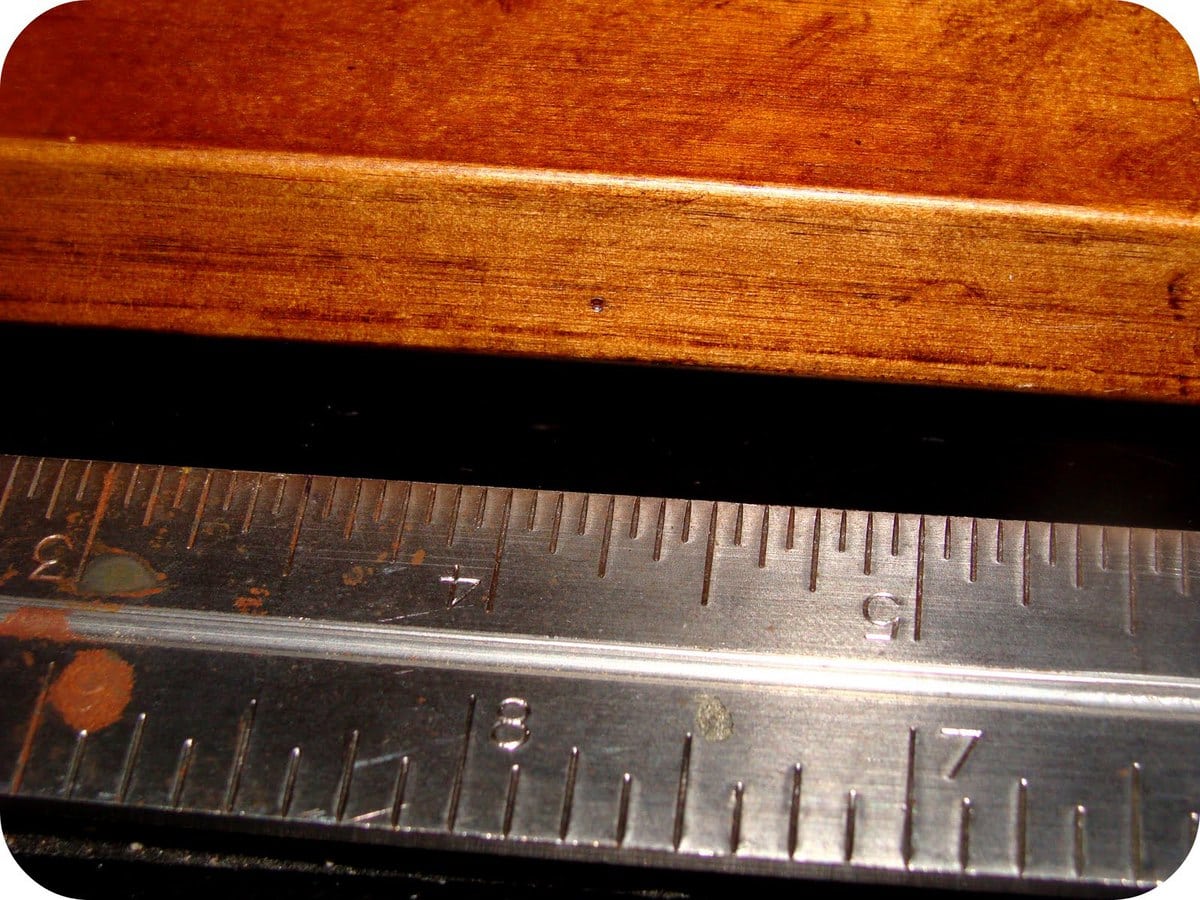
1. Mark the center of your main wood piece on the top and the bottom based off of the width of the board and the thickness of the board.
2. Drill a hole slightly larger than the screw on the finial. *If you want to make the holder sturdier and with smoother transitions, you can flatten the connecting parts on the frame using a forstner bit.
3. Drill a 3/8 in. hole in the bottom of the main wood piece/frame.
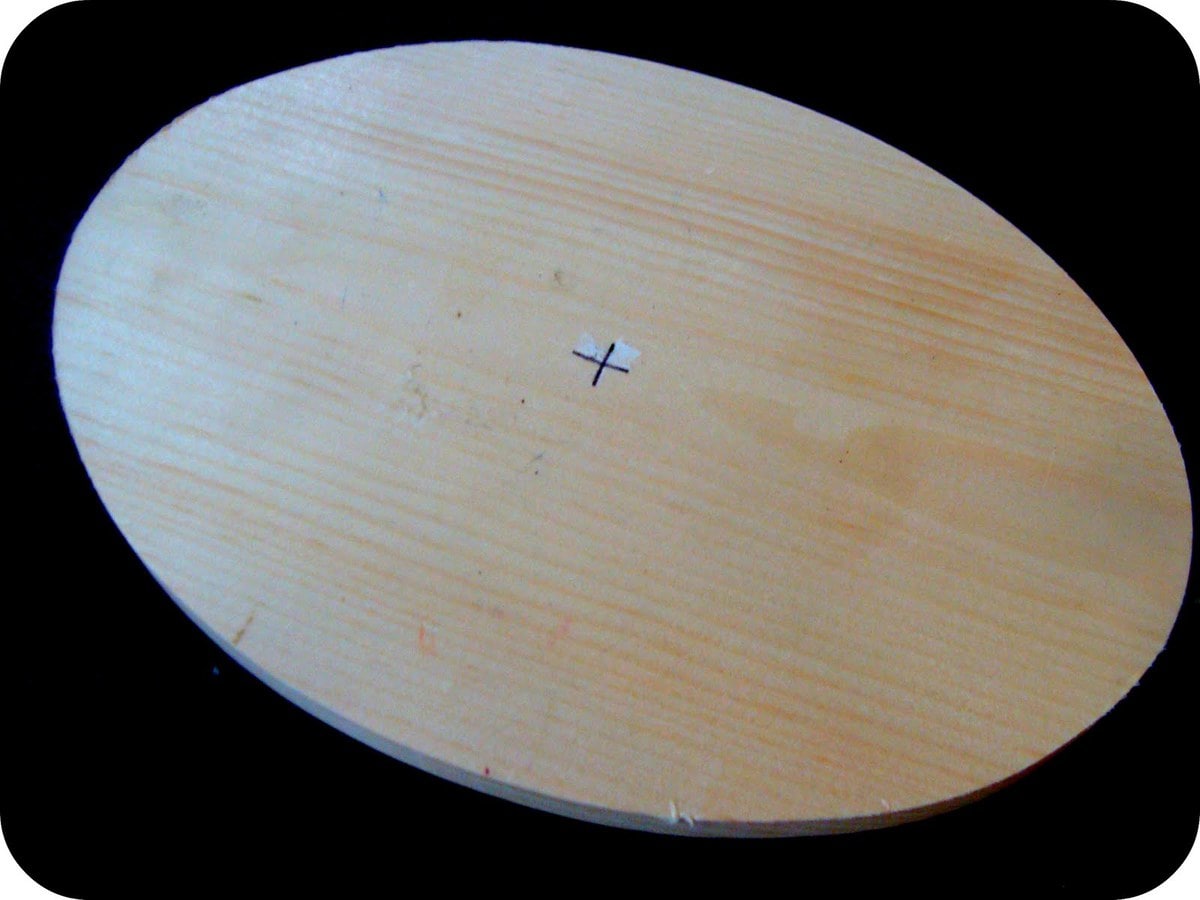
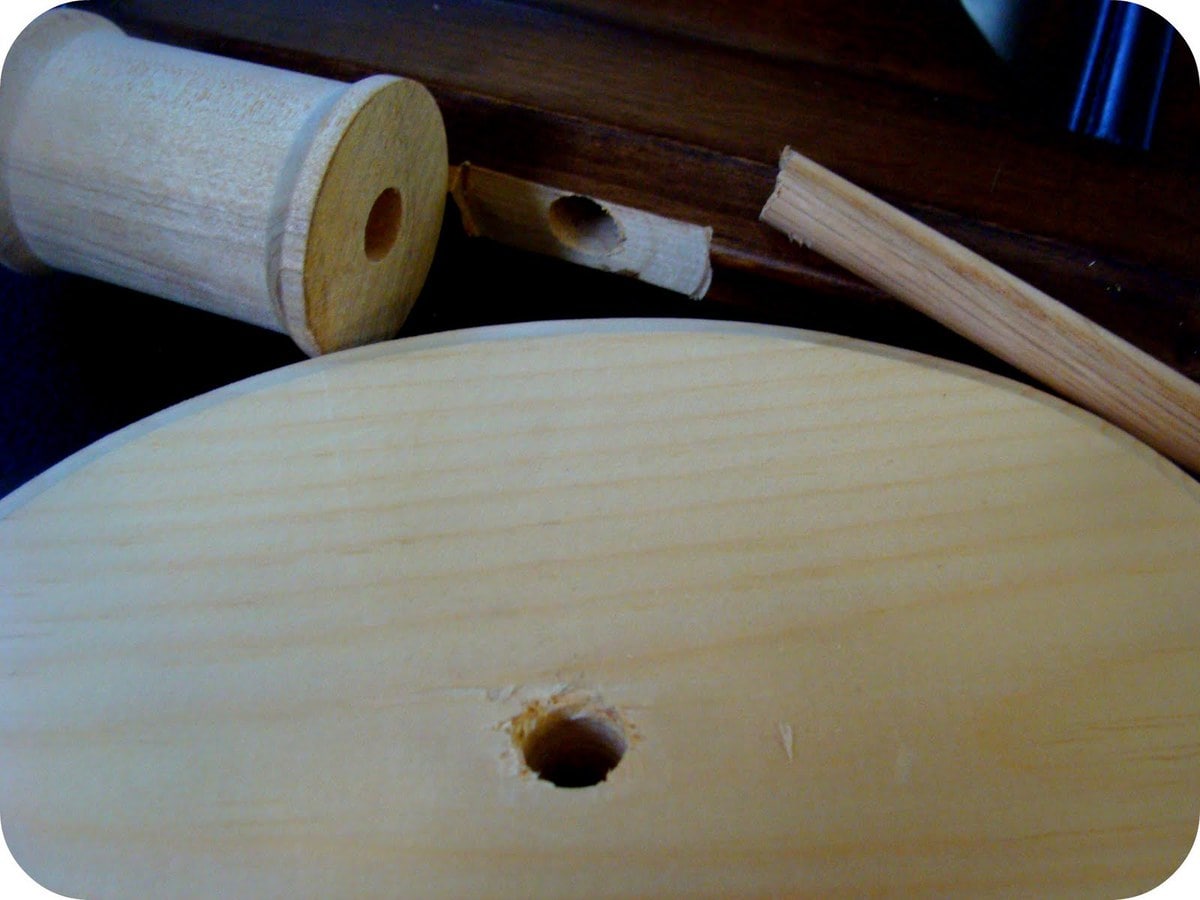
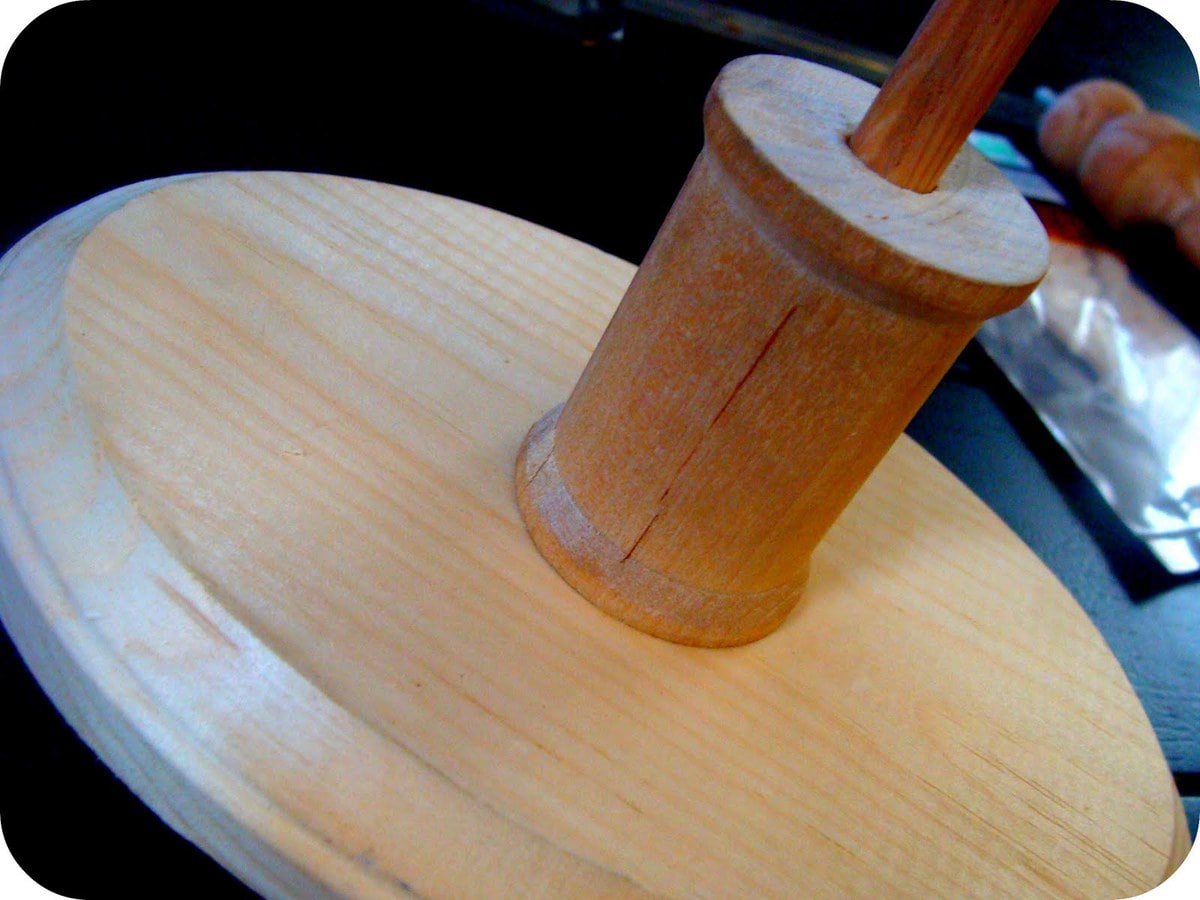
4. Drill a 3/8 in. hole through the center of the base and cut a 3/8 in. dowel to the needed length.
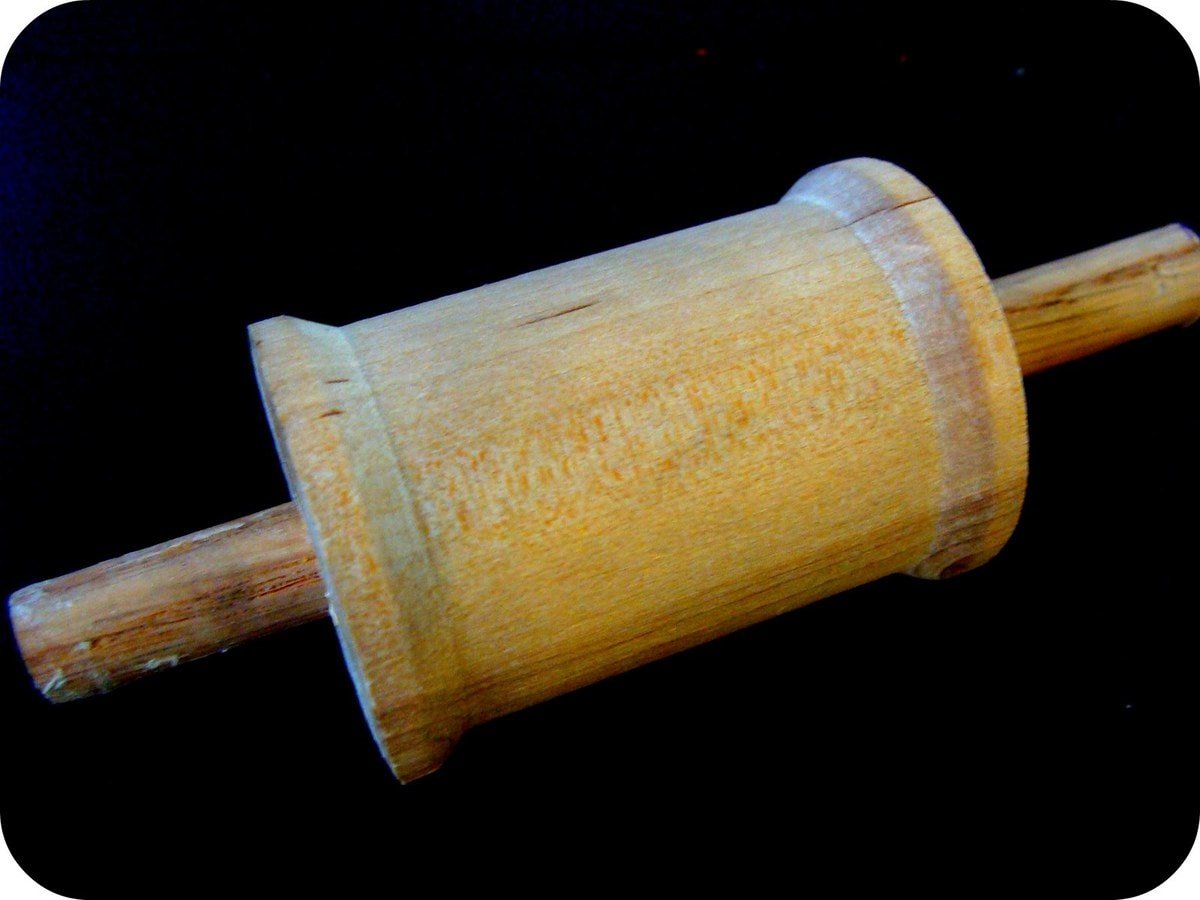
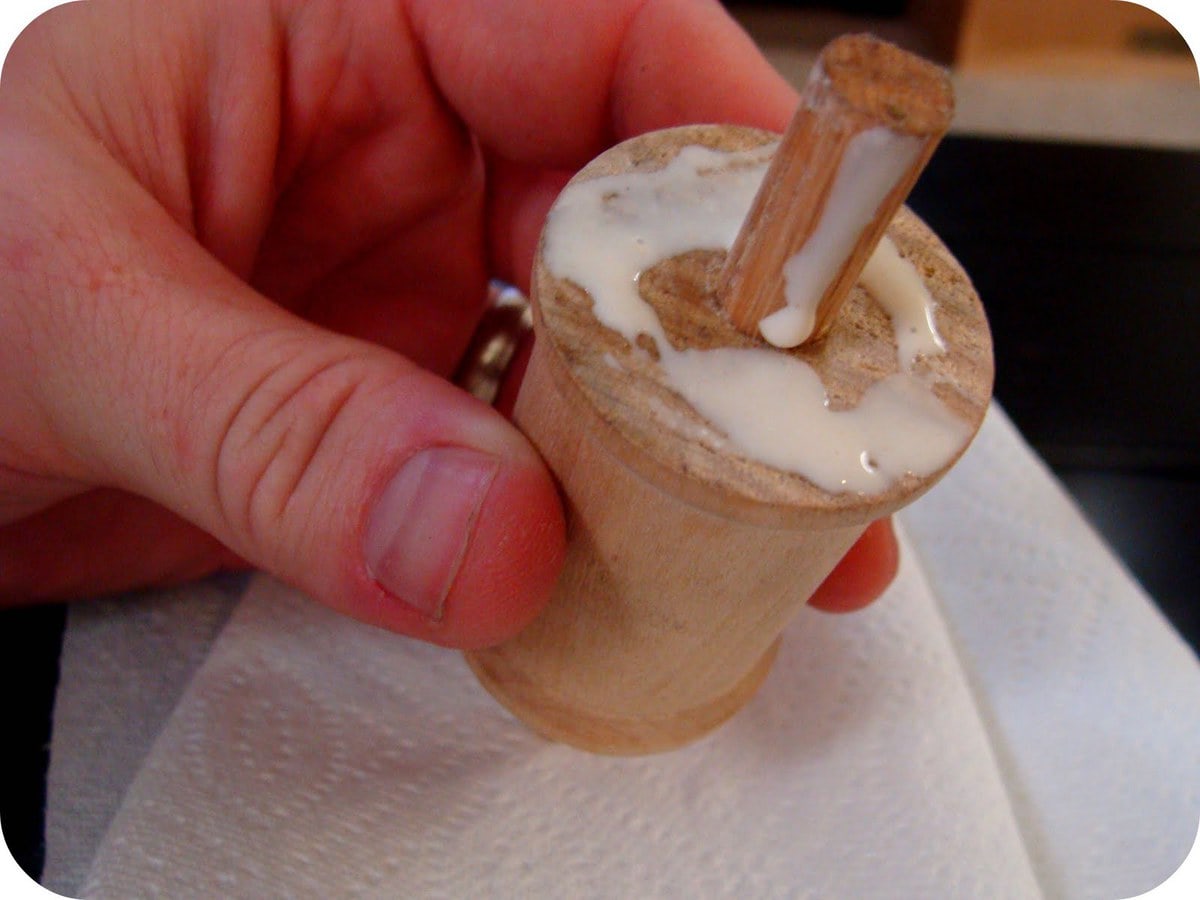
5. Apply glue to the spool and base and in the hole of the spool and base. Push the dowel through and let dry.
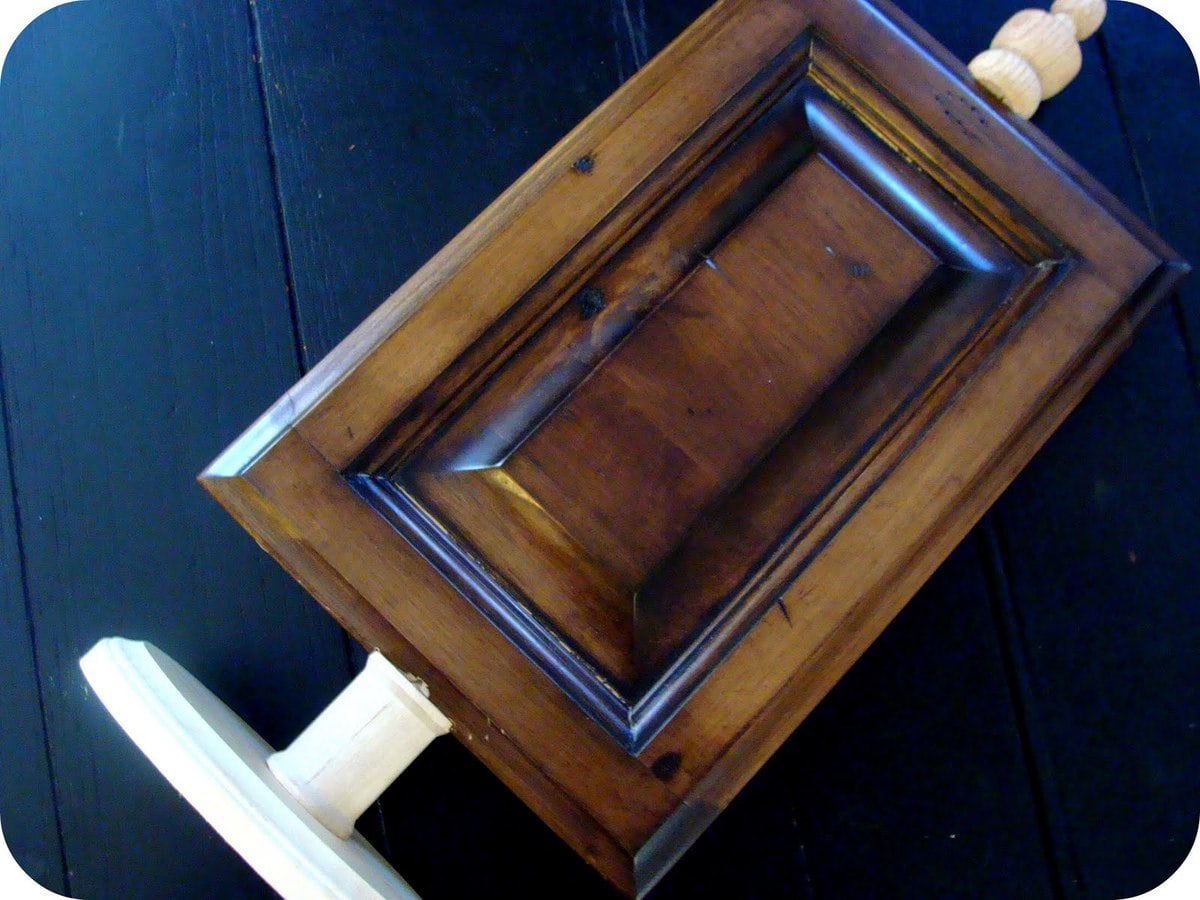
6. Apply glue to the hole in the bottom of the frame and push the remainder of the dowel through. Also screw in the finial on top.
7. Spray paint and let dry. Polyurethane for a nice finish.
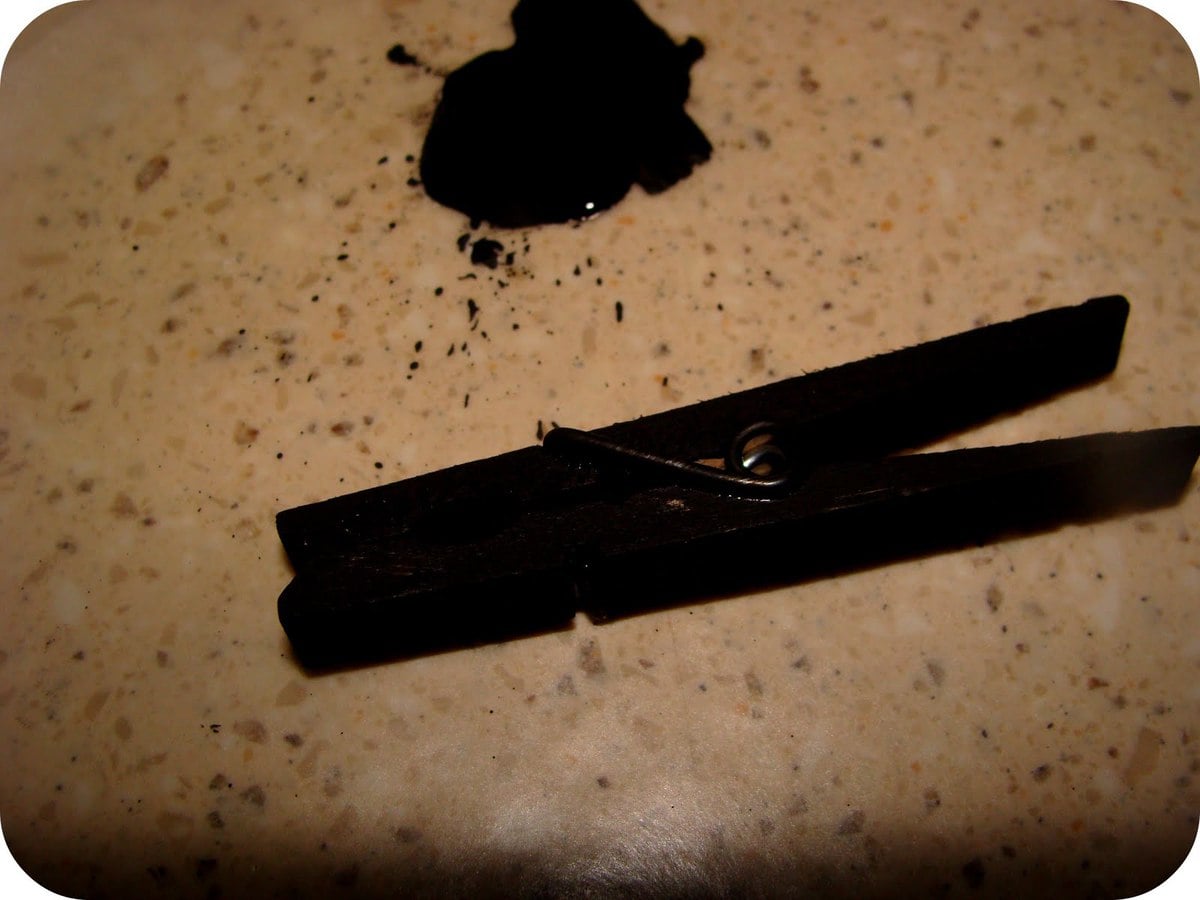
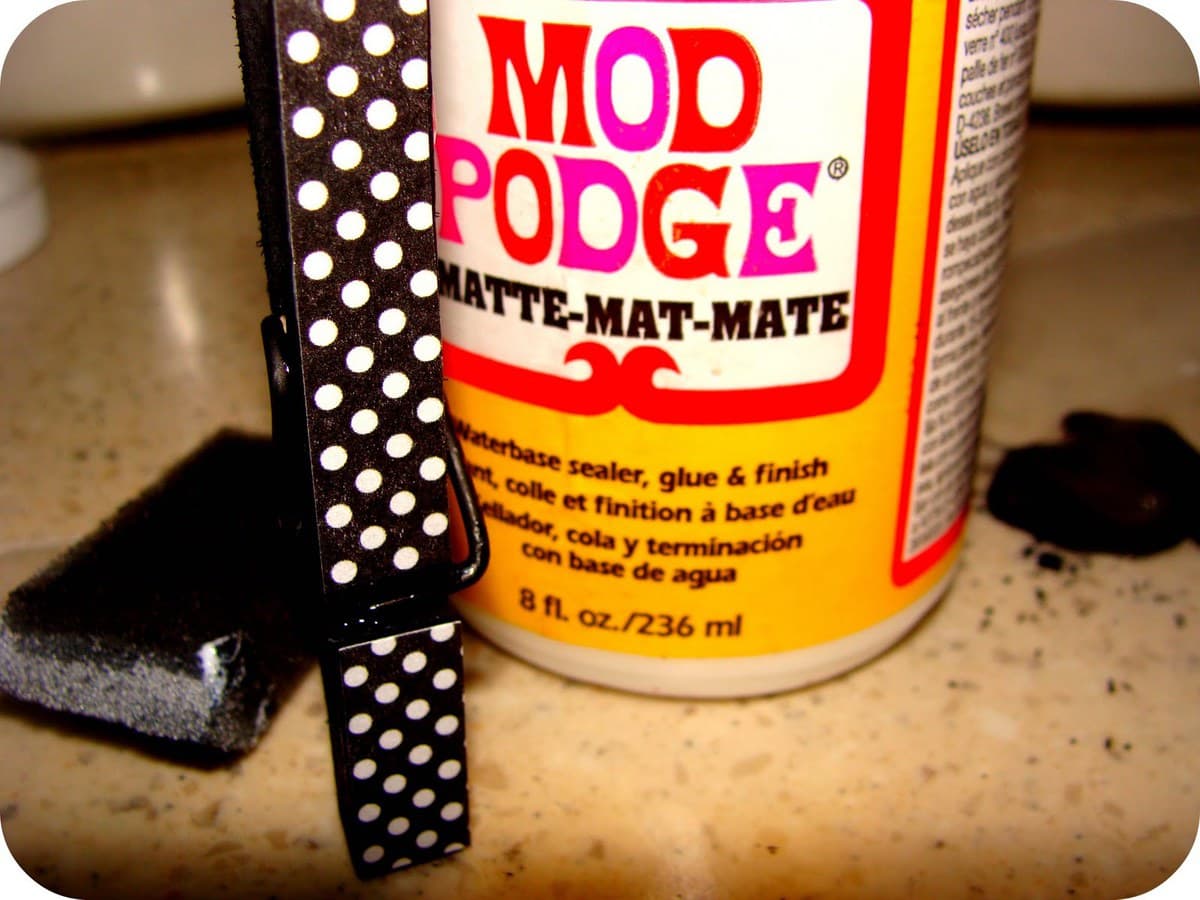
8. Paint clothes pin and let dry. Mod Podge scrapbook paper on if desire. Hot glue to board.
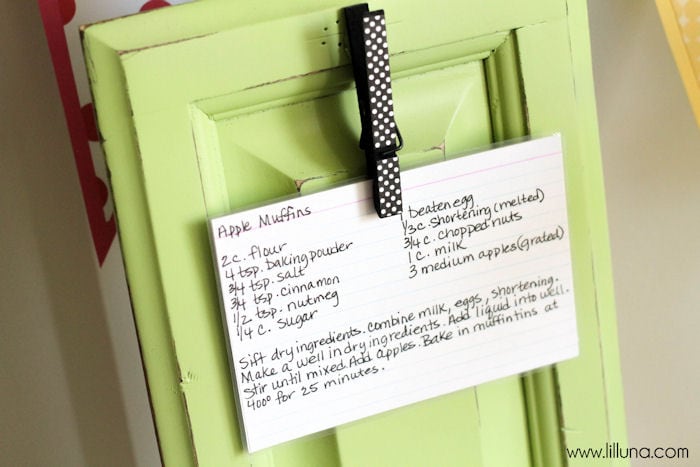
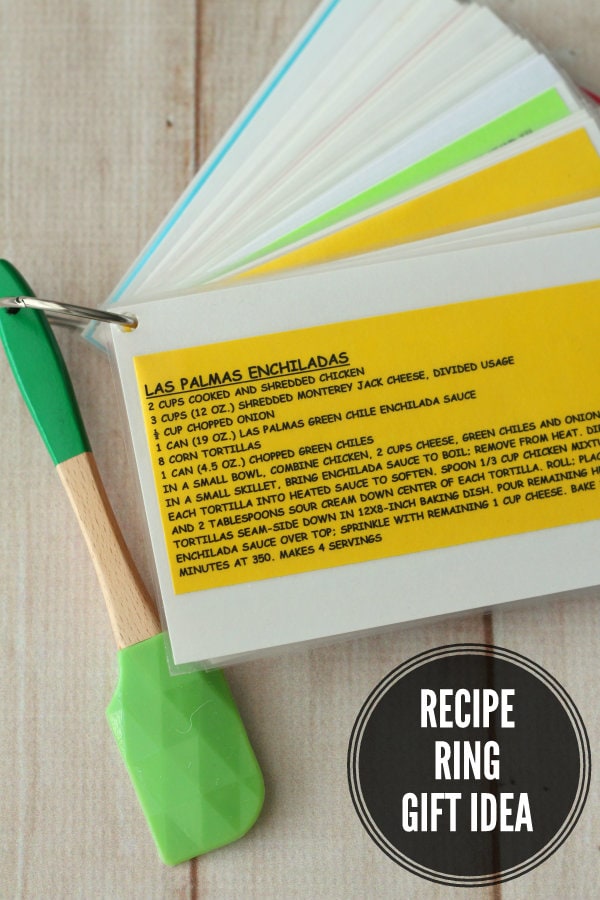
Now you can use this baby to hang recipes, pictures or anything else you want.
For more simple and great gift ideas, be sure to check out:
Long strips of fabric – anything will work: I used knits, both cotton and acrylic. The pink neon was dirt cheap yardage in a bargain bin and the grey strips are Zpagetti yarn. You can use fabric scraps, old T-shirts or thrift sheets and tablecloths.
Cord – the neon orange is ‘Brickie’s Line’ from the hardware store ($5 for 100 metres) – or you can use more fabric or yarn like I did on the pink bowls. This is what you’ll need the most of. I used about 8 – 10 metres ( roughly 8.5 – 11 yards) for the grey bowl and it’s about 14cm (5.5 inches) wide x 8cm (3.5 inches) tall. The quantity in the photo below isn’t a true indication!
A large yarn needle with a big eye.
Scissors.
If you are cutting up fabric (T shirts, sheets, fabric yardage, etc) the thicker you cut it the chunkier and quicker your bowl will be. A good size for small bowls is roughly 3.5cm (1.5 inches) wide. The diagram below illustrates how to cut a piece of fabric into a continuous strip. When you’ve cut the fabric into stretch it in small sections at a time and the fabric will curl into a nice round tube of ‘yarn’.
The instructional photos are for the grey bowl with neon orange stitching, so I’ll refer to those colours from now on. Let’s begin…
Cut a length of orange cord as long as you can manage it without it getting tangled, and thread the needle with it. Mine was about 2 metres (just under 2 yards).
I used three pieces of grey fabric yarn together to get a good thickness. I cut it to roughly 1.4 metres (4.5 ft) long. If you are using one thickness of your yarn there is no need to cut it, it can remain on the ball/spool. The length of your yarn will depend on whether you want to change colours. It’s all fairly free form though – you can’t make mistakes!
Overlap the ends of the orange cord and the grey yarn. Wrap the cord around the yarn 4 or 5 times.
Fold the end of the grey yarn over to form a loop. Keep the hole in the center as small as you can – it should be just big enough to fit the needle through as it will get bigger as you stitch around the yarn. Wrap the cord around the base of the yarn loop, leaving a short tail sticking out, and tie a knot. (as in the left hand image below). Hold the yarn as shown with the short tail on top and the long piece of yarn on the bottom. Take the needle around to the back of the loop and pass it through the hole towards you (right hand image).
Don’t pull the cord tight – leave a loop at the top (as in the image below). Then pass the needle through the loop. Just like blanket stitch.
Repeat this stitch all the way around the loop. Needle into the hole from the back to the front. Leave a loop and insert the needle through it. Pull the stitch closed. The stitch needs to be firm but not tight. Keep your stitches close together and work your way around (as in the right hand image below).
Fold over the starting tail of the orange cord and the short tail of the grey yarn with the long grey yarn on top (left hand image below). Your next stitch will go through the top of your very first blanket stitch, instead of through the hole. Take the needle over to the back and bring it through the top of the first blanket stitch. Your next stitch will go through the top of the second blanket stitch. Scroll down to the next photo for a better look at where the needle passes through.
You’ve done a lot of stitches and will probably run out of cord soon. The photo below on the right shows how to add a new length of cord. Knot the two pieces together so the knot is on the outside of the coil.
Run the tails along the grey yarn and tuck them and the knot in as you continue to stitch (see image below left). As my coil grew I occasionally added an extra stitch when I thought they were getting too far apart. Remember not to pull the stitches too tight, or the base of the bowl won’t stay flat.
When you run out of yarn or want to change colours all you have to do is overlap the old and the new. As I was using three strands of yarn I cut each one a different length and inserted the new ones into the middle of them, so there wouldn’t be bulk all in one place.
As the fabric yarn tends to curl up I opened each piece up and inserted the new one into it. Then just continue on stitching.
When you’re happy with the size of the base you can start building up the sides. Make your stitches a little firmer while holding the yarn above the previous coil, instead of next to it. Continue like this until you have reached the desired height.
Finishing off. If you’re using more than one strand of yarn cut them at staggered lengths to lessen the bulk. Continue stitching around until you have just one strand left. Leave a tail of about 10 cm (4 inches) so you have enough to work with.
Weave the tail into one of the vertical stitches in the row below (on the inside of the bowl). Then weave in through a few more stitches in that row and cut the yarn off so the tail isn’t sticking out (image on the left below). To finish off the cord do one more stitch to complete the top edge of the bowl then tie a small knot and weave the cord down into the centre of the bowl. Cut the cord and tuck the end in.
And you’re done! I find this very addictive and I’ve made quite a few bowls and baskets of varying sizes now. It’s really quite easy once you get started. And it’s a great way to upcycle fabric.
If you’d like to link to this tutorial that would be lovely – I’m always happy and grateful for that and I’m all about sharing. But first please take a look at the FAQ page about using my content. Thanks!
We’ll show you how to color Easter eggs step-by-step using just a few inexpensive pantry staples. You should be able to make one dozen easy marbled Easter eggs in less than an hour.
Step 1: Create First Dye Color
In a glass bowl mix one cup of hot water, one teaspoon of white vinegar, and 5-10 drops of food coloring. The dye in this bowl will be the base color of your egg, so we recommend using a lighter shade of dye. Use a spoon to place a hard-boiled egg into each bowl, making sure the egg is completely submerged in the liquid. Let the egg sit in the dye for just one minute—this ensures you’ll have a shade light enough to show the marbleized pattern. Remove and place the colored egg on a paper towel to dry. The dyed Easter eggs will need to be completely dry before you dip them again.
Step 2: Prepare Oil Mixture
While the dyed eggs dry, prepare the oil mixture that will give your eggs a marbled look. Since the oil mixture adds a second color to the dyed egg, it will need to be quite a bit more saturated. In a new bowl mix approximately 20 drops of food coloring with one cup of warm water. Add one tablespoon of vegetable oil and use a spoon to gently mix.
Step 3: Create Marbled Easter Eggs
When the eggs are dry, use a spoon to add one colored egg to the vegetable oil mix. Gently roll the egg around in the dye bath and remove it when you notice a marbleized Easter egg effect. Keep in mind that if you leave the egg in the mixture too long, it will turn a solid color.
Step 4: Dry and Display
After removing the egg, lightly blot excess water and oil from the egg using a paper towel and let dry completely before displaying. For a touch of shine, rub the marble looking Easter eggs with oil. Try varying the color combinations and oil swirls to create a pretty display of dyed Easter eggs.
This pretty stained glass window is really crumpled cellophane sandwiched between two frames. And the “leading” is puff paint!
Materials 2 Wooden Picture Frames, 12”x12” Krylon Brown Hammered Finish Spray Paint Cellophane in Magenta, Green, Turquoise, Blue, Yellow, and Purple Mod Podge 1 fl.oz. 3D Fabric Paint, Charcoal Grey (Scribbles by IloveToCreate) 2 Eye Hooks, Gunmetal Clear silicone waterproof sealant Chain, Gunmetal Pliers
Steps 1. Paint one frame gun metal. Screw in hook eyes. Use pliers to open and close chain link to attach to hook eyes.
2. Print the pattern so it fits the glass in your frame. Lay one piece of glass on top of pattern. Cut cellophane pieces to fit pattern. Glue onto glass with ModPodge.
3. Lay second piece of glass on pattern. Trace black lines with 3D Fabric Paint. Let dry for 24 hours.
4. Apply a bead of clear silicone inside the frame then insert the painted glass (paint-side facing front) into frame. Insert cellophane glass cellophane-side facing front behind first piece of glass. Apply a bead of clear silicone all the way around the frame at the edge of the glass. Let cure 24 hours. (Optional: when silicone is cured, cover silicone with a line of 3D paint and let dry.) Hang in a window.
Pattern (Print so pattern fits glass in frame)
Tips: Clean both sides of glass with glass cleaner before you start and spot clean any finger prints before you finish framing.
Follow these easy instructions to learn how to make shaving cream Easter eggs. You should be able to color Easter eggs with shaving cream in under an hour.
BRIE PASSANO
Step 1: Prepare Eggs
Start this easy Easter craft by preparing a batch of hard-boiled eggs. When the eggs have cooled, place them in a large bowl of vinegar. Let the eggs soak for 20 minutes; this will allow the dye to adhere more permanently to the shells. Fill a shallow glass baking dish (like this Pyrex Oblong Glass Baking Dish, $10.99) with a thick layer of shaving cream; we used a plain drugstore shaving cream. Spray the shaving cream so that it covers the bottom of a pan with a layer that is about an inch thick.
Editor’s Tip: To make whipped cream dyed eggs, simply spread a layer of non-dairy whipped topping in the bottom of your pan about an inch thick. Follow the rest of the instructions to make dyed eggs with shaving cream or whipped cream eggs.
BRIE PASSANO
Step 2: Add Color to Shaving Cream
Generously place drops of food coloring on top of the shaving cream; we used a two-color combination for each set of eggs. You can use one color combination for the whole pan or divide the pan of shaving cream into halves or quarters to create more color combinations. When most of the surface is covered with food coloring, drag a bamboo skewer across the top of the shaving cream to swirl and marble the colors.
BRIE PASSANO
Step 3: Roll Eggs
When the colored shaving cream is ready, put on a pair of gloves to protect your hands from the dye. Pick up a hard-boiled egg and set it gently on the surface of the shaving cream. Slowly roll the egg over the surface, so that the colored shaving cream completely coats the egg’s shell. Place the egg on a paper towel and let dry for 20 minutes—don’t wipe off any of the shaving cream until the egg has completely dried. Repeat this process with as many hard-boiled eggs as you’d like to color, reusing the colored shaving cream mixture.
BRIE PASSANO
Step 4: Clean and Display
To clean the dried shaving cream egg, carefully dip each egg into a bowl of water. The water will remove the excess shaving cream while leaving the colored design on the egg’s shell. Pat each egg dry with a paper towel but be careful not to rub or wipe the surface of the egg, as this might smear or remove the dye from the shell. When each egg has been cleaned and dried, add the eggs to a colorful display. To add sheen to the finished shaving cream Easter eggs, rub them with a little vegetable oil. Eggs decorated with shaving cream are not edible, but whipped cream dyed eggs are safe to eat as long as they are stored in the refrigerator.