
Ingredients for~ Sugar Scrub
- 3/4 cups fractionated coconut oil
- 1/4 cup sweet almond oil
- 1/2 cup powdered strawberries (about 1½ cups freeze-dried strawberries, ground)
- 2 cups granulated sugar
- 4 tsp strawberry extract, optional
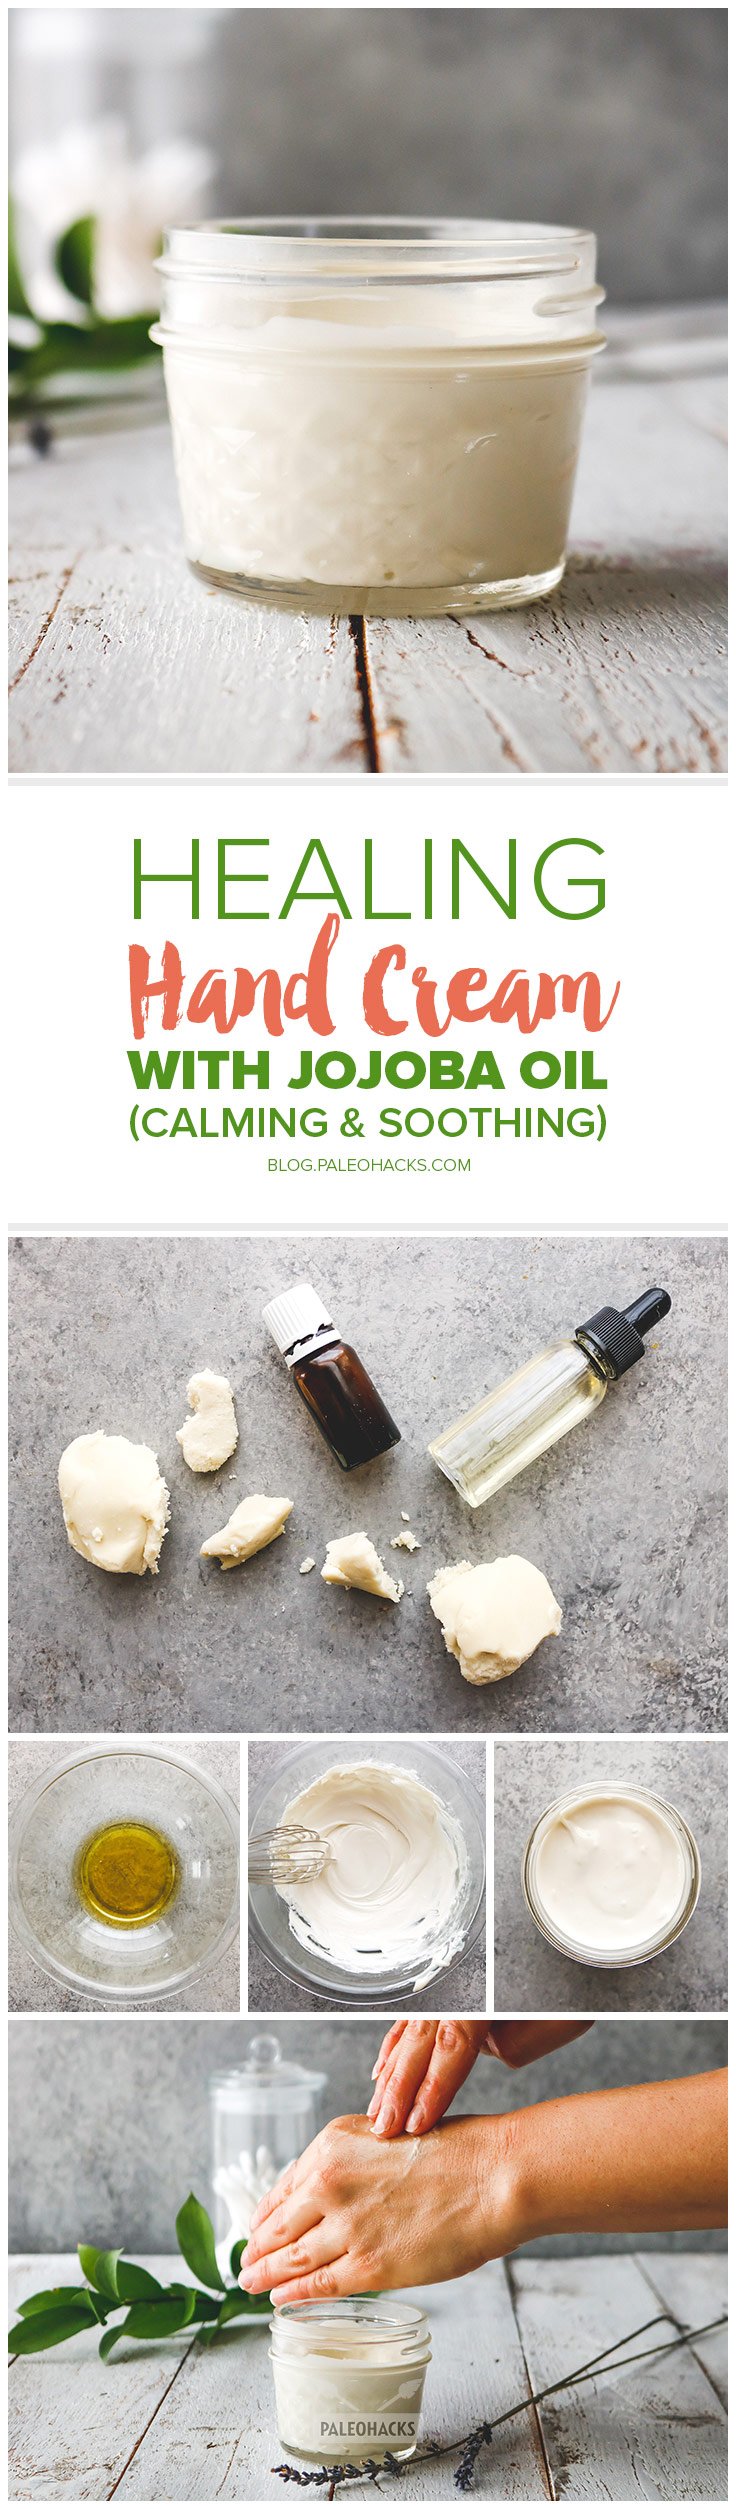
Instructions
- Pour the fractionated coconut oil into a bowl, add the sweet almond oil and mix.
- Grind enough freeze dried strawberries until you have about ½ cup of powder.
- In a separate bowl, Whisk and then sift together the granulated sugar and powdered strawberries.
- Gently stir half of the sugar mixture into the coconut oil mixture. Then, stir in the second half of the mixture.
- Optional: mix in strawberry extract for added scent.
- Note: If using in the shower or bathtub, be careful because bath products containing oil can make it slippery.

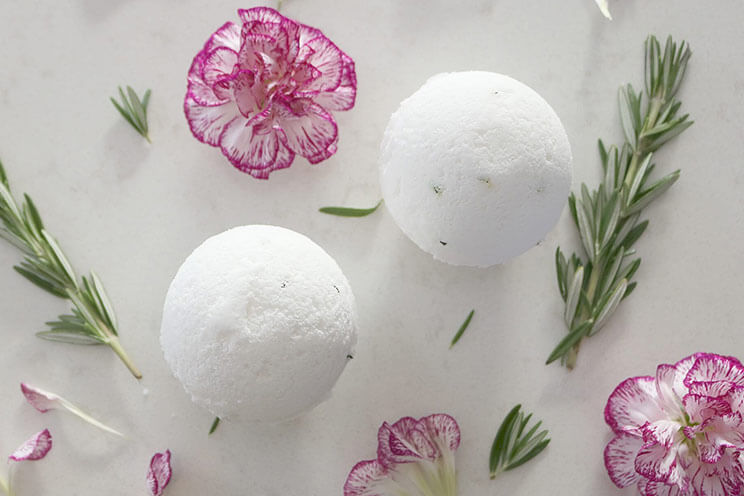
Pamper Yourself After all your hard work cleaning for your holiday parties, it’s time to treat yourself to a relaxing bath to unwind. Add ½ cup of ARM & HAMMER™ Baking Soda to your bath for a refreshing soak. Your skin will feel silky smooth.
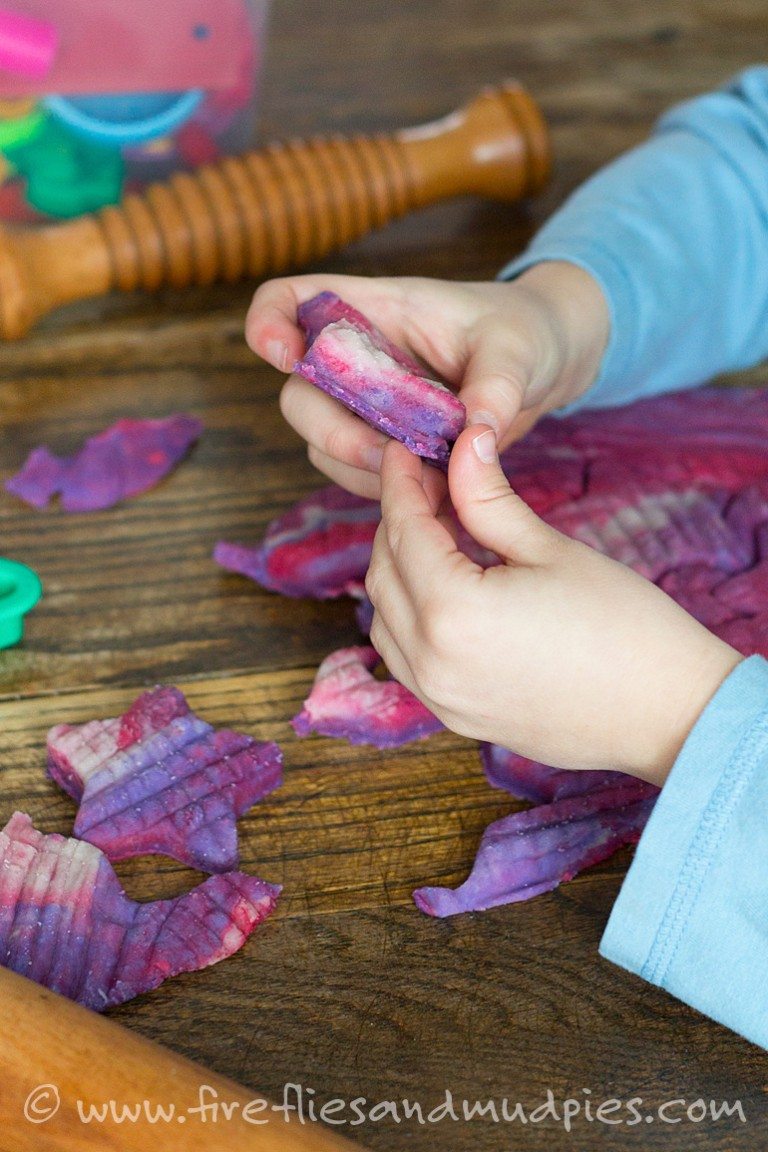
Give Yourself a Natural Glow: Facial Scrub and Body Exfoliant For smooth, radiant skin, give yourself a gentle facial and body scrub with ARM & HAMMER™ Baking Soda. Make a paste of 3 parts ARM & HAMMER™ Baking Soda to 1 part water. Consider enhancing the treatment by including 1 part ground oatmeal. Rub in a gentle circular motion to exfoliate skin and remove dead skin cells. (Be careful to avoid eye area.) Rinse clean with warm water. Leaves skin feeling nourished and refreshed. Gentle enough for daily use!
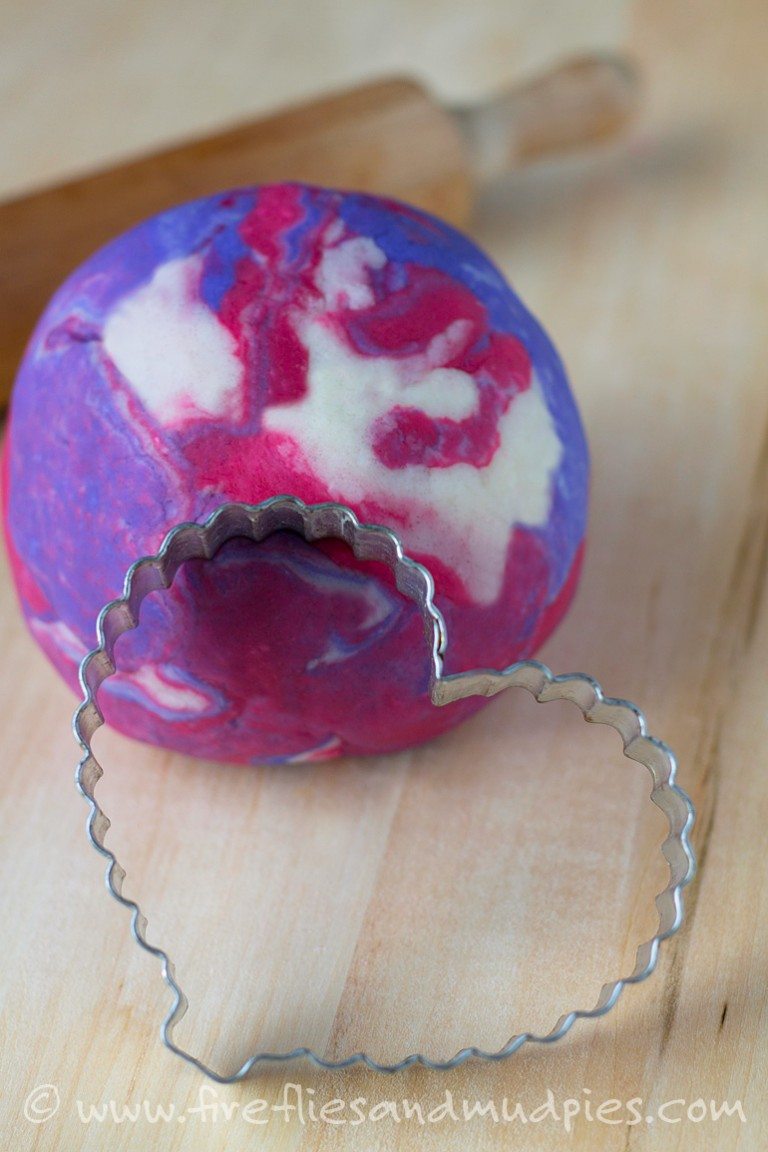
Relax Your Tired Feet: Exfoliating PedicureBlend 2 tablespoons of ARM & HAMMER™ Baking Soda in a basin of warm water. After a nice soak, make a scrub using 3 parts ARM & HAMMER™ Baking Soda and 1 part water. Follow with an application of a rich moisturizer and a warm towel foot wrap. Let sit for 5-10 minutes. Feet will feel smooth and clean.