I recently had a customer ask me if I could make a shamrock to go on her daughters skirt instead of the usual flower. My answer was, “Sure, I don’t know how I’ll do it, but it will be fun to figure it out!” And sure enough…. it was fun figuring it out. Now that it’s “figured out”, I might as well share and let you have some fun with it too.

You will need:
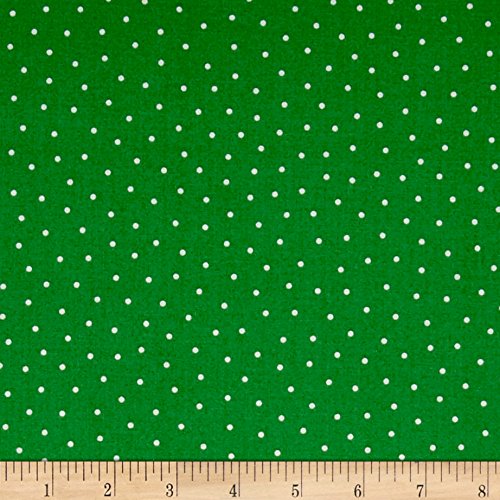
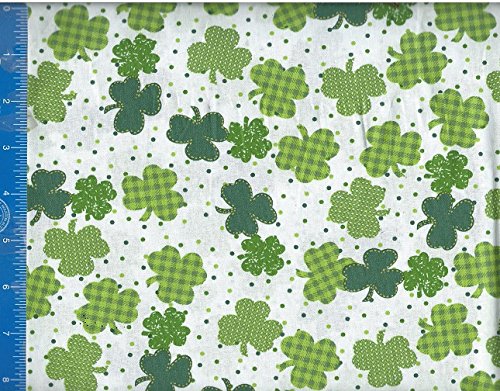
green fabric
thread and needle
Clover yoyo maker is optional
(Clover is the brand, not the shape. They do have a shamrock shaped yoyo maker but I thought it looked more like a flower than a shamrock. I think the heart shaped one works better.)
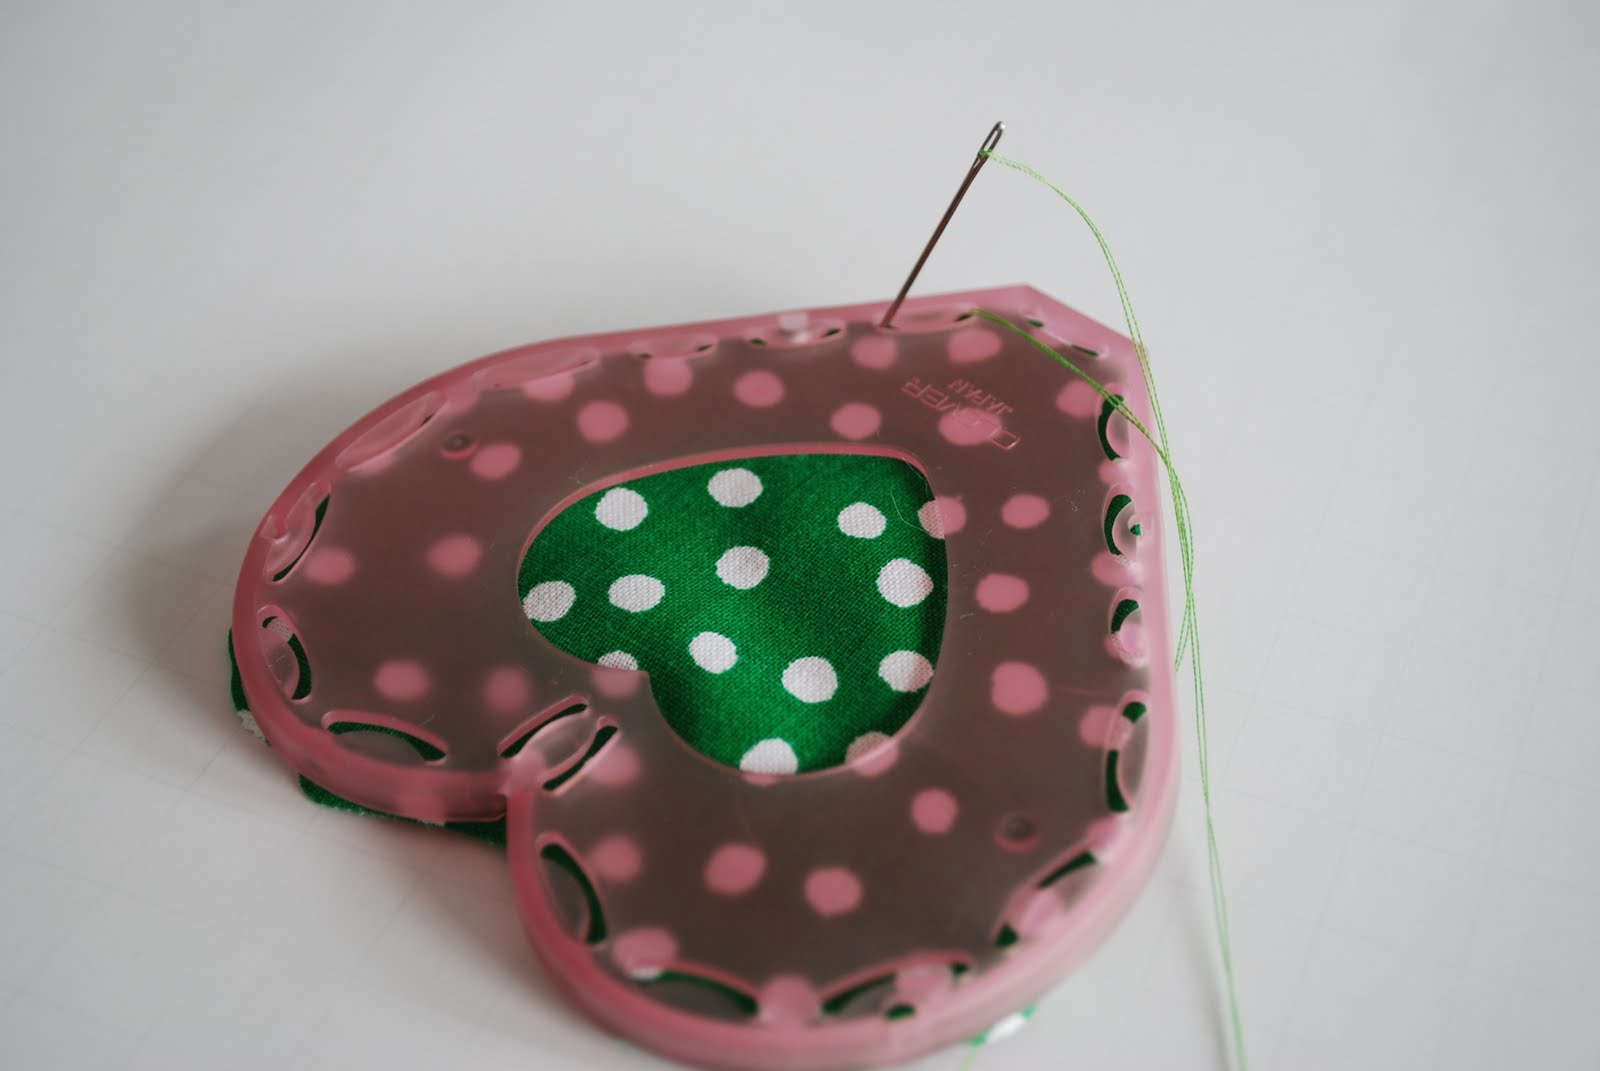
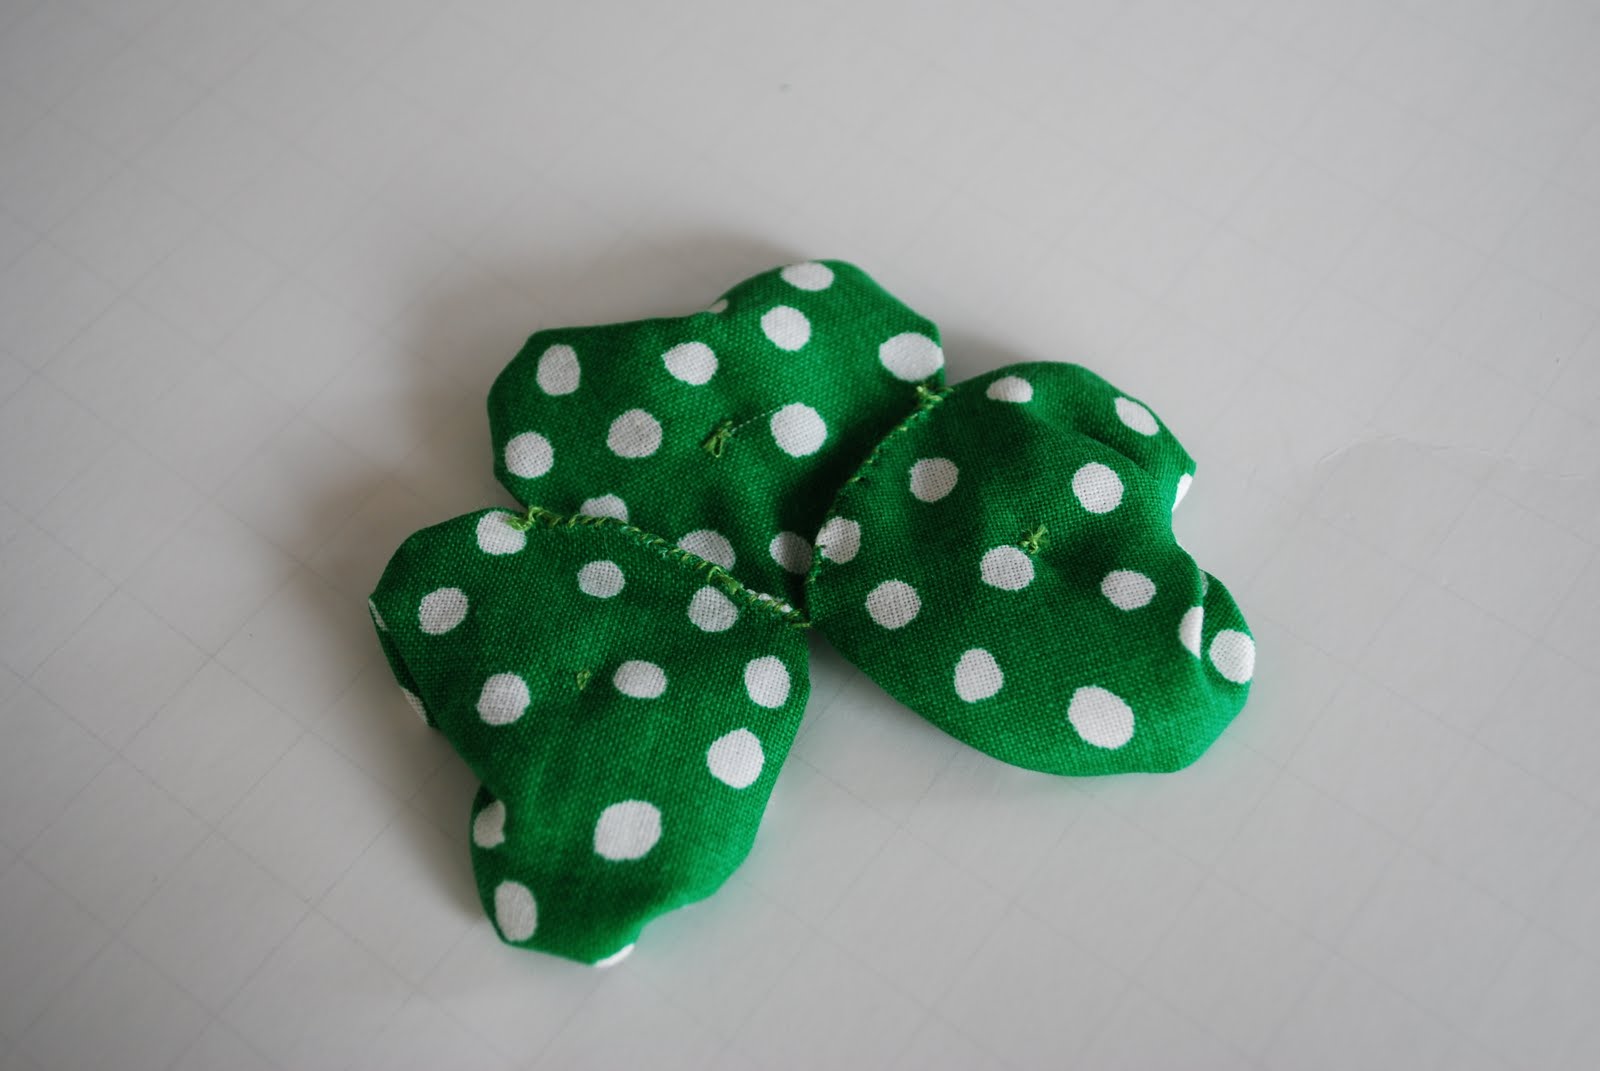
Make 3 heart shaped yoyo’s
If you’re using the yoyo maker just follow the instructions.
(obviously)

When you take it off of the yoyo maker it looks like this, so I’m thinking you could just stitch around the edge of a heart shaped piece of fabric if you didn’t want to get the yoyo maker.
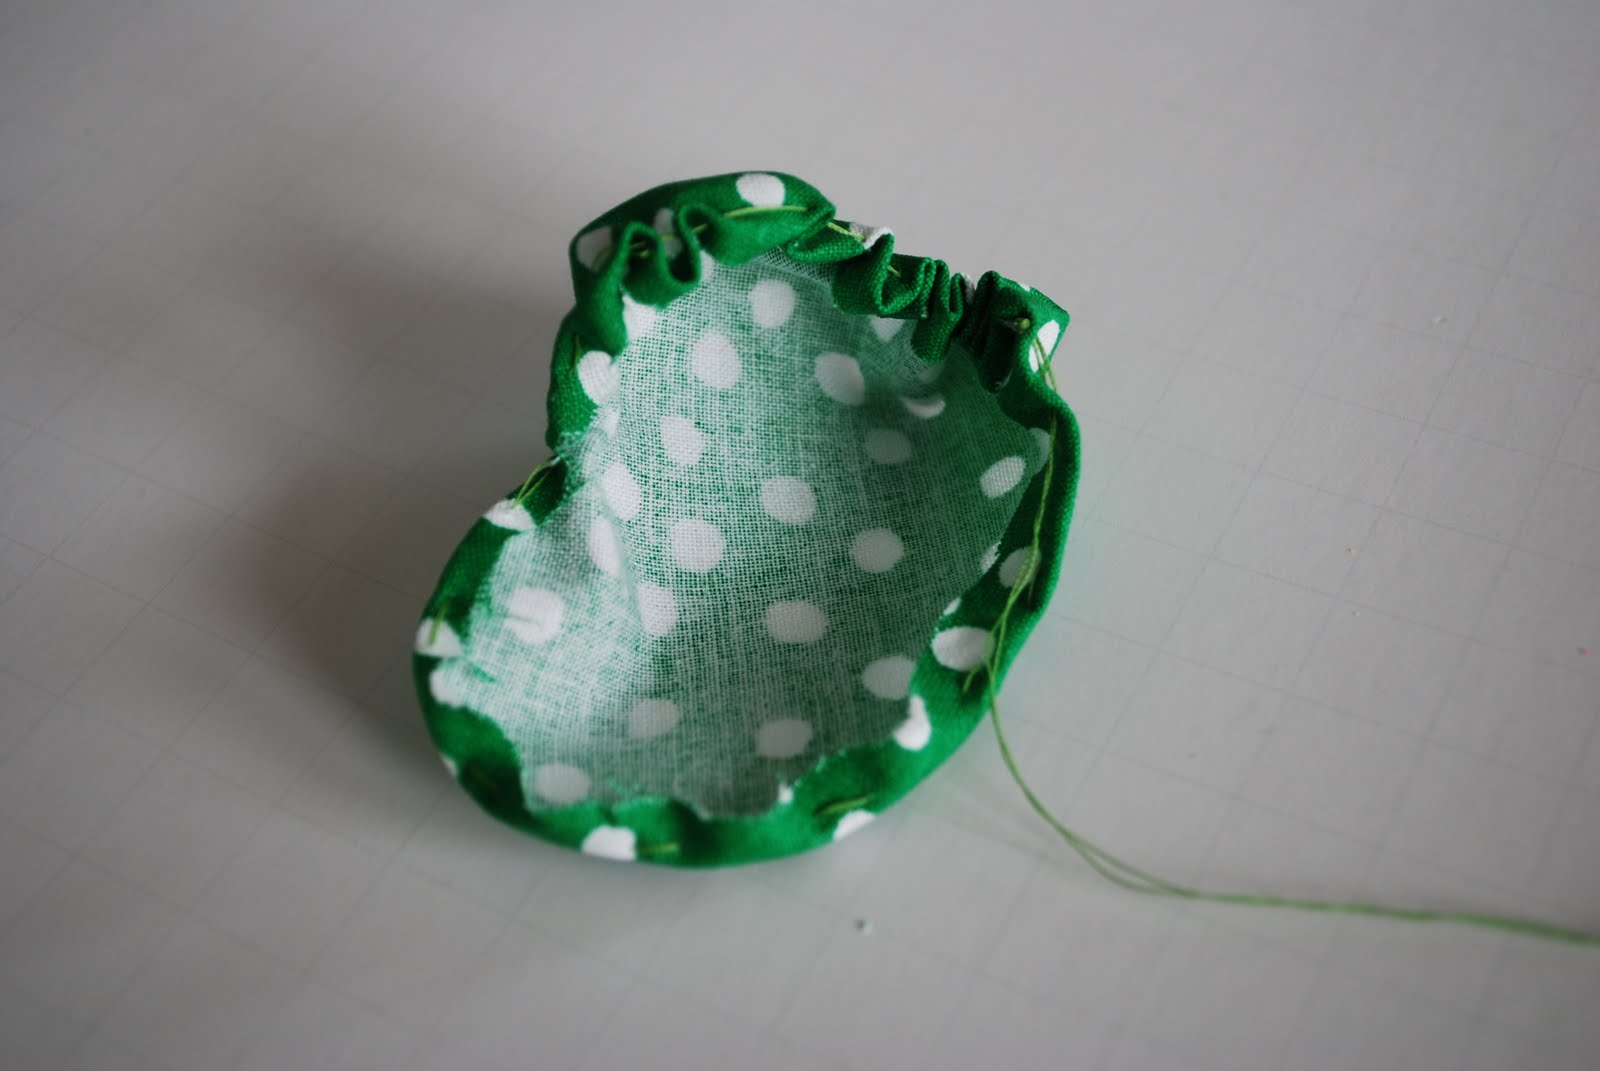
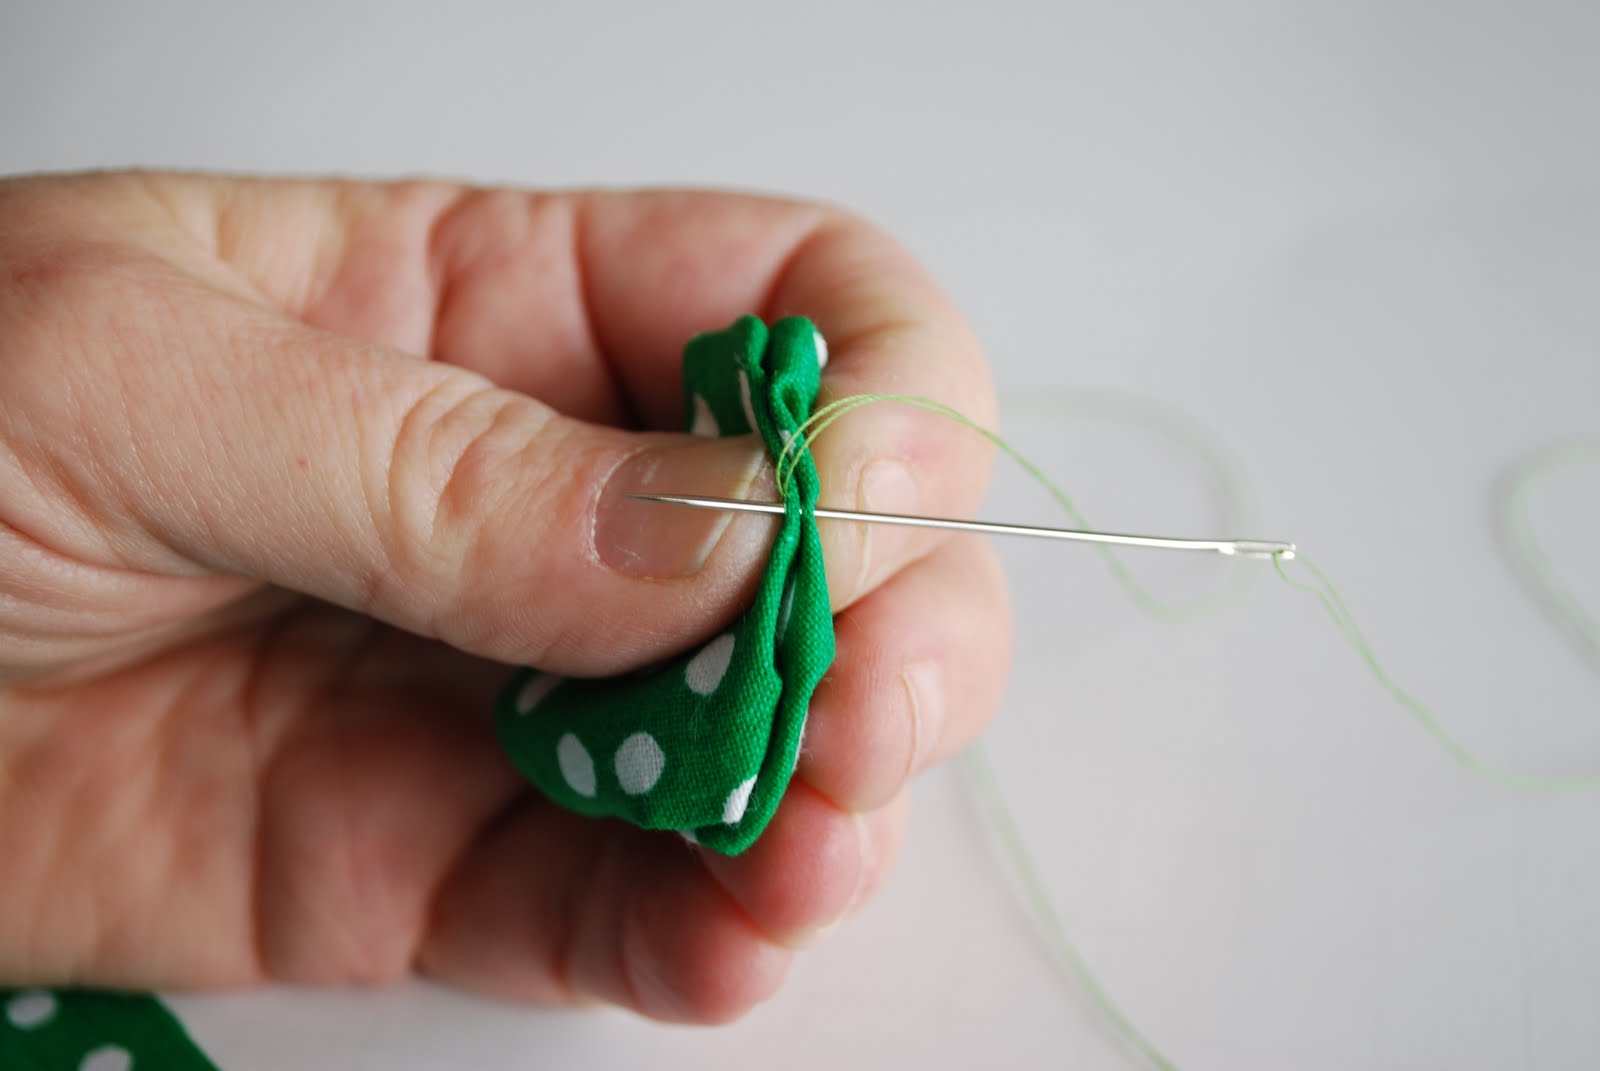
At this point you’ll want to just pull on the thread to gather the heart into….
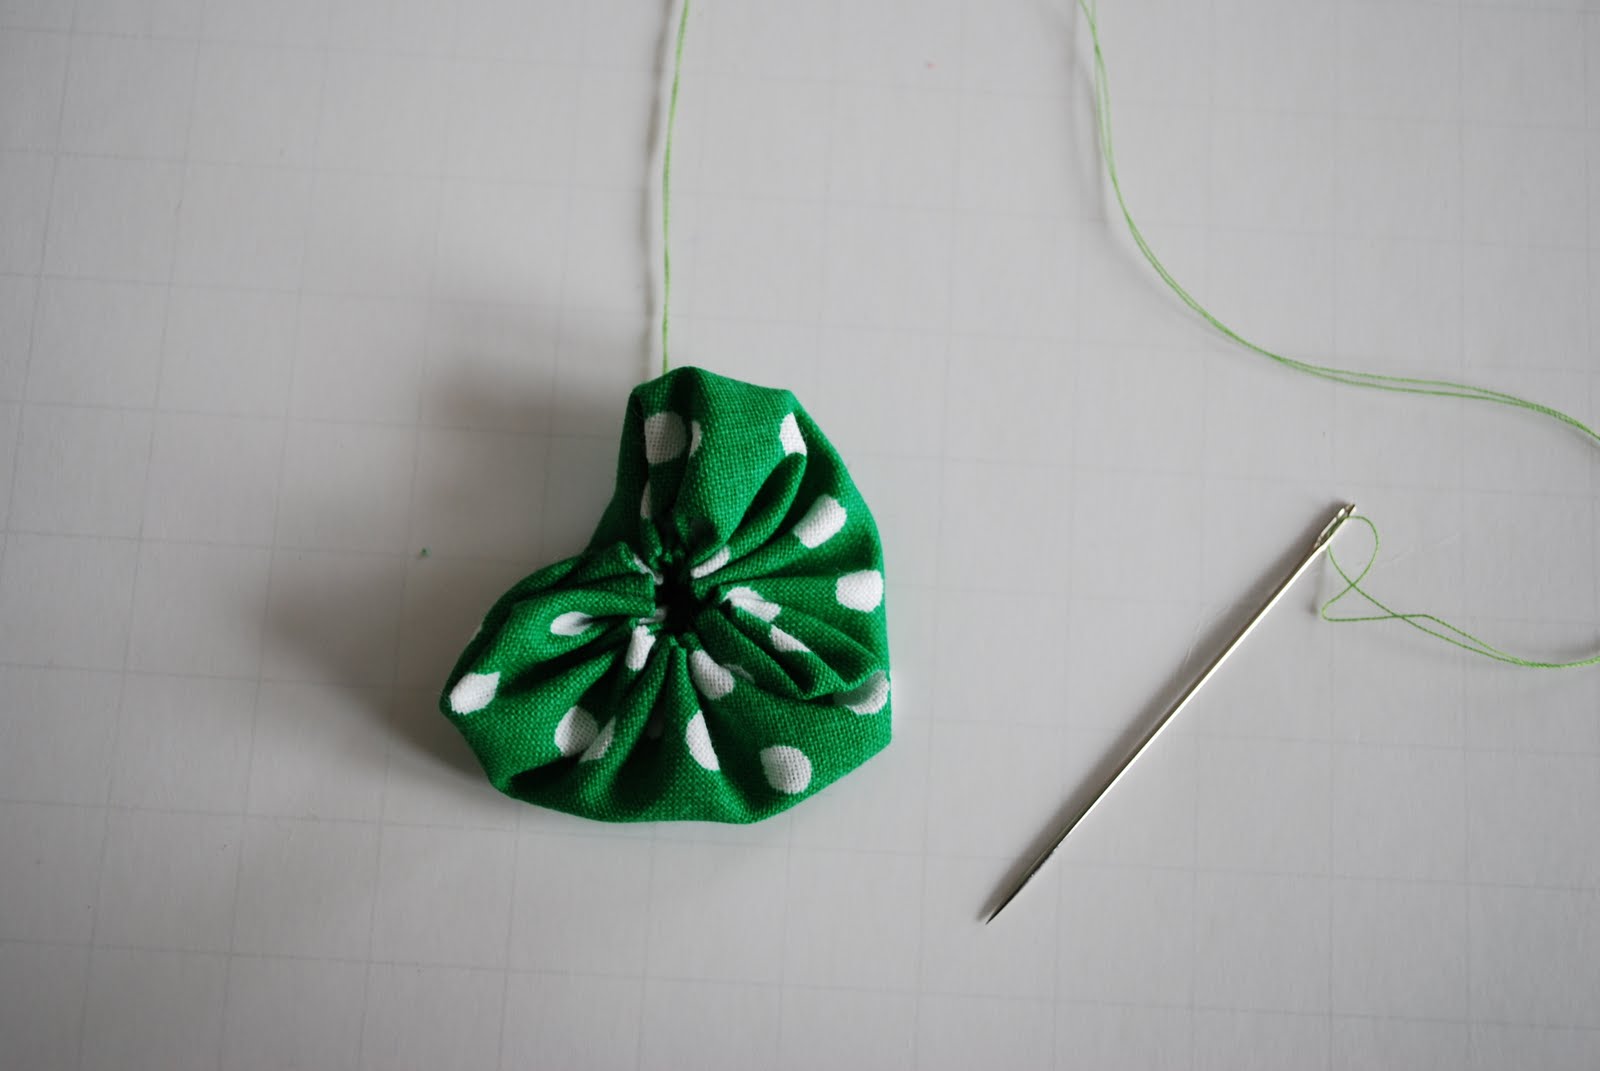
…a smaller, rufflier version of itself!
Lay 2 of the hearts (RIGHT SIDES TOGETHER) and hand stitch them together. Begin about 1/3 of the way down and go all the way to the point at the bottom.

This is why I wrote RIGHT SIDES TOGETHER in all caps!OOPS….just keepin’ it real. Time out while I unpick and try again.
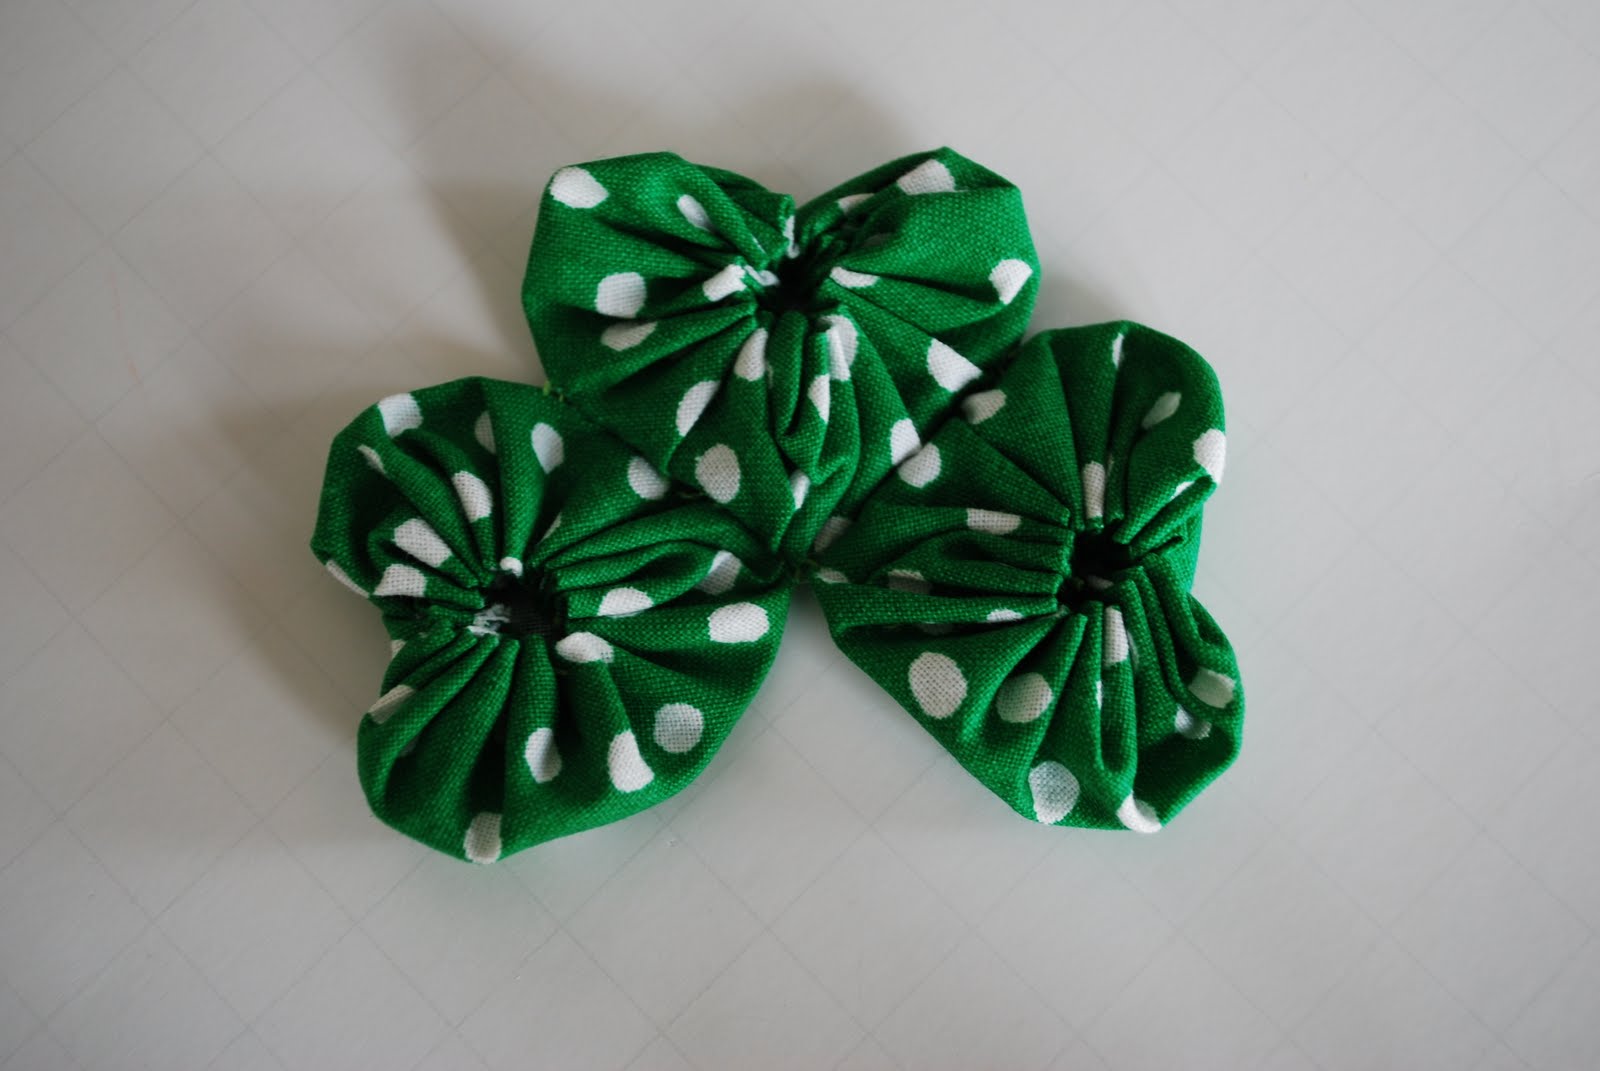
There we go, much better. Do the same thing with the 3rd heart.
You’re almost done.

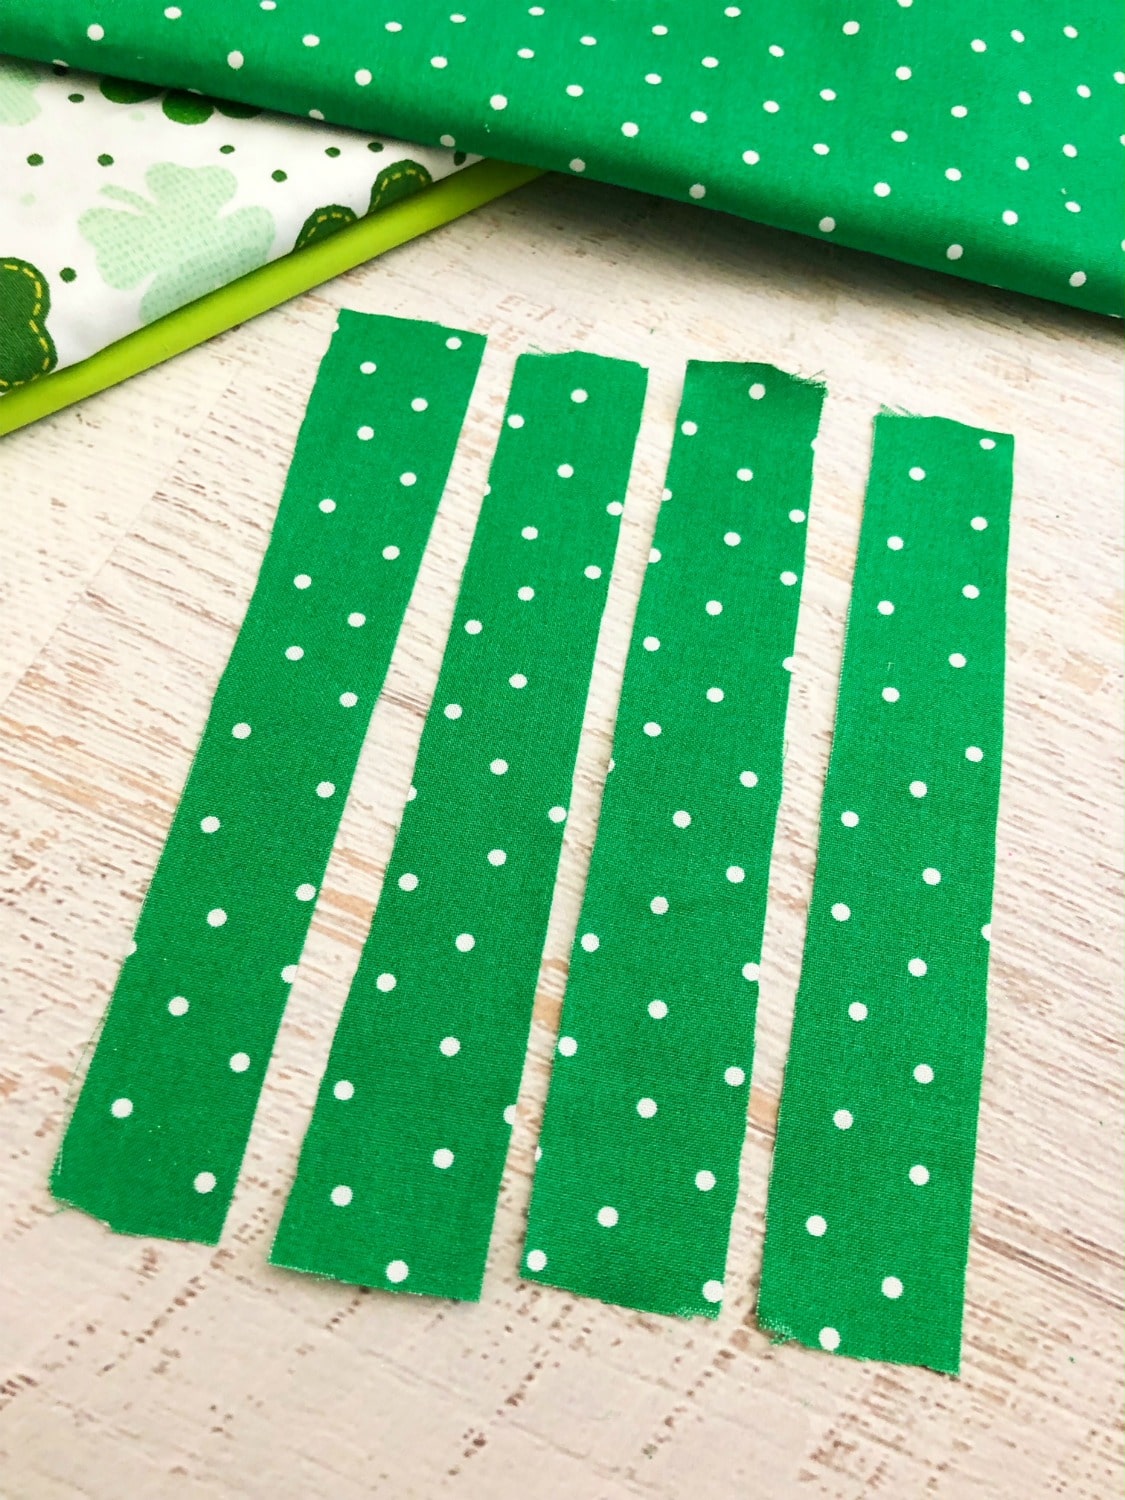
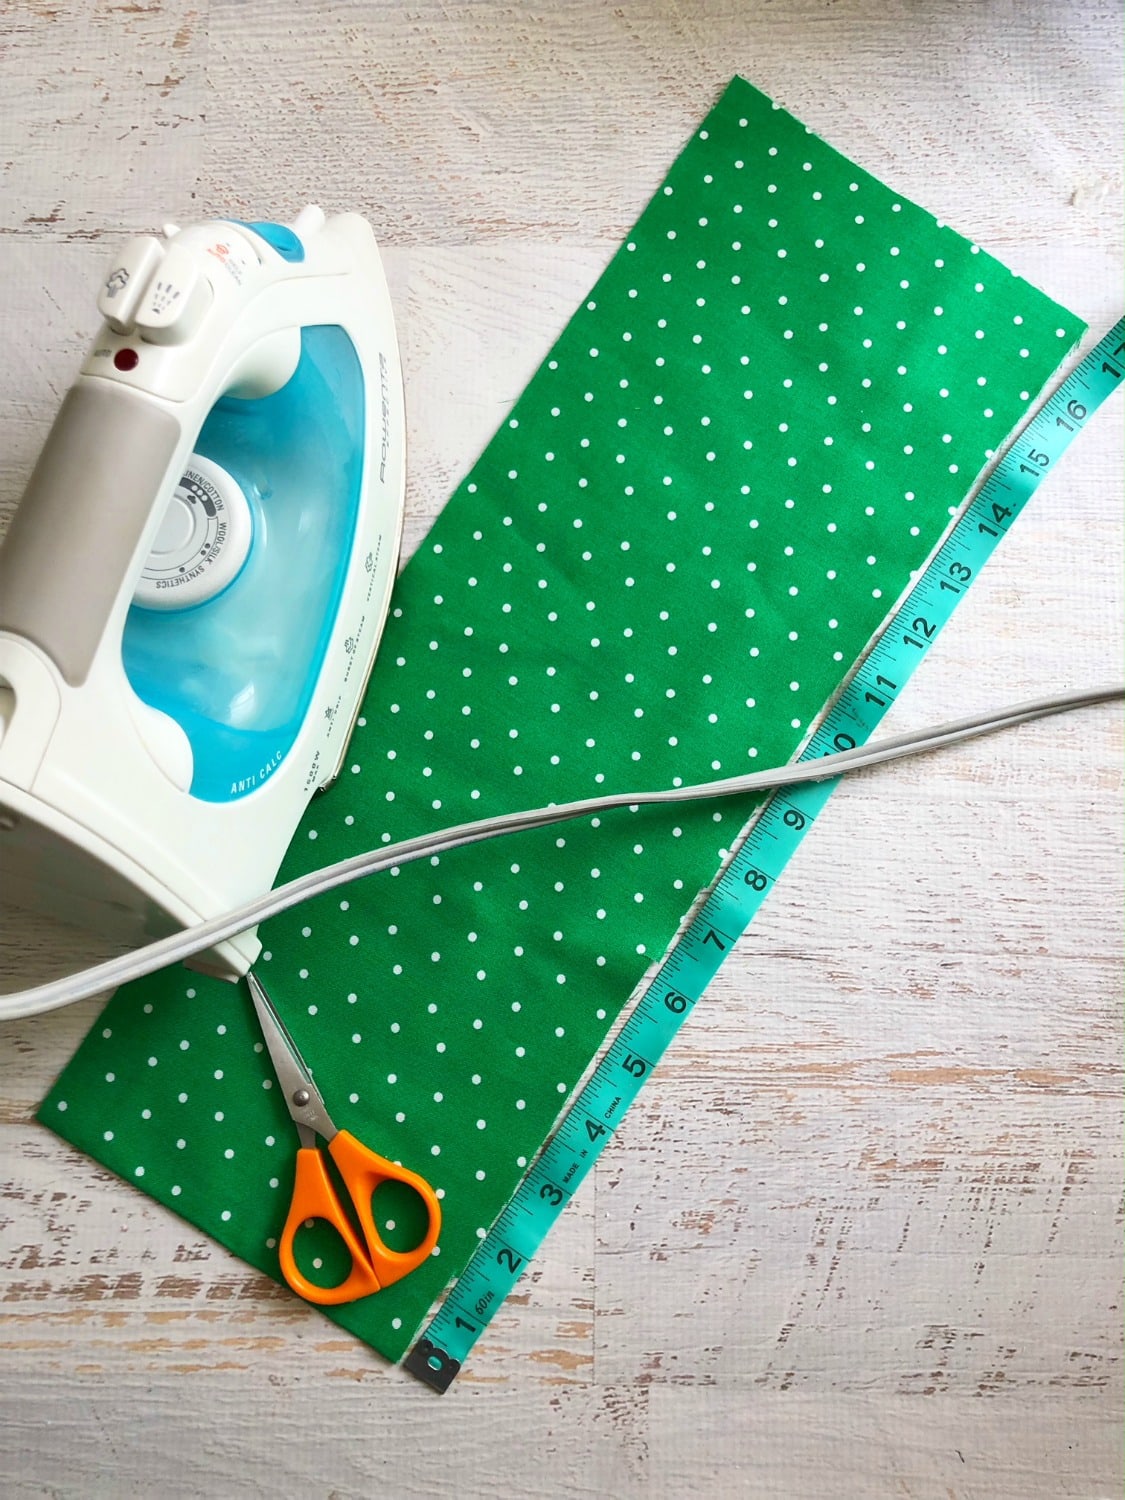
For the stem you will want a rectangle approximately 2.5 x 2 inches big.
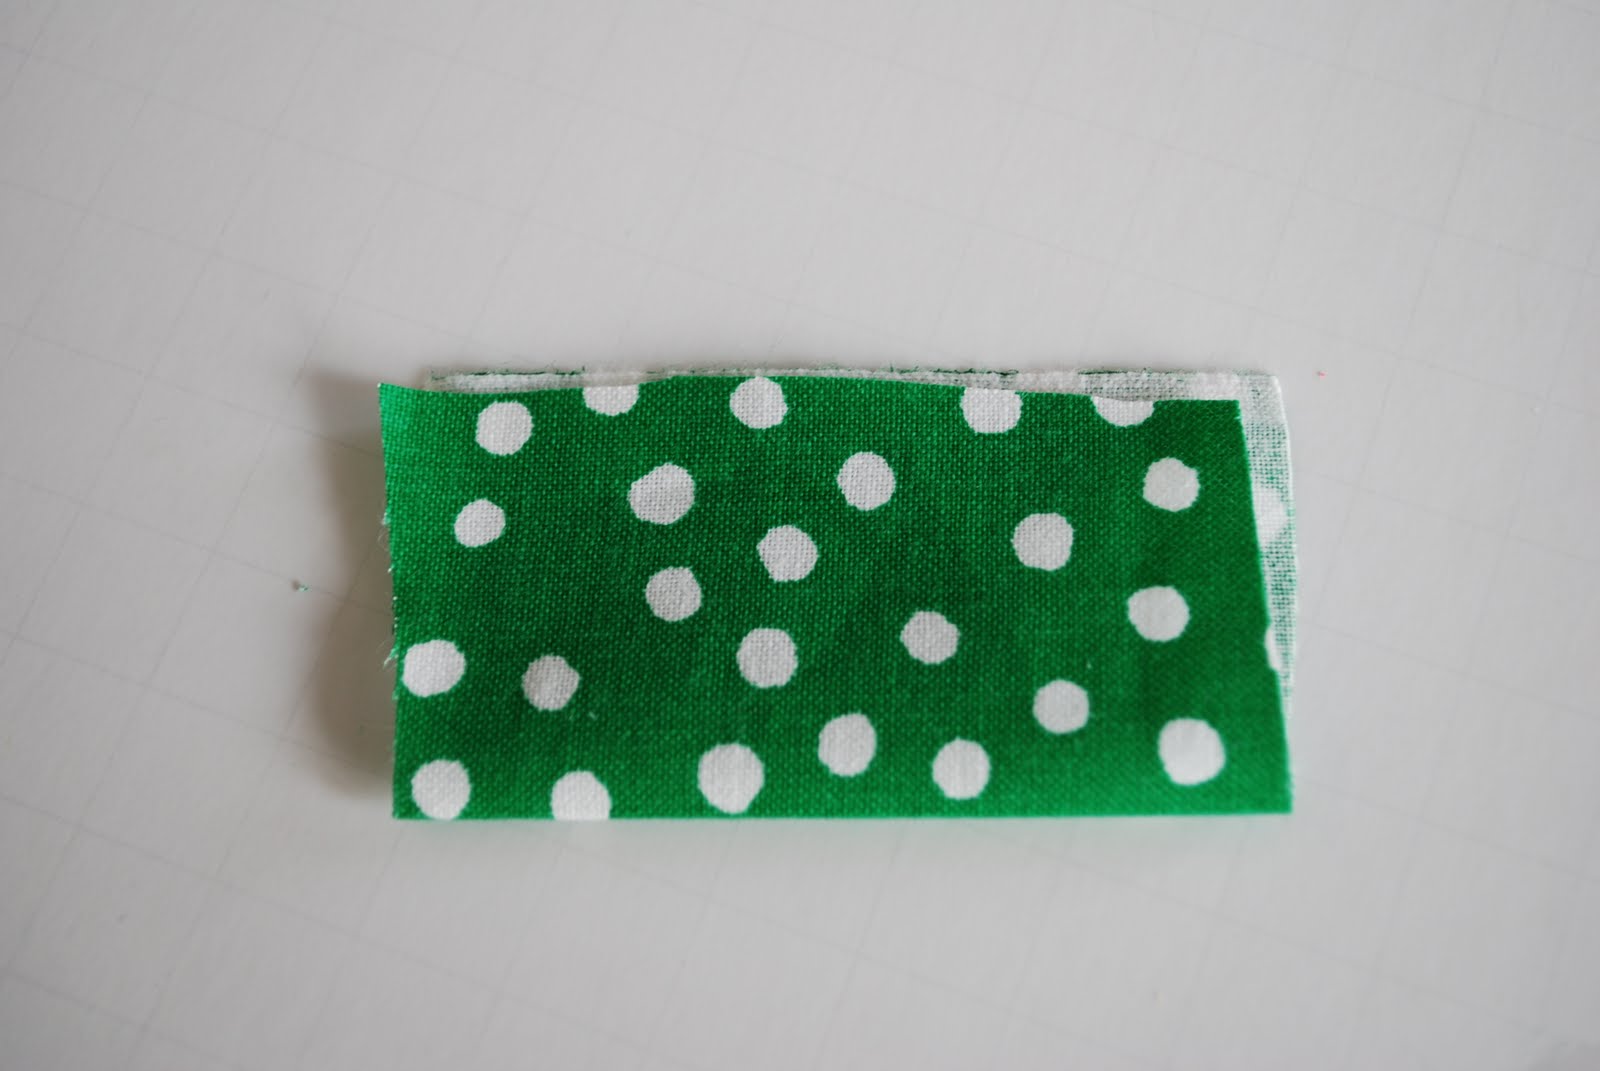
Fold it in half so that the shorter ends are meeting.

Fold the two ends in a little bit. That way you only have one raw edge and that will eventually be beneath a little circle of felt.
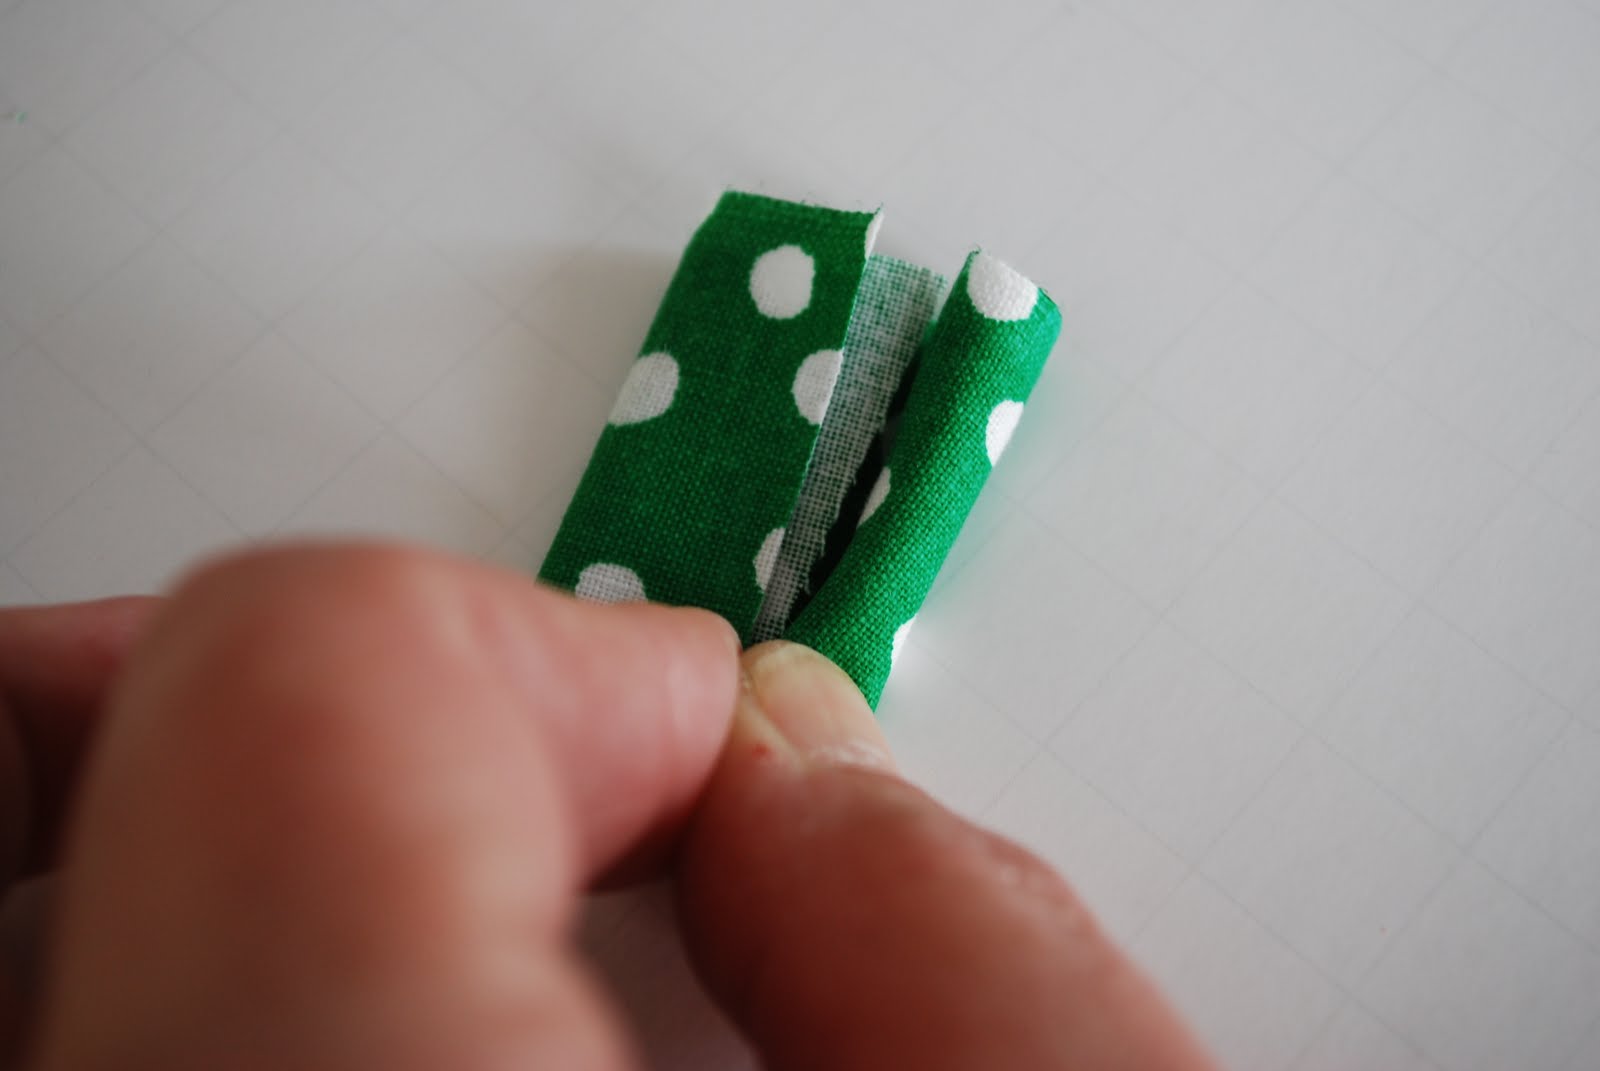
Starting at one end, roll the piece of fabric into a stem.

Like so.
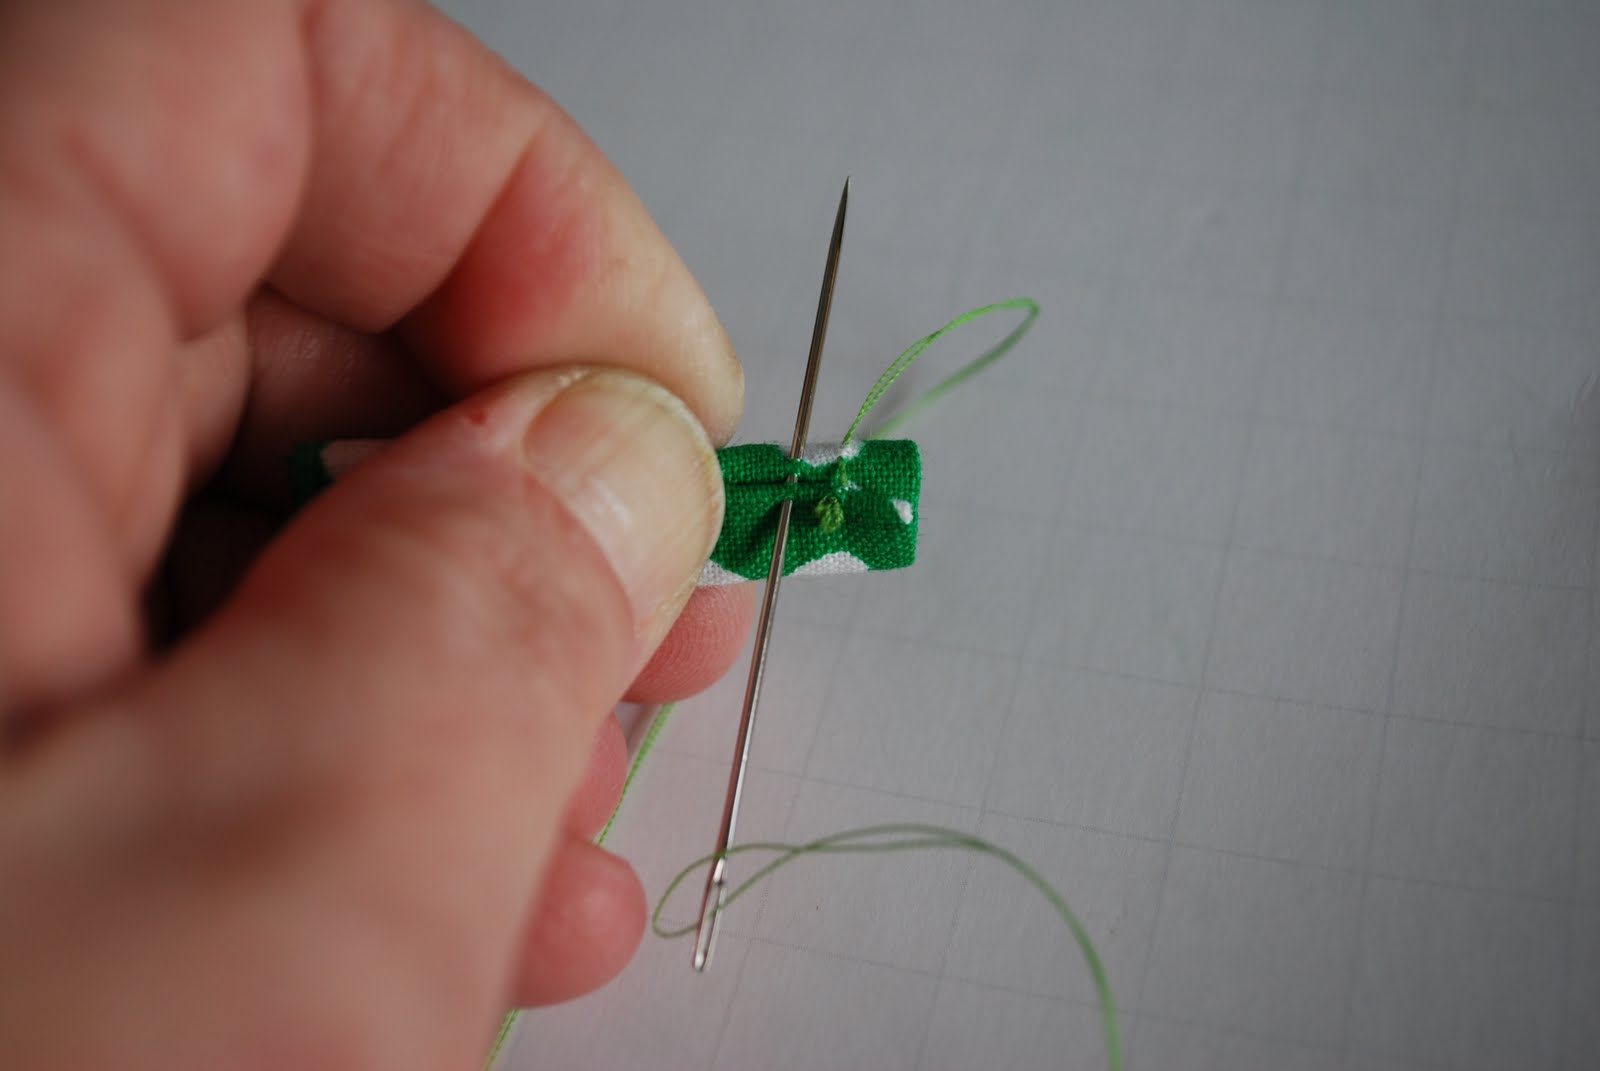
Hand stitch all the way down the back of the stem.Then stitch the stem onto the back of the shamrock.

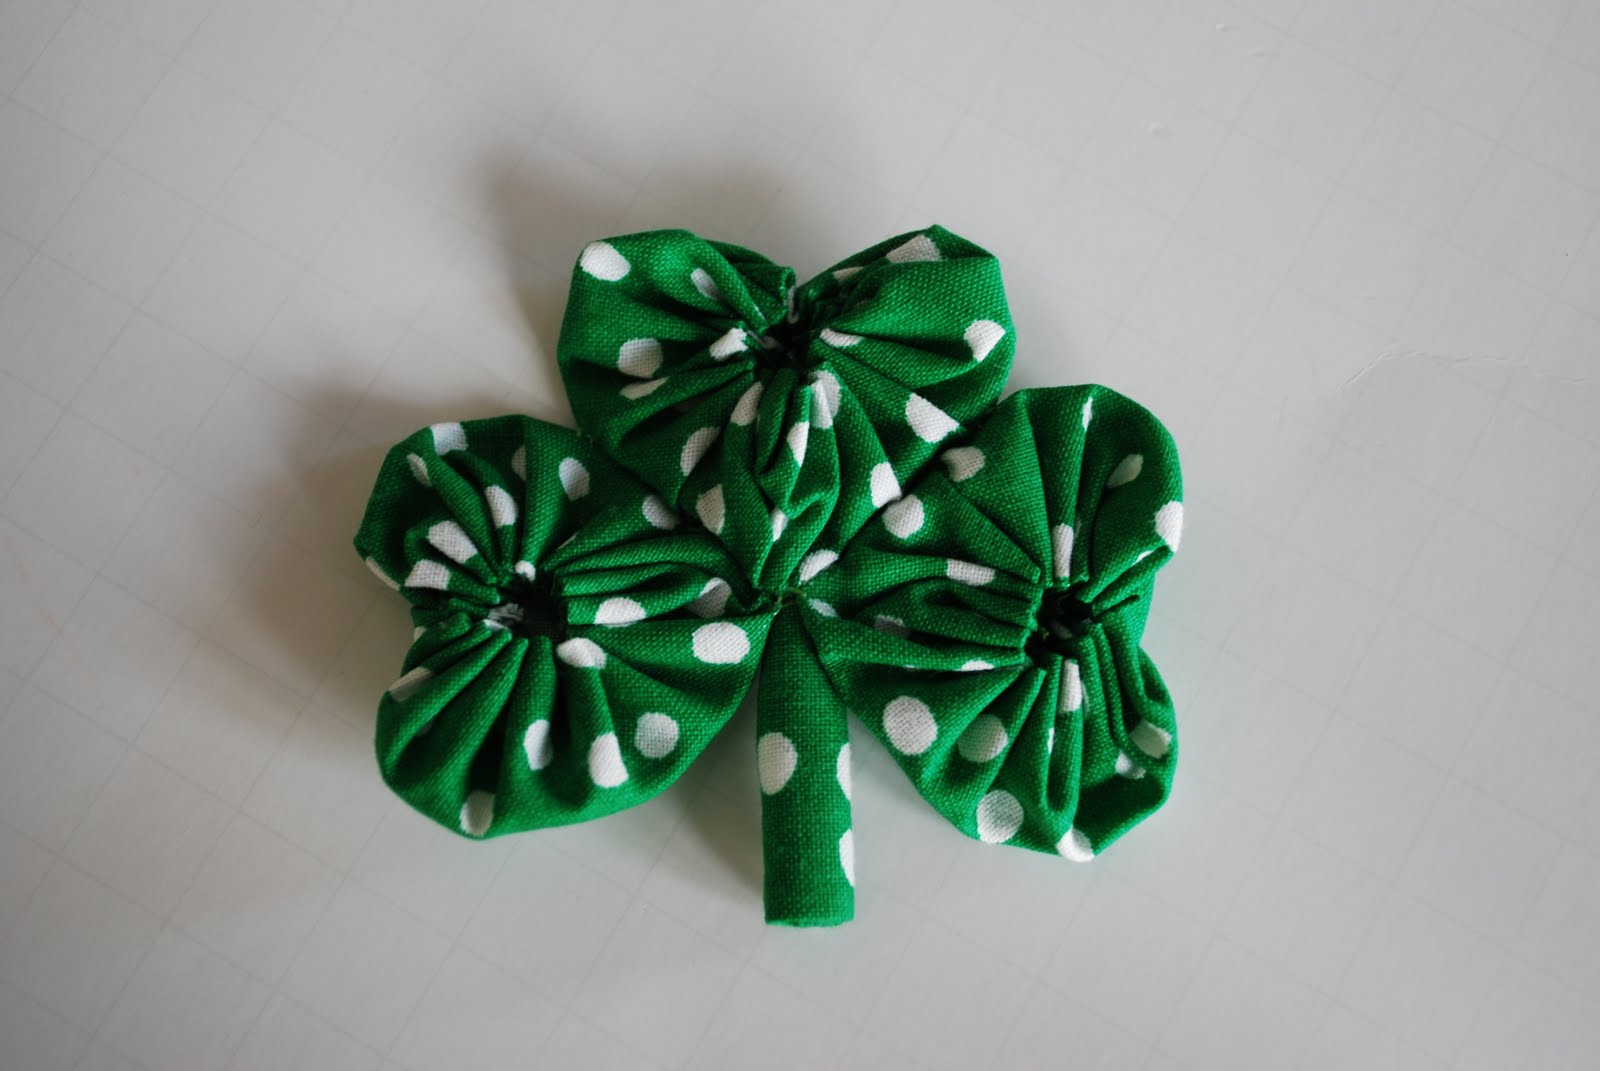
And there you go…. a polka dot shamrock!
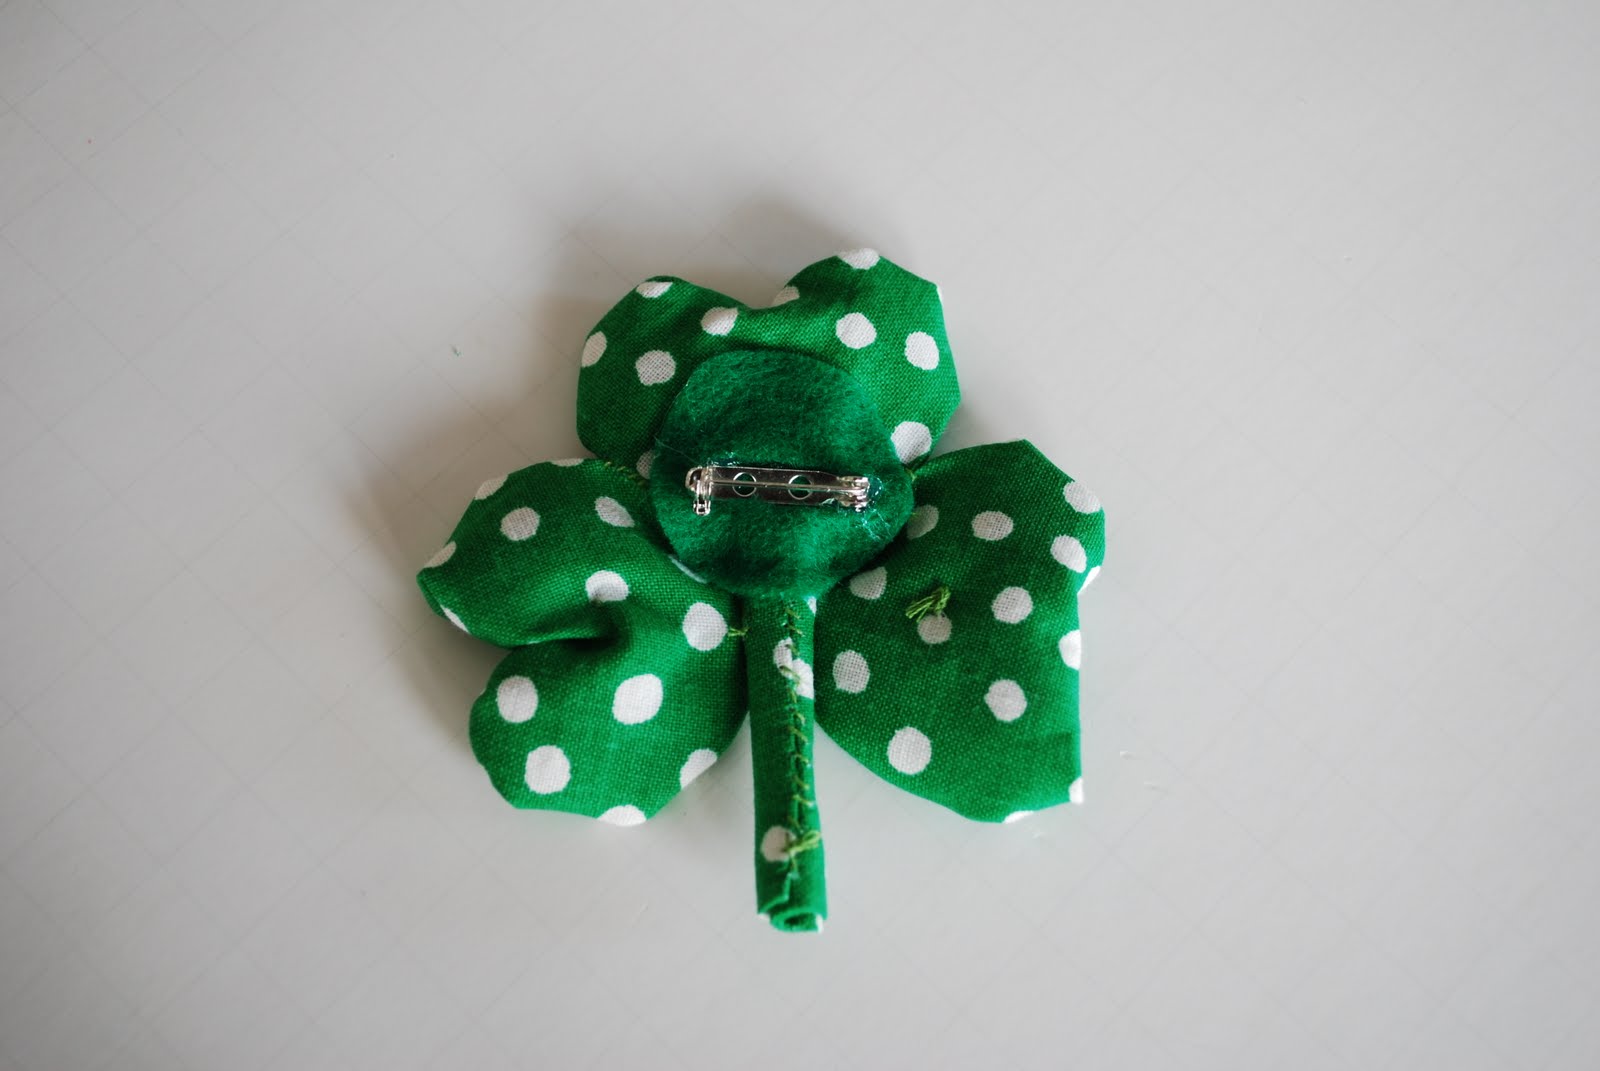
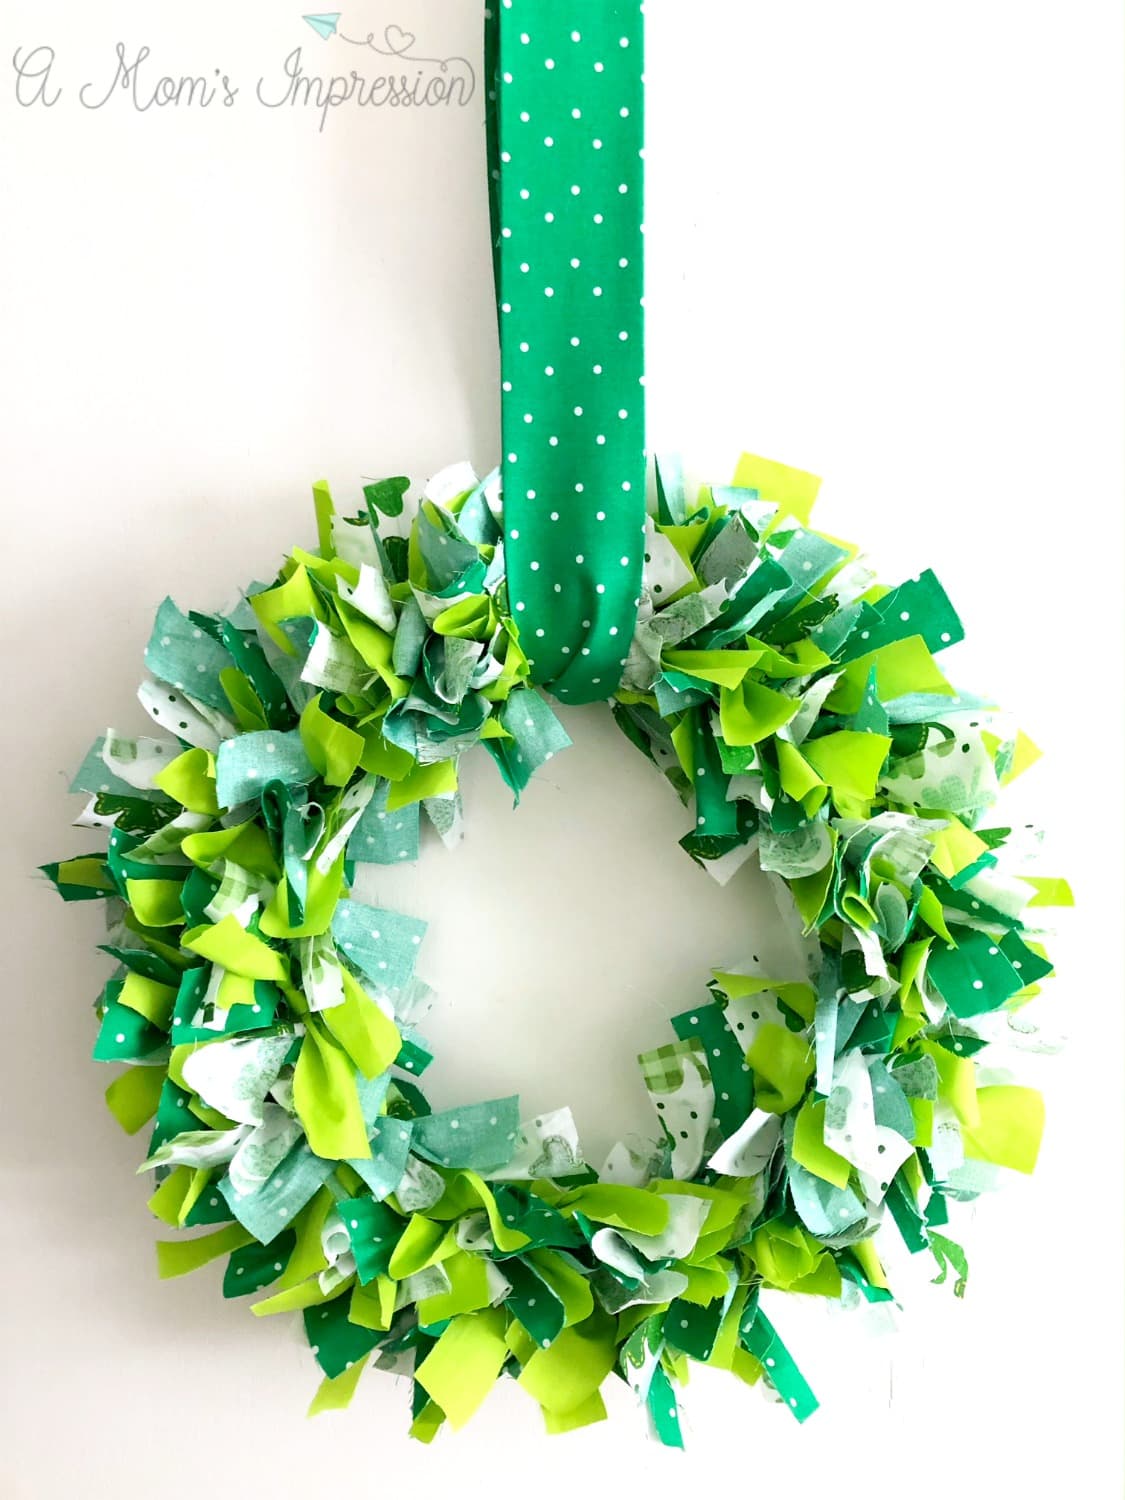
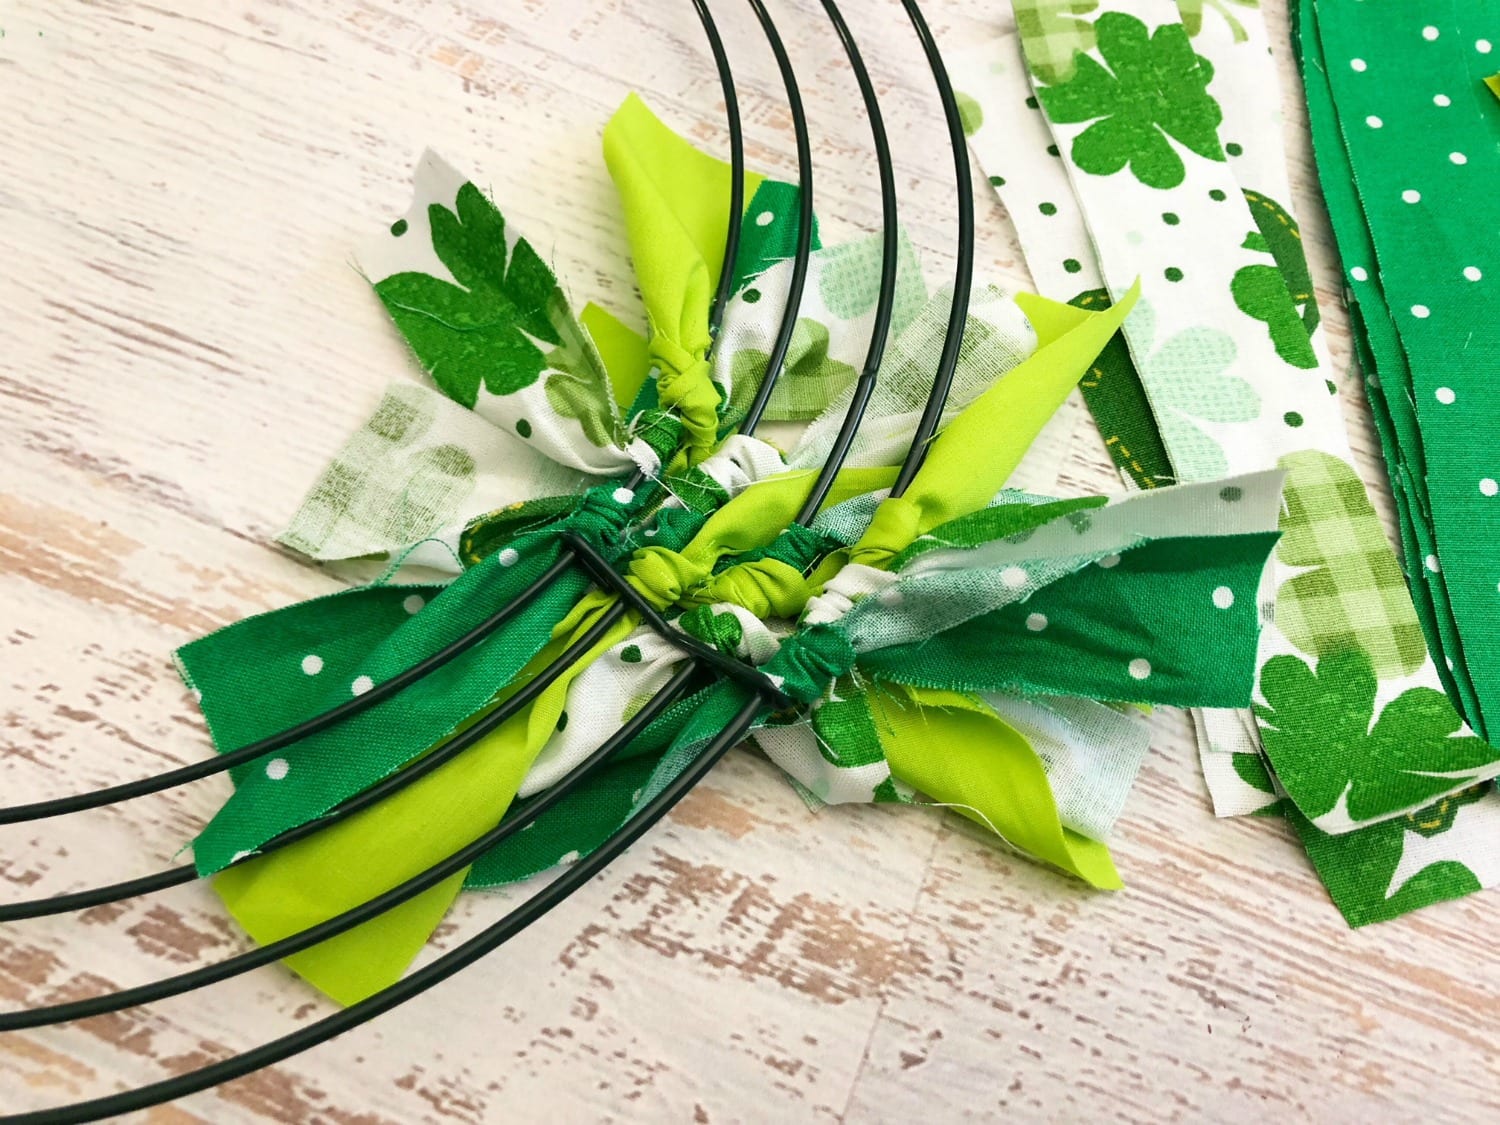
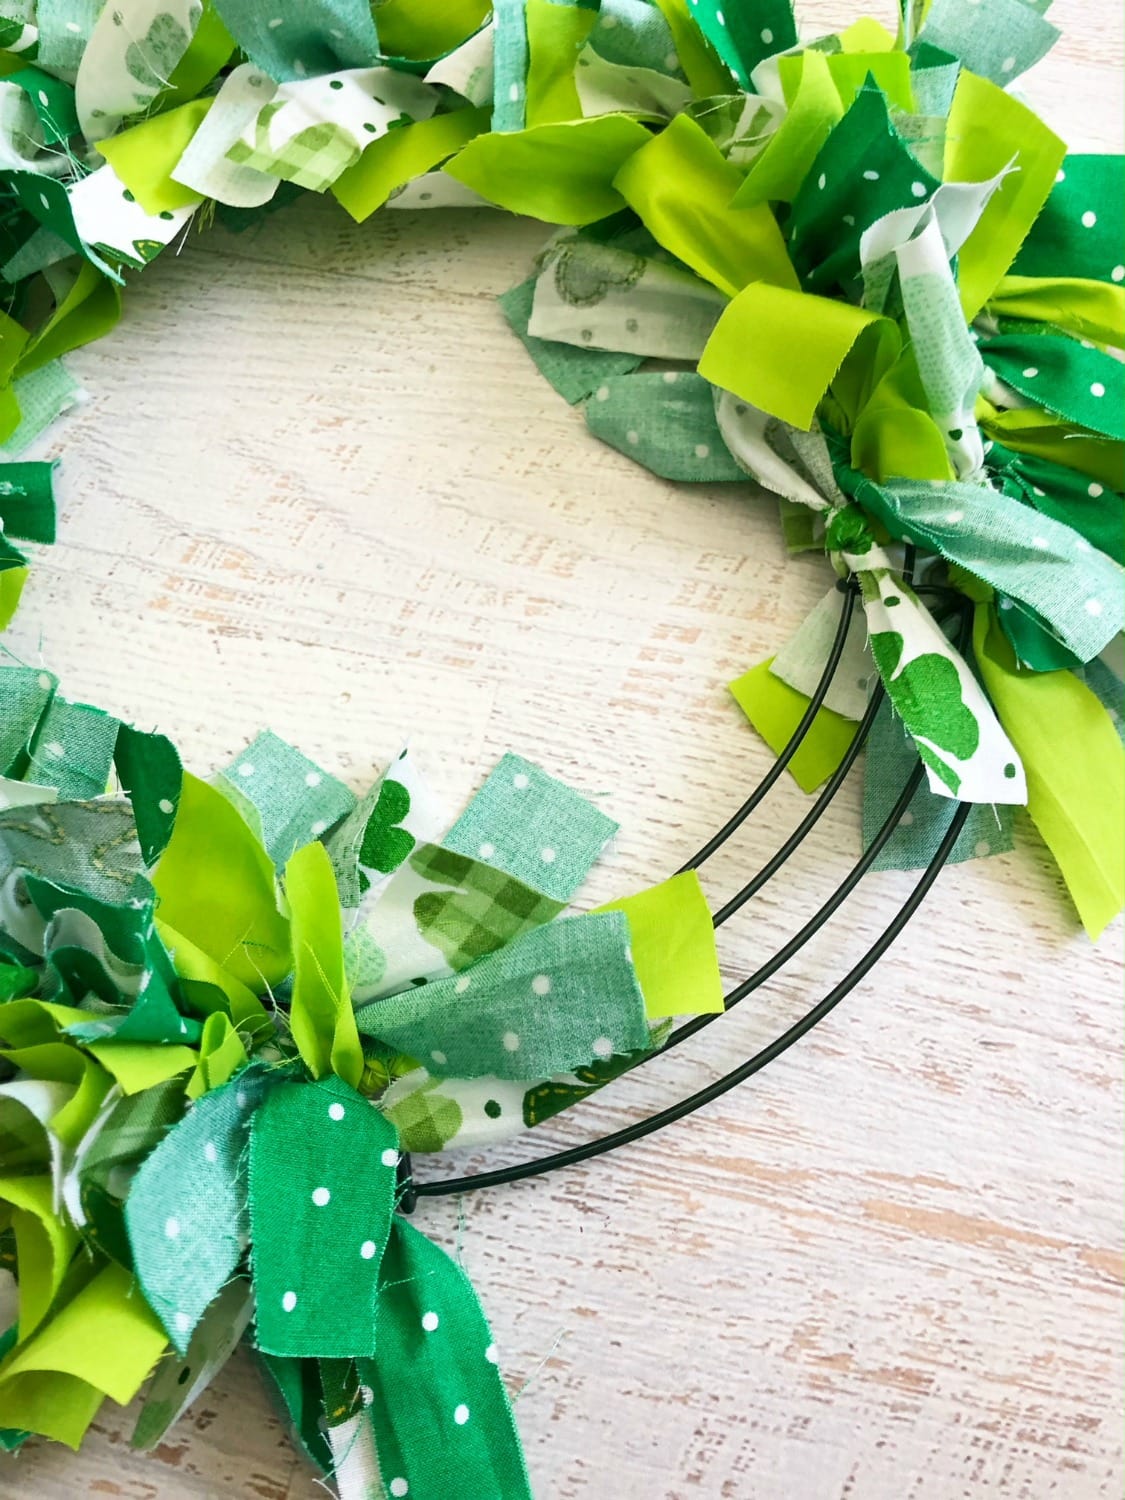
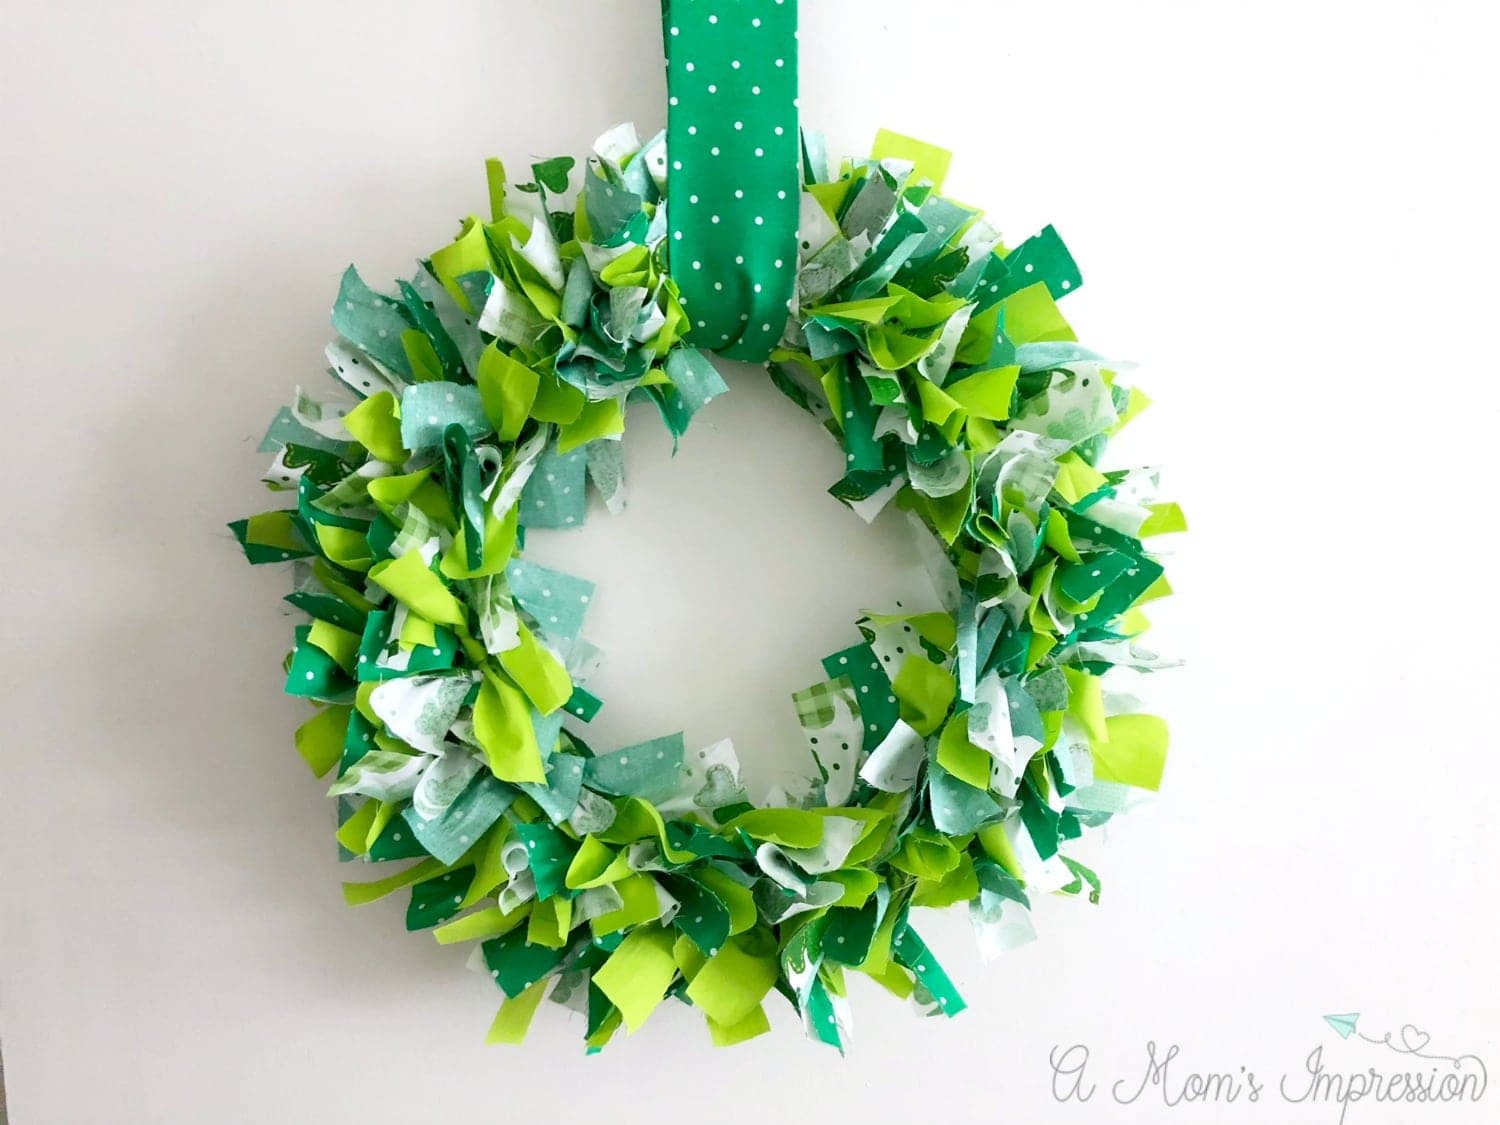
To finish it off just add a circle of felt to the back. I added a pin, since they were going on skirts, but you could do so many different things with these. You could make a giant one for your door, put a bunch on a wreath, decorate napkin holders with them…just all kinds of things!