Composting 101
Maybe you first heard about composting from a local farmer. Maybe your neighbor is a gardener. Or maybe a nearby restaurant boasts that it composts food scraps in a green space outback. Whether you’ve known about composting since childhood or just started looking into it for yourself, there’s always more to learn. If you’re willing to put in a bit of thought and effort, there’s good to be done by simply changing the way you get rid of your trash. Find out more ways to go green in the kitchen.2 / 12
SVETIKD/GETTY IMAGES
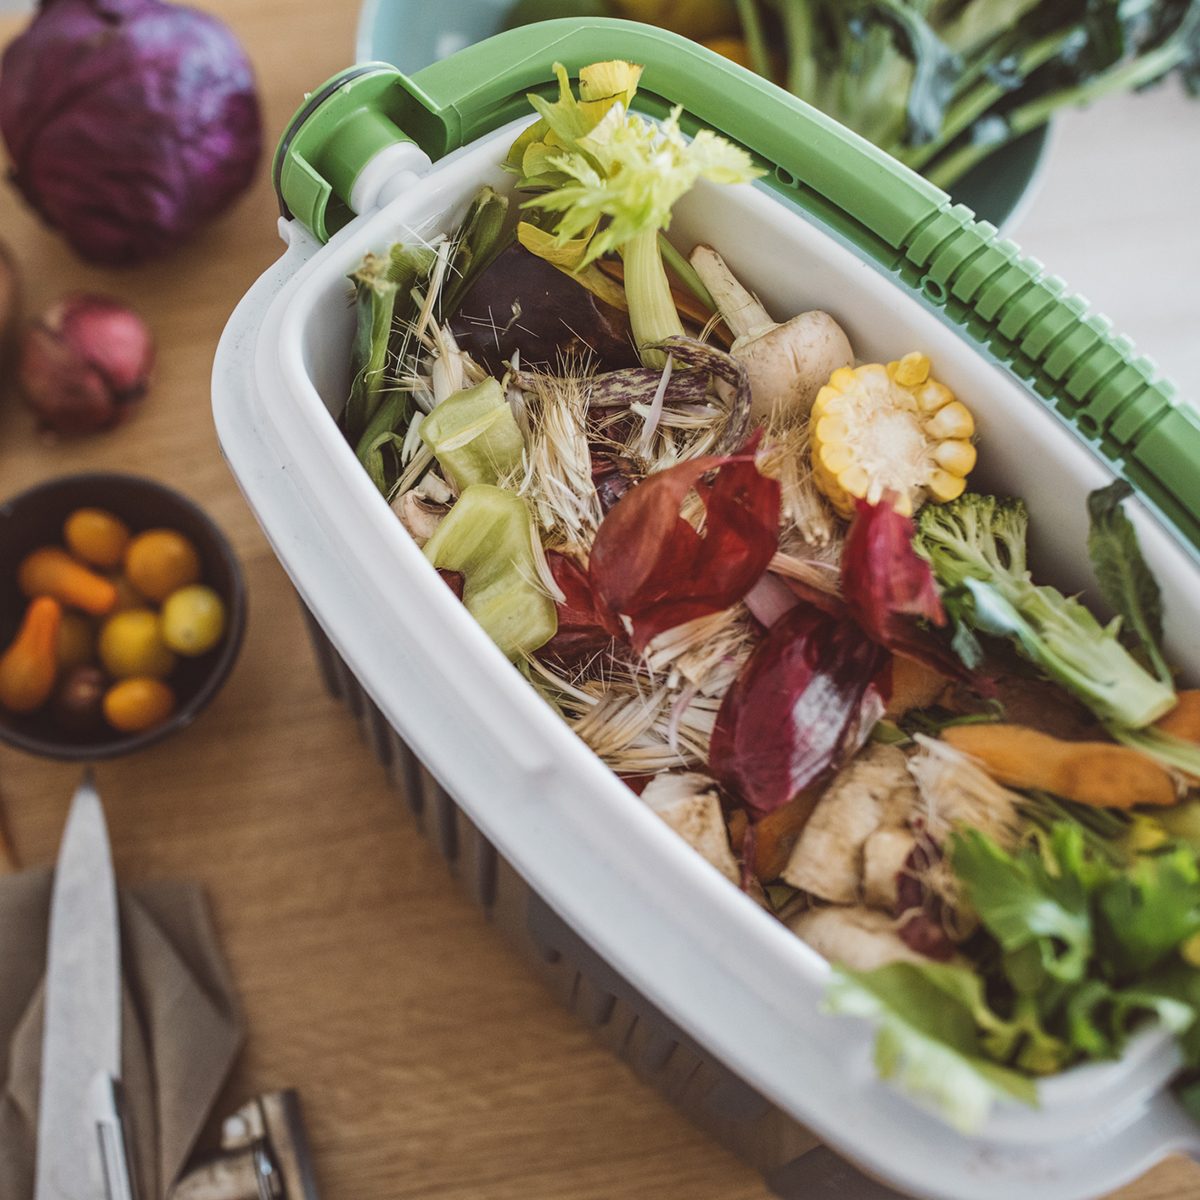
What is composting?
Natural decomposition is the basis of composting. Composting vegetation already fills our parks, forests and other un-manicured outdoor spaces. “Compost is organic material that can be added to soil to help plants grow,” according to the Environmental Protection Agency (EPA). When you choose to use a compost pile or compost bin at home to cut back on trash services or use nature’s own recycling method, you’re composting. So, really, composting is simple: It means you’re separating your organic waste (food scrap, yard clippings, and other once-living things) into a special spot for composting instead of adding it to the recycling bin or trash can. Look at 8 easy composting tips.
3 / 12
SOLSTOCK/GETTY IMAGES
Why is composting earth-friendly?
Composting your organic waste helps the environment in two big ways. First, compost enriches soil so that it can give precious nutrients to plants that are still growing. If you have a garden or even potted plants or flowers, you can eventually use your composted soil to help plants grow more quickly and vibrantly. Secondly, composting keeps food scraps out of the landfill. Though landfills and compost piles look similar at face value, food decomposes more quickly—and in a more earth-friendly way—when composted. “Waste sent to landfill breaks down anaerobically—that is, without any oxygen present. It is squashed down then capped with soil and clay… As the rubbish breaks down over time, it emits methane, a greenhouse gas that is 21 times more powerful than CO2,” an article by the Guardian explains. Food scraps also decompose slower in a landfill. Learn the truth about common “going green” myths. TOP ARTICLES2/5Sour Patch Kids Jelly Beans Are Here to Make Your Easter Basket SO Much Better4 / 12
CASARSAGURU/GETTY IMAGES
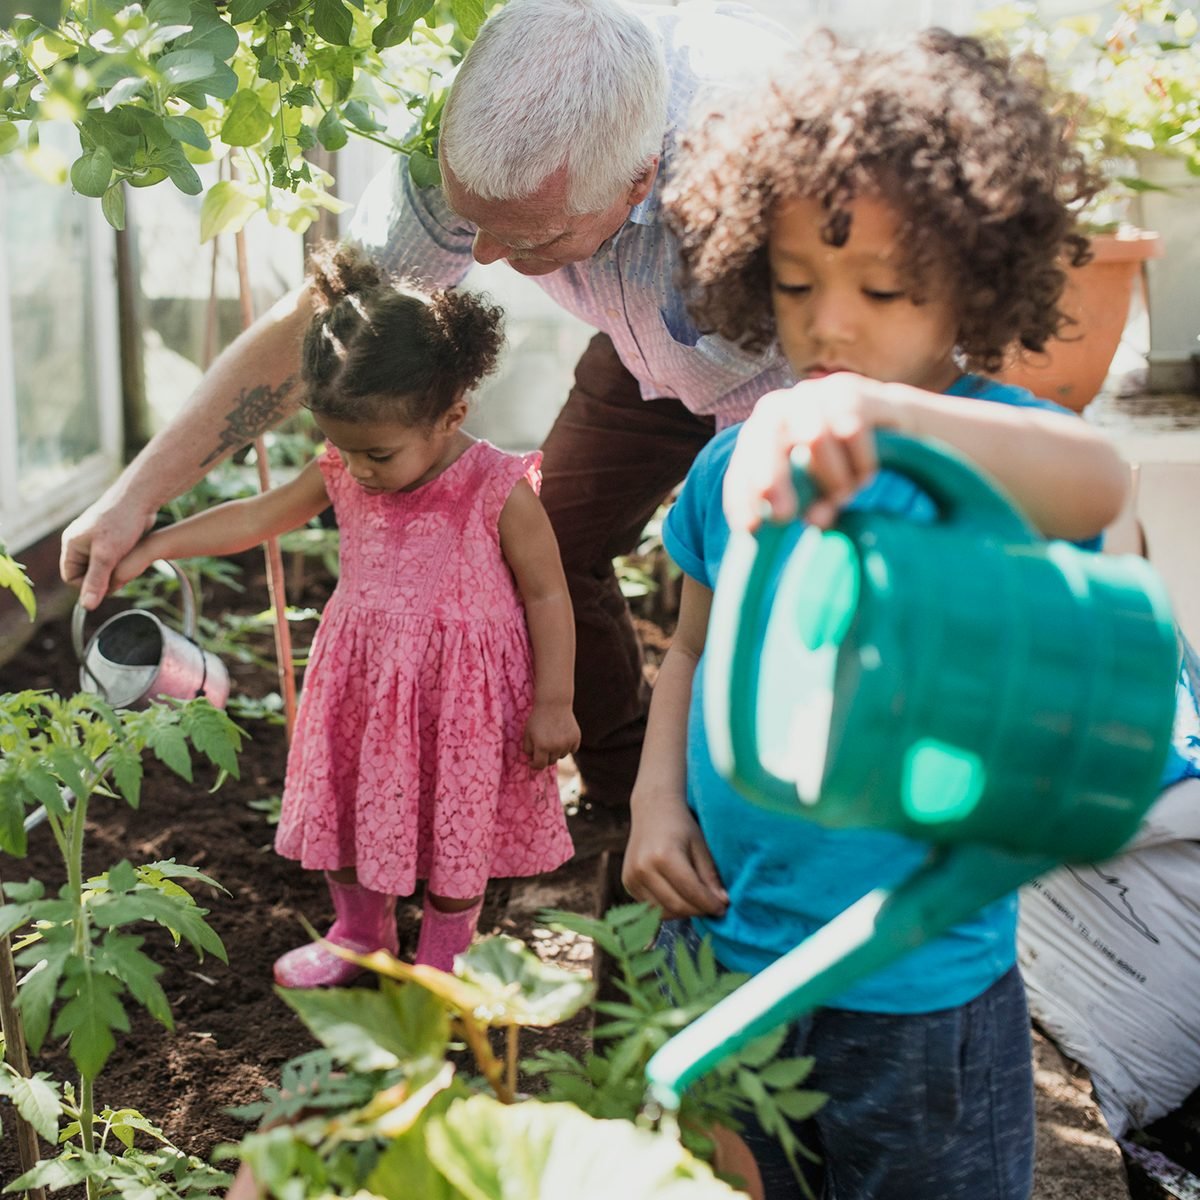
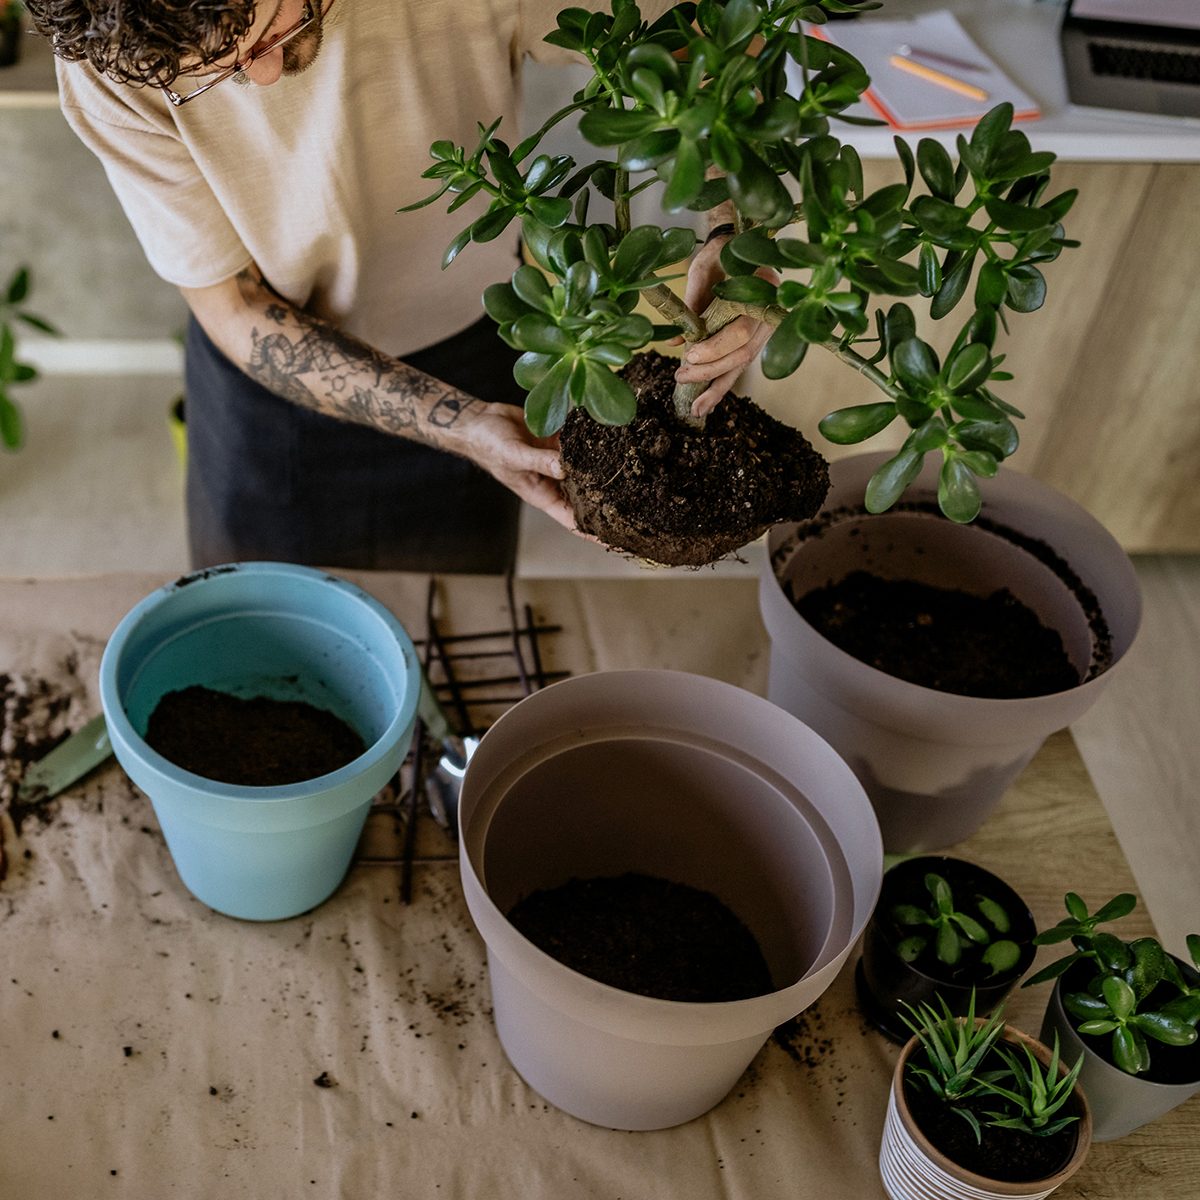
Why does it help the environment?
If everyone in the United States started composting, it would reduce 30 percent of the trash sent to landfills and incinerators, suggests a report published by U.S. Public Interest Research Groups (U.S. PIRG). Composting keeps food waste out of landfills, which are notorious for releasing a combination of methane and carbon dioxide (CO2), aka greenhouse gases, reports the EPA. These greenhouse gases, in turn, trap radiation from the sun, keeping our planet warm. As humans burn more fossil fuels and keep piling trash onto landfills, the swell of greenhouse gases contributes to global warming. So when you compost, you’re actively helping to prevent global warming! These are some ways green living can make you healthier.5 / 12
ANCHIY/GETTY IMAGES
How many people compost?
Americans landfilled or incinerated over 50 million tons of compostable waste in 2015, according to U.S. PIRG. But there’s good news, too. Six states—California, Connecticut, Massachusetts, Oregon, Vermont and Washington—have various mandates or legislation for collecting or composting food scraps instead of sending them to the landfill, the U.S. Composting Council reports. The United States lags behind many other countries in terms of waste disposal and recycling. Maybe your state doesn’t have any regulations surrounding organic waste disposal, but it’s always best to start with the one person you can control: yourself. Read about the things you can and can’t recycle.
6 / 12
SVETIKD/GETTY IMAGES
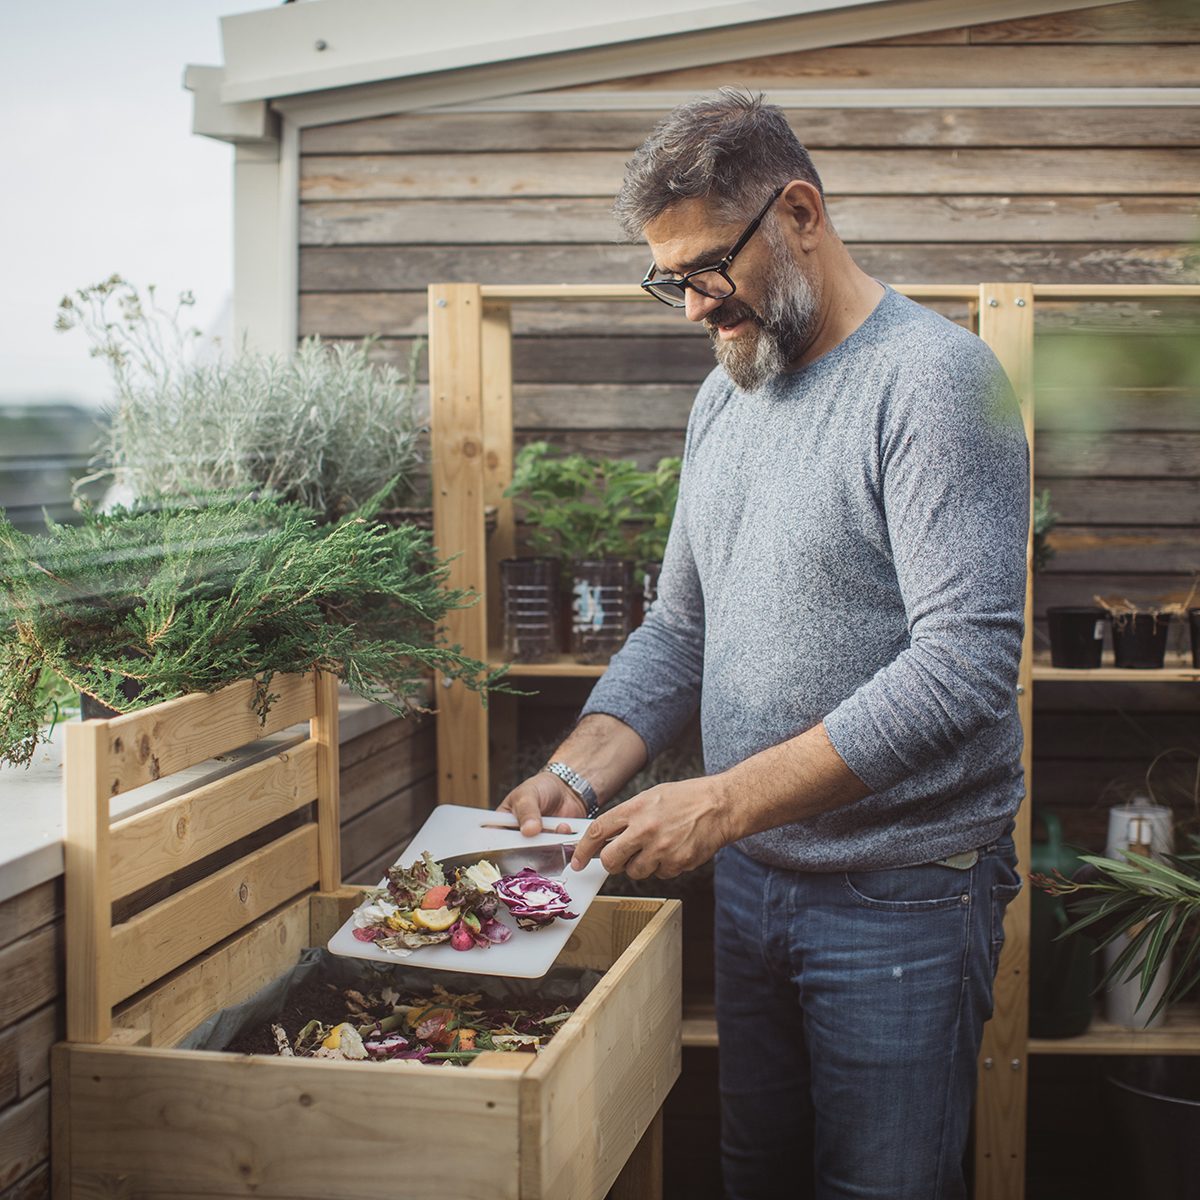
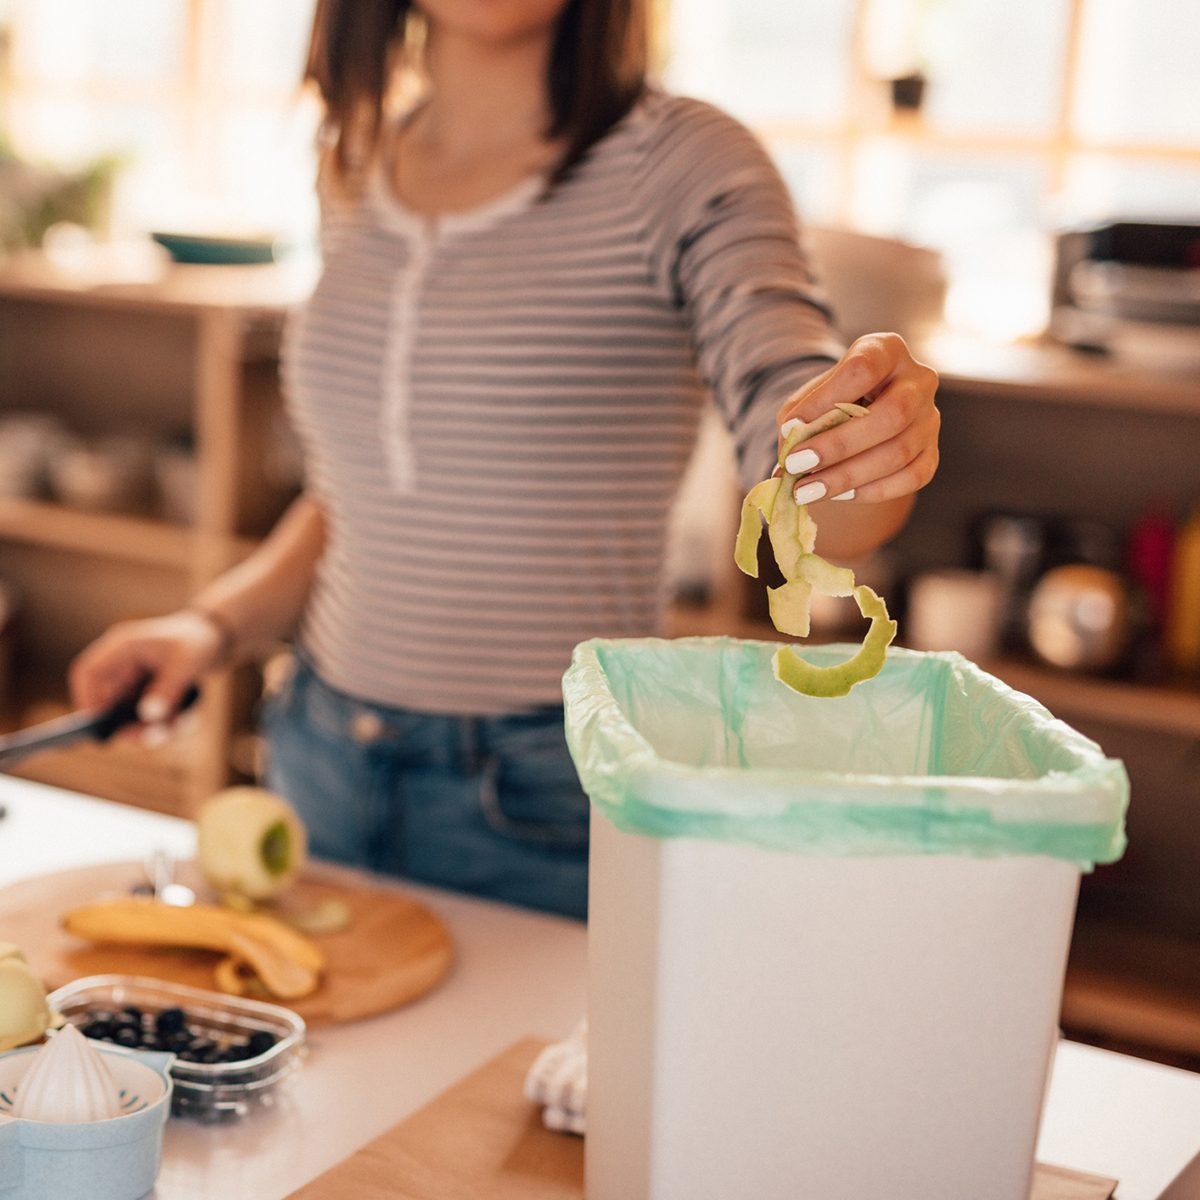
How can you compost at home?
You can start by making or buying a compost bin to keep your decomposing waste contained, ideally in a shady corner of your yard. It’s important to constantly add water and mix up the waste with a shovel, pitchfork or another yard tool. Some people cover outdoor compost bins with a tarp to hold in moisture and promote decomposition.
So what about indoor composting? The process is the same but on a smaller scale. Keep a small, kitchen-friendly compost bin on your countertop or next to your trash can. If you want to try indoor composting, it is important to maintain the correct ratio of waste types so that you don’t attract bugs. The good news is that even if you don’t have the capacity to compost in your own home, you may be able to bring food scraps to your local farmer’s market for collection. New York City, for example, has drop-off sites around the city. If you’re worried about scraps beginning to rot before you can take them to the farmer’s market, freeze your waste. This stops the decomposition process in its tracks. Get more info on how to start composting here.7 / 12
 CURTOICURTO/GETTY IMAGES
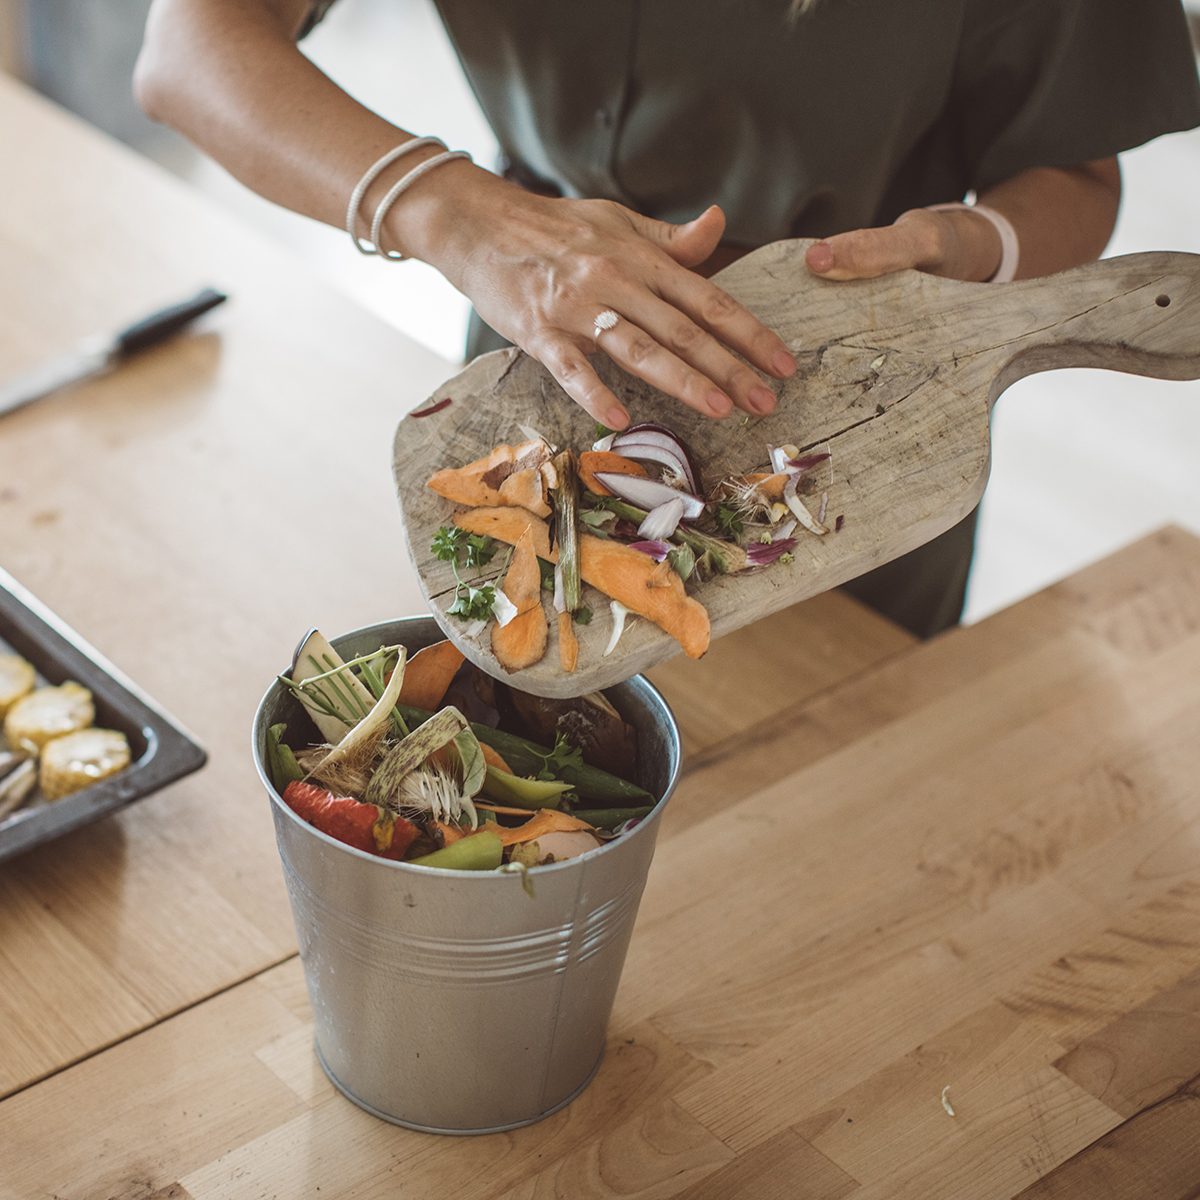
What can you compost?
It’s tempting to compost anything that seems like it could decompose naturally, but you might end up with a compost pile infested with insects or rodents. So carefully consider what you compost. Remember, it’s always easier to add more to the compost pile than remove stinky waste. Per the EPA, the following items are OK to compost:
- Grass clippings and tree leaves
- Vegetable and fruit scraps
- Eggshells
- Plain rice or plain pasta (no oil or butter)
- Coffee grounds
- Teabags and tea leaves
- Black and white newspaper or plain white printer paper
- Unprinted cardboard
- Vegetarian animal feces (e.g. cows, horses, rabbits, hamsters, etc.)
- Sawdust or wood shavings
- Hair clippings
- Cut flowers
- Dryer lint
- Ashes (make sure they’re completely cool before adding to your pile.)
Find out the food scraps you didn’t know you could eat.8 / 12
 SKYNESHER/GETTY IMAGES
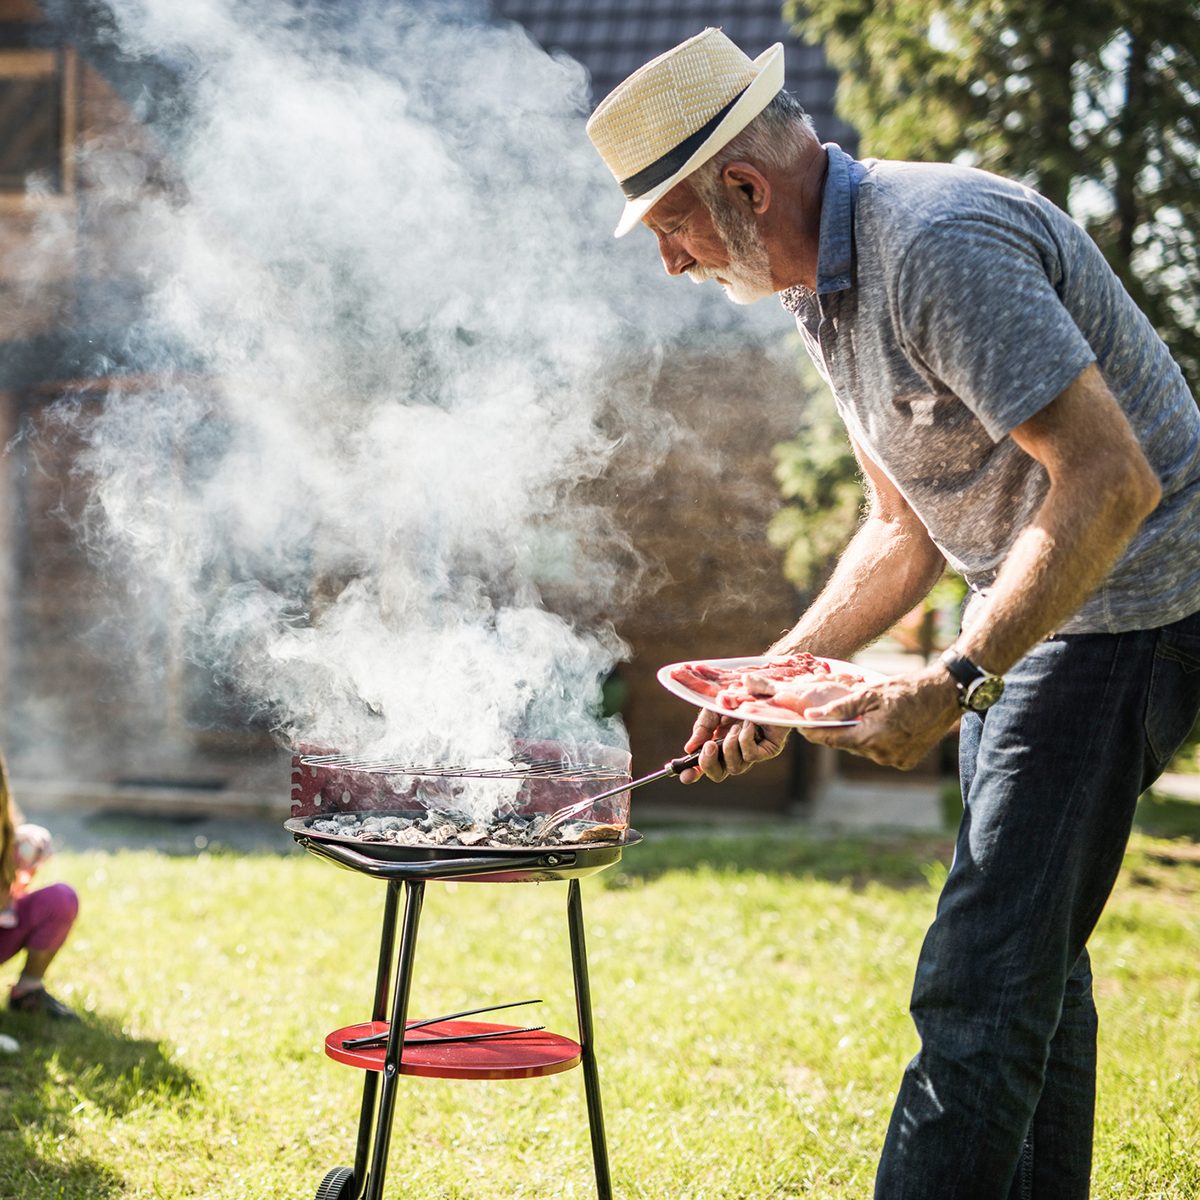
What can’t be composted?
Any waste that seems unhealthy or dangerous in your house is also dangerous in your compost pile. For instance, if you have a houseplant that dies of insect infestation or plant disease, don’t compost the leaves. You should also skip composting these items:
- Anything dairy
- Food scraps that include dairy, oil or meat (these foods attract rodents and bugs)
- Whole eggs
- Charcoal or coal ashes
- Meat
- Dog or cat waste
9 / 12
PIOTR_MALCZYK/GETTY IMAGES
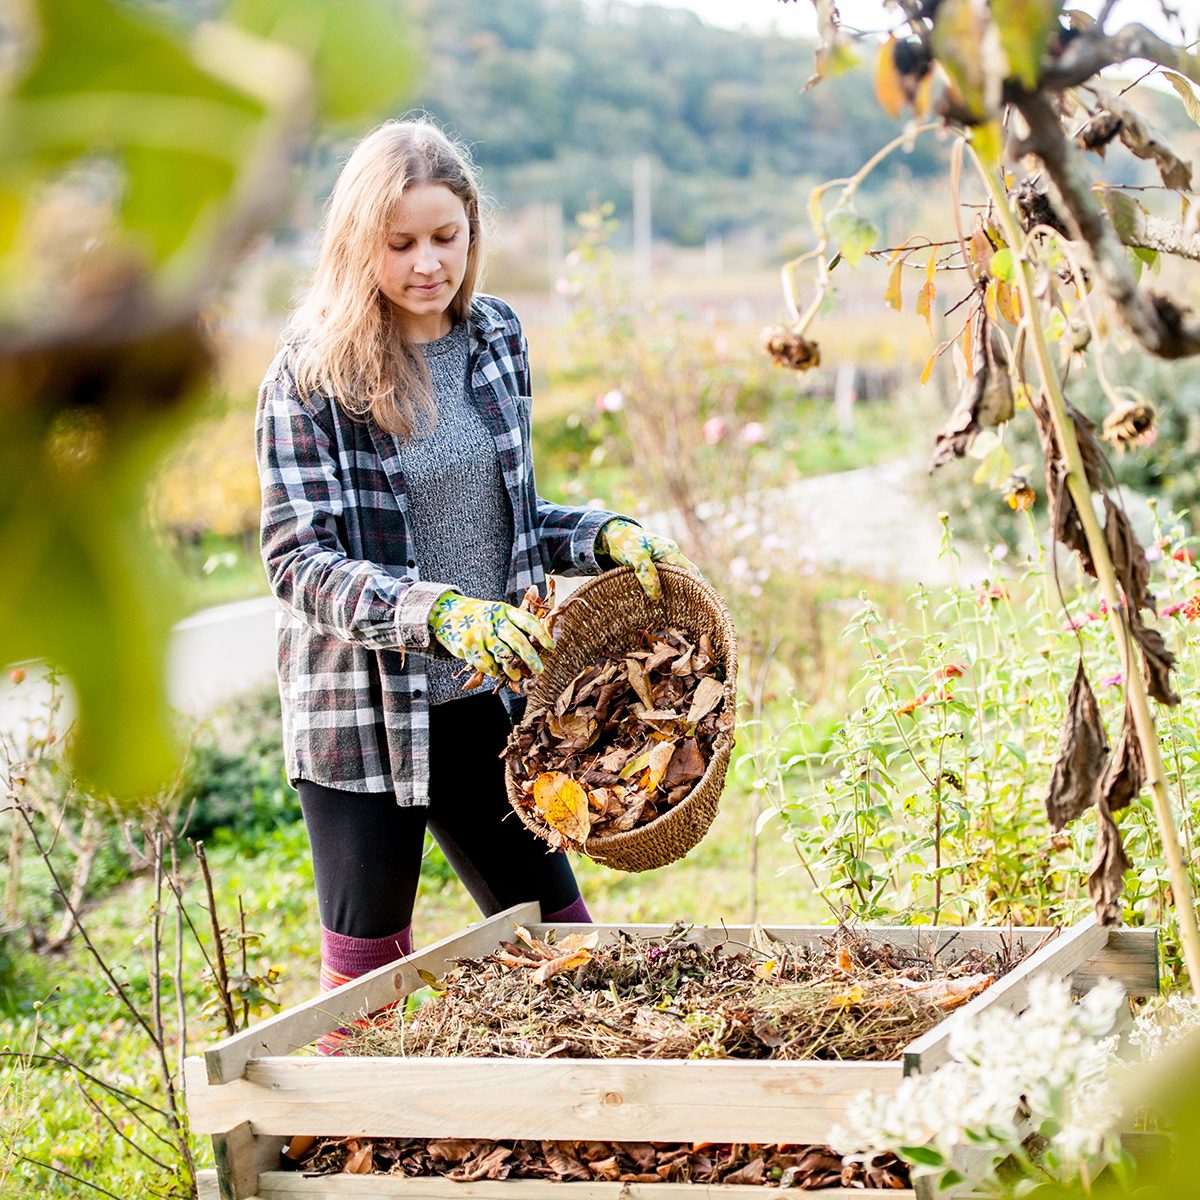
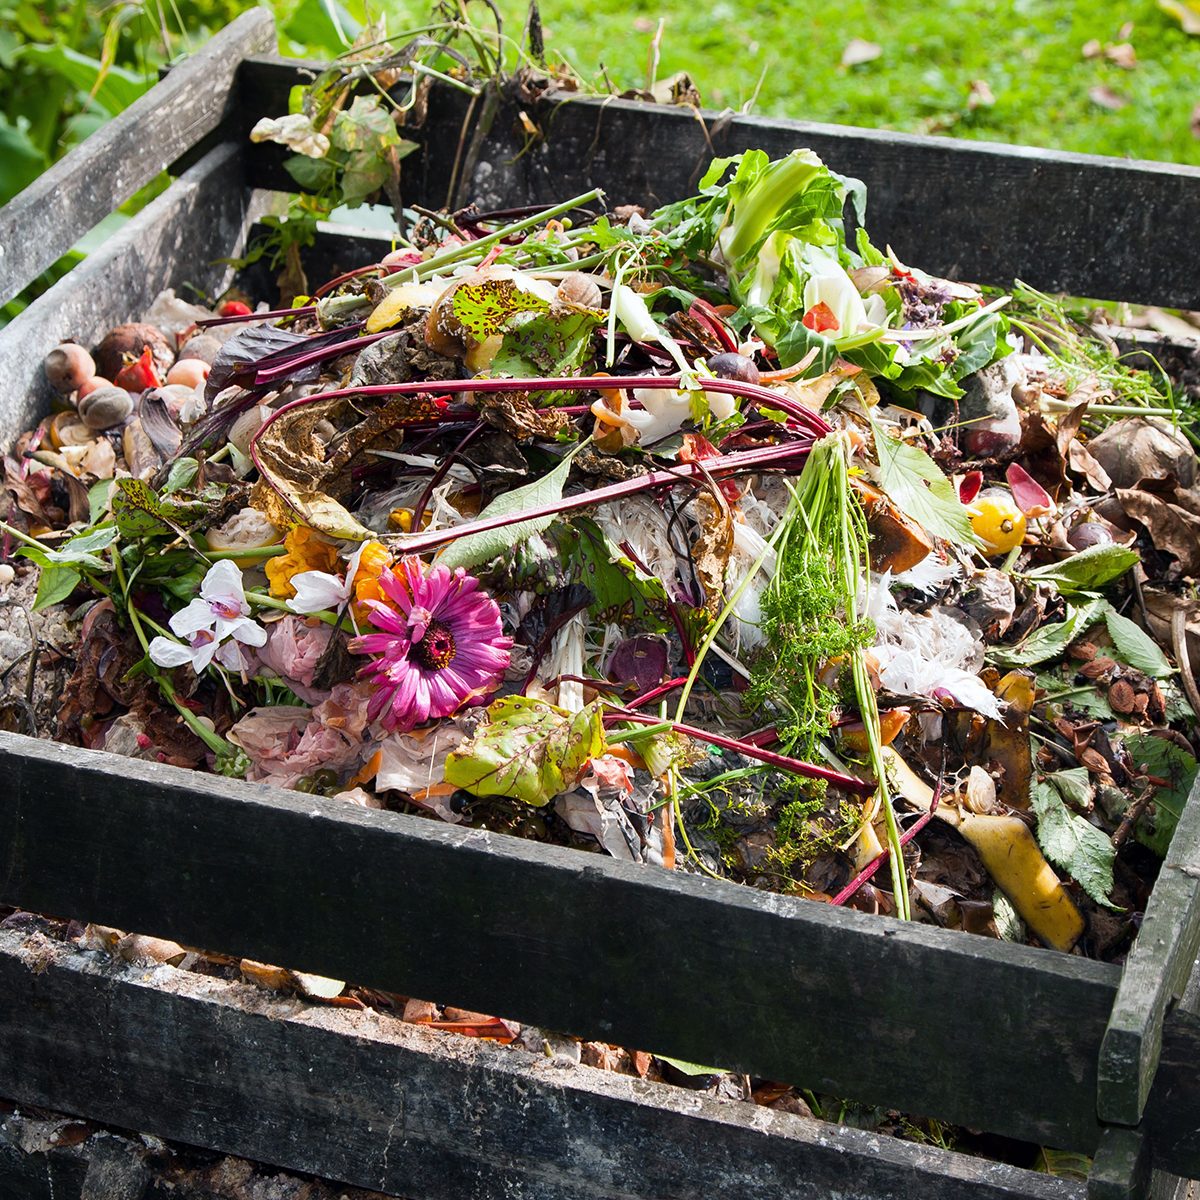
How to keep a balanced compost pile
Healthy compost piles have a 50/50 mix of browns and greens—brittle dead things and organic scraps, according to the EPA. Brown waste supplies carbon and it comes from twigs, dried leaves or even broken branches. Green waste, including food scraps, grass clippings and coffee grounds, supplies nitrogen. Your compost pile requires one other key ingredient: water. Keep your compost pile moist, but not saturated with water. Stir it up often to mix the green and brown scraps. Find out how to cut back on food waste.10 / 12
 SVETIKD/GETTY IMAGES
What tools make composting easier?
Composting is easy and cheap; you only need a bit of shade, water, and the right mix of organic waste. But composting can seem a little messy, which is where these tools come in.
- Some outdoor composters prefer using an aerator instead of a shovel to turn the soil.
- A pretty compost bin keeps the process neater and you won’t mind having it sit out on your kitchen counter.
- A compost microbe additive starter can jumpstart the process.
- Live composting worms eat their own body weight in organic waste each day, aerating the compost and adding fertilizer to the soil, which can help speed up decomposition.
Find out how to get the most out of your gardening tools.11 / 12

GYNANE/GETTY IMAGES
How to avoid bugs in your compost
Though composting is easy once you get the hang of it, there are several common issues many beginning composters struggle with for a while. Some composters overwater their piles, creating a slimy sludge, while others don’t water enough, growing a dusty pile of dirt. But one of the most common annoyances about composting is the insects. The UC Master Gardeners of Monterey Bay have a few tips for dealing with pests: “Raise the heap’s temperature to above 120°F…Turn the pile over and rebuild it, watering it well as you go. If it contains lots of leaves or straw, mix in a nitrogen source like blood meal, manure or shellfish shells. It should start heating soon, and when it does, those bugs will depart for a more comfortable place.” By the way, here’s how to revive a nearly dead plant.
12 / 12
What to do with finished compost
So you’ve successfully turned your first batch of food scraps until they’ve turned into a beautiful dark brown soil—congrats! Now, what should you do with the fruits of your labor? The Minnesota Pollution Control Agency recommends spreading compost over the low spots in your yard. This is a cheap, effective way to level your lawn. You could also use the compost for re-potting plants or mulching around bushes or outdoor gardens. Read on for the backyard trends you should try this season.