Rub wax paper over your faucets to keep them shinier and water-spot free!
Cleaning ceiling fans can be a real pain! It typically involves covering the entire bed or couch with a sheet so the dust doesn’t fall all over, then vacuuming again and again (and again!) to make sure it gets picked up… I seriously HATE it! Problem solved completely by using a pillowcase to clean ceiling fans. (Tip from Real Simple)
Toss your Legos in a mesh bag and then put the mesh bad in your washing machine. The easiest, least painful way to get them all clean fast!
Clean your mattress by sprinkling baking soda over the top of it. You can add some lavender drops to make it smell pretty too!
Clean your blinds with a sock! Mix equal parts vinegar and warm water in a bowl. Put your hand inside the sock, then wet it with the vinegar mixture. Wipe the dust and dirt off your blinds and watch as it cleans the top and underside the same time!
I recently had a customer ask me if I could make a shamrock to go on her daughters skirt instead of the usual flower. My answer was, “Sure, I don’t know how I’ll do it, but it will be fun to figure it out!” And sure enough…. it was fun figuring it out. Now that it’s “figured out”, I might as well share and let you have some fun with it too.
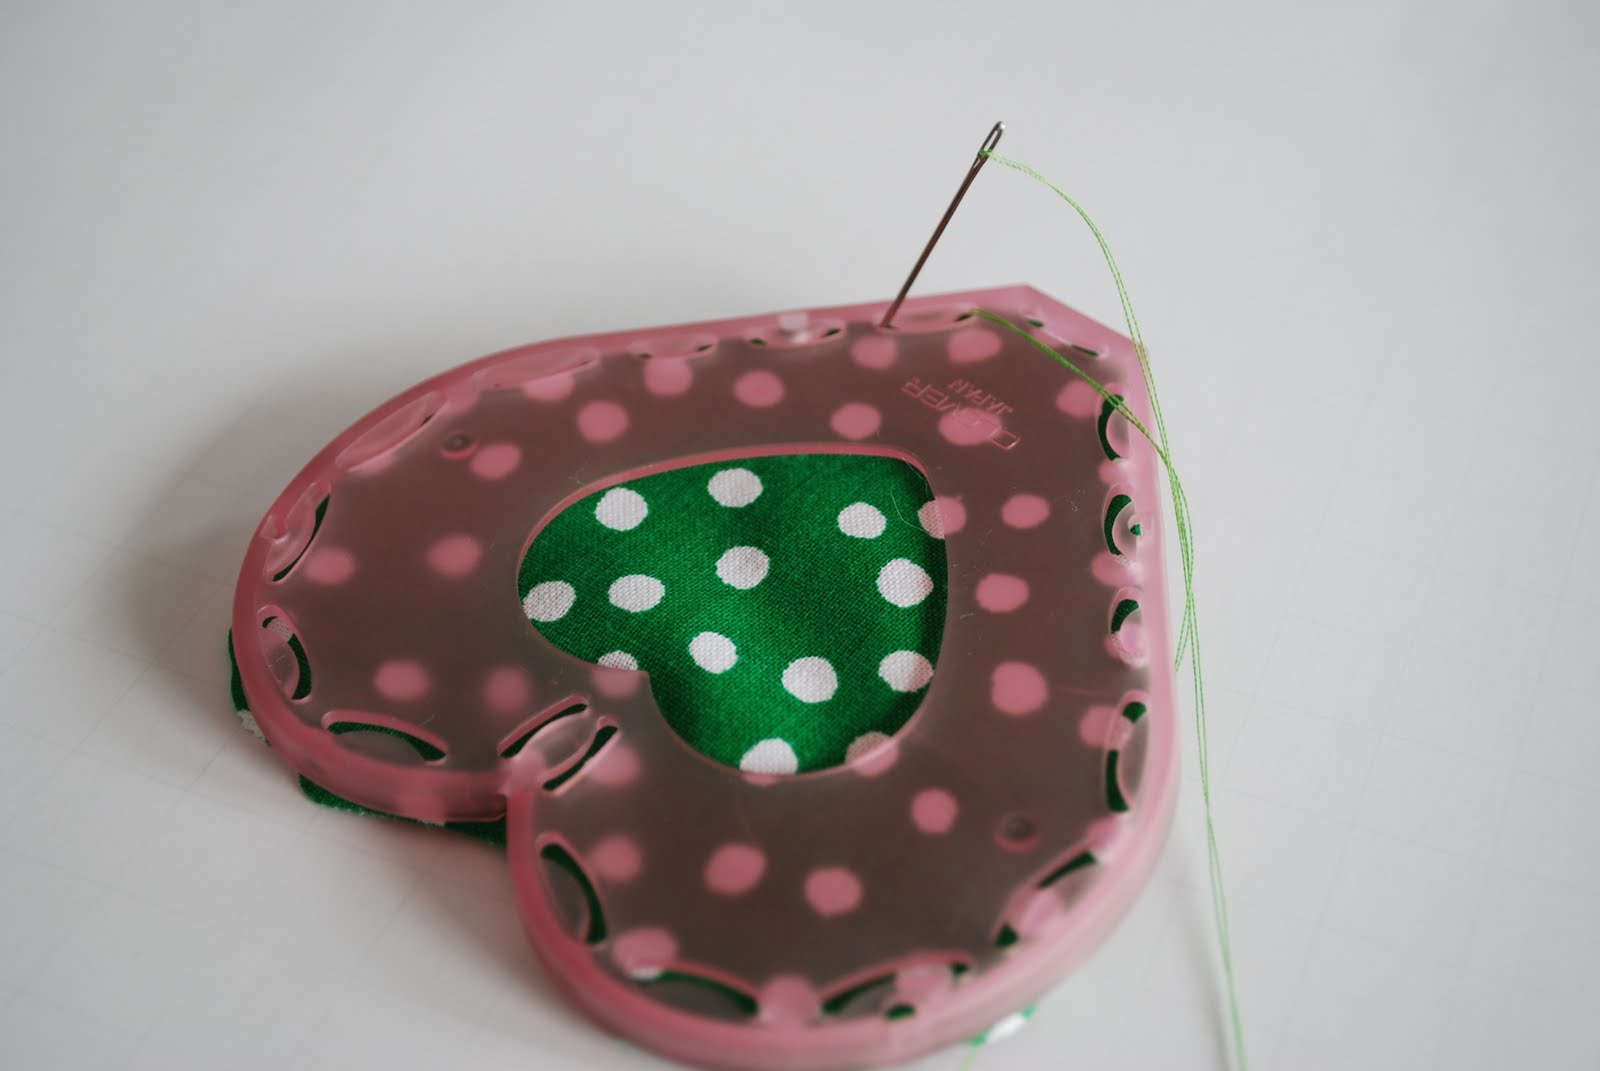
You will need: green fabric thread and needle Clover yoyo maker is optional (Clover is the brand, not the shape. They do have a shamrock shaped yoyo maker but I thought it looked more like a flower than a shamrock. I think the heart shaped one works better.)
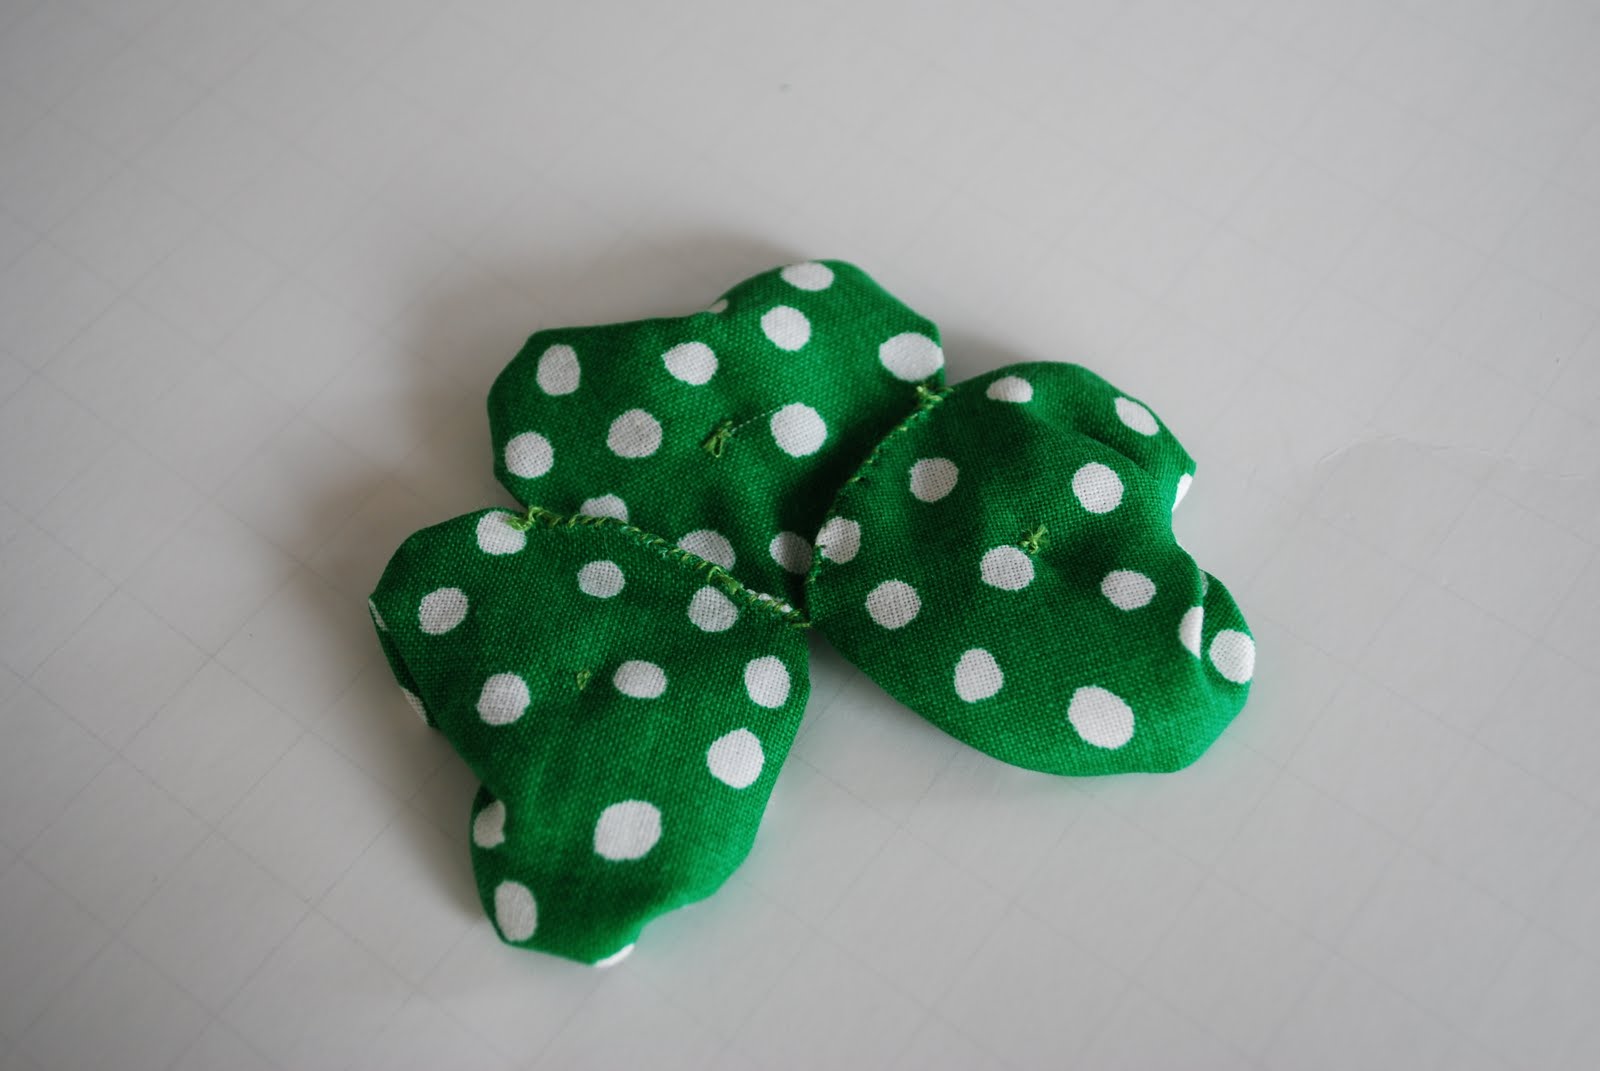
Make 3 heart shaped yoyo’s If you’re using the yoyo maker just follow the instructions. (obviously)
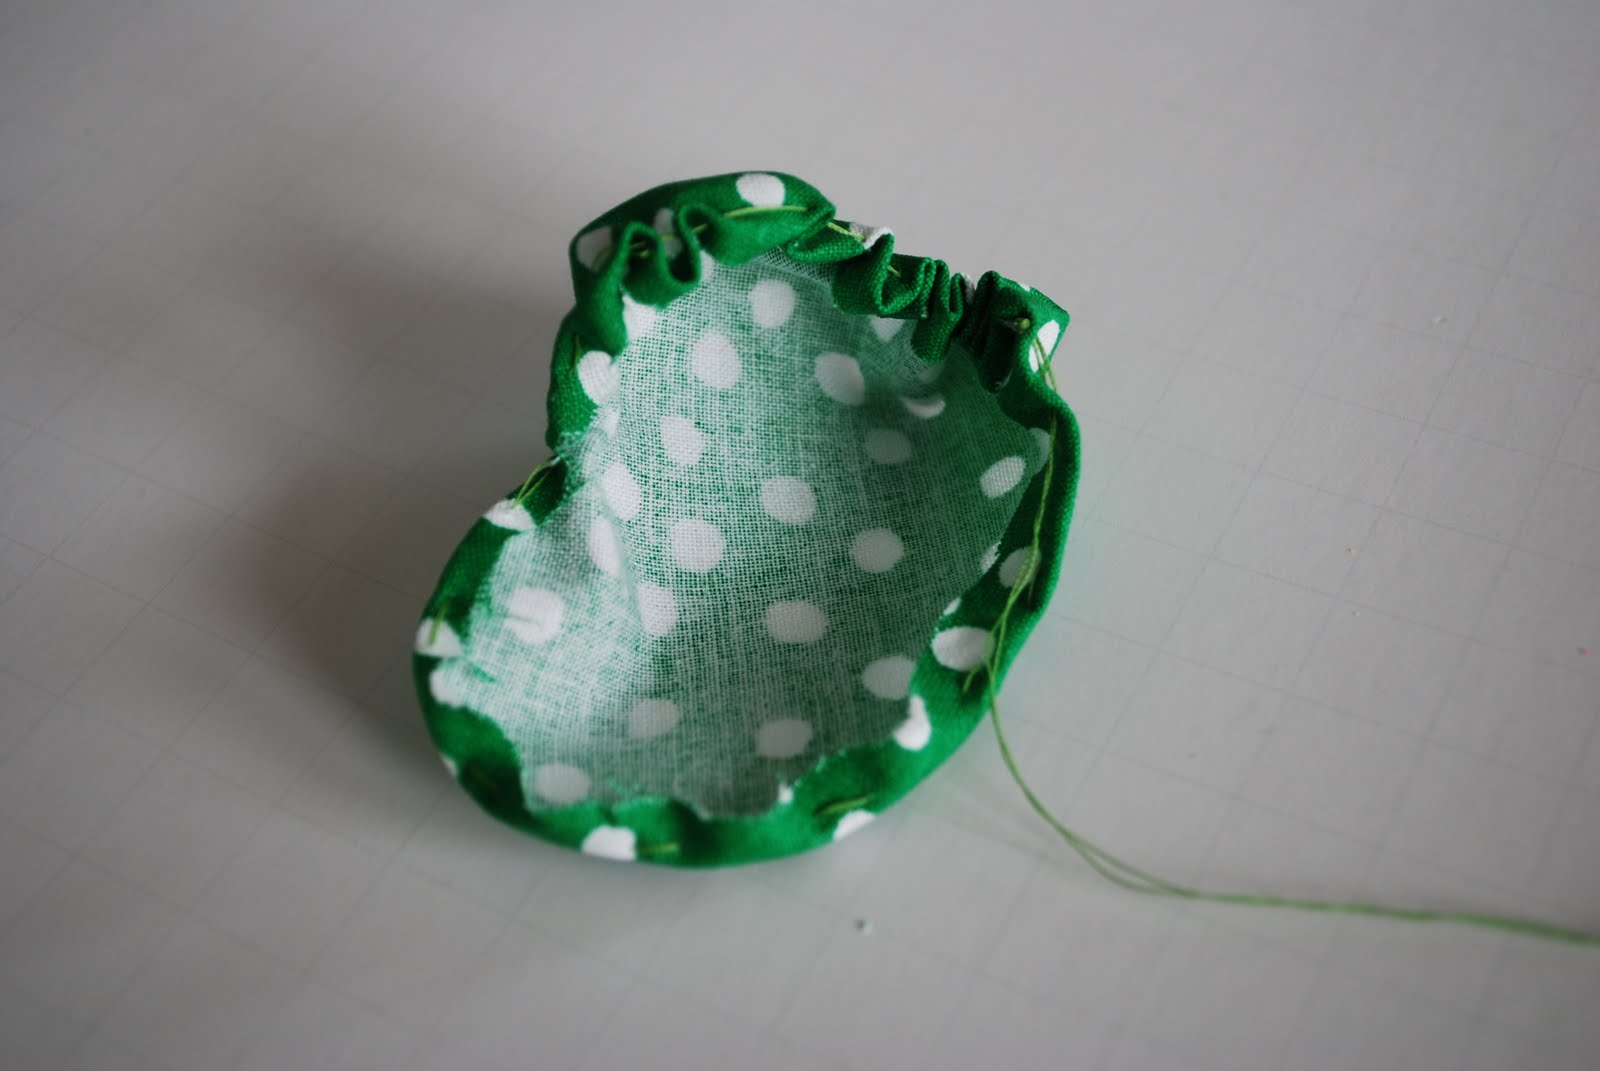
When you take it off of the yoyo maker it looks like this, so I’m thinking you could just stitch around the edge of a heart shaped piece of fabric if you didn’t want to get the yoyo maker.
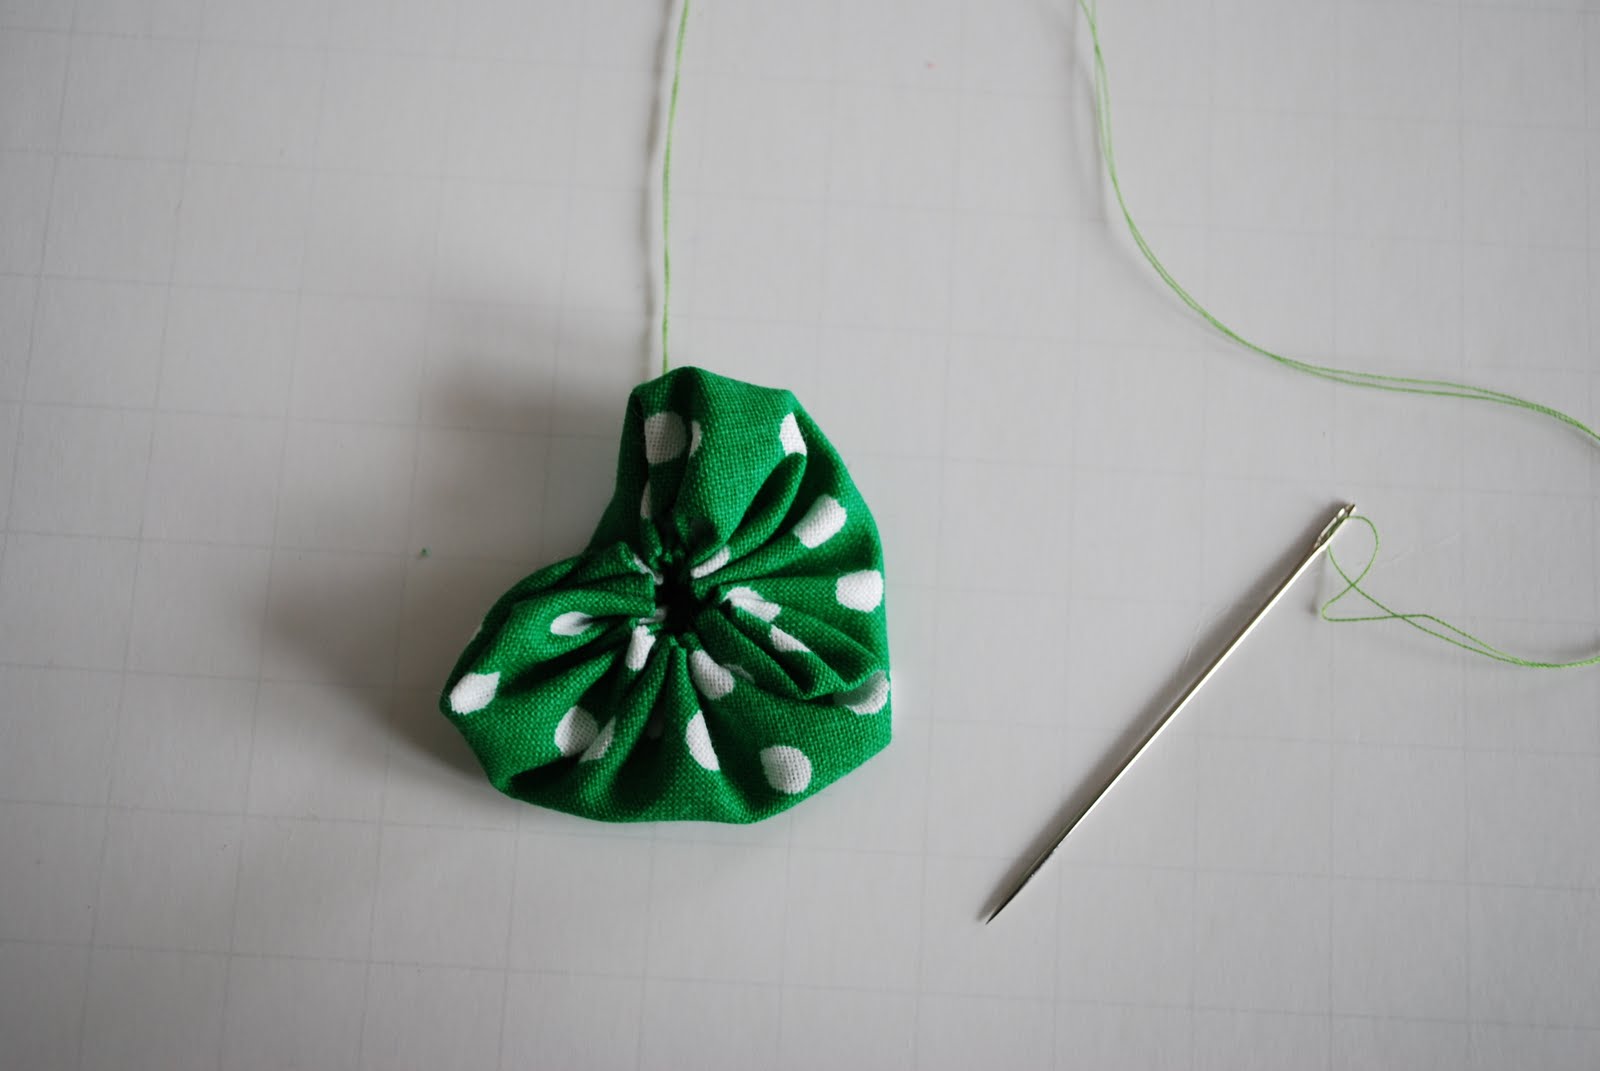
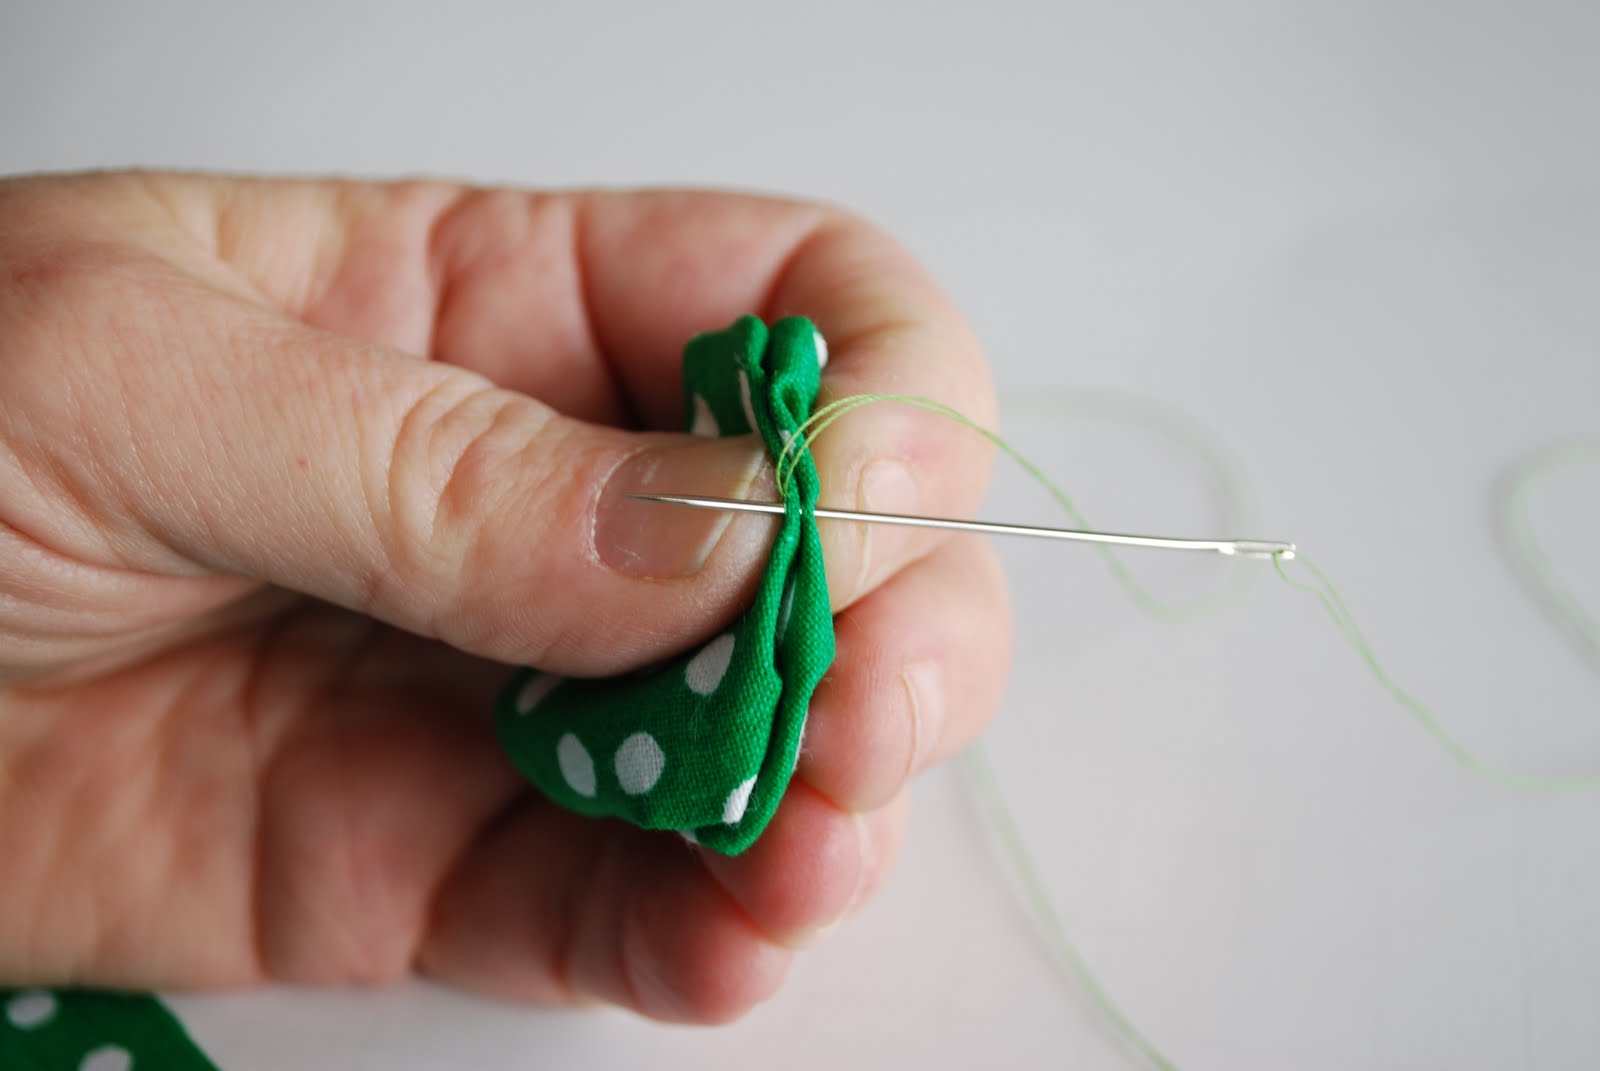
At this point you’ll want to just pull on the thread to gather the heart into….
…a smaller, rufflier version of itself!
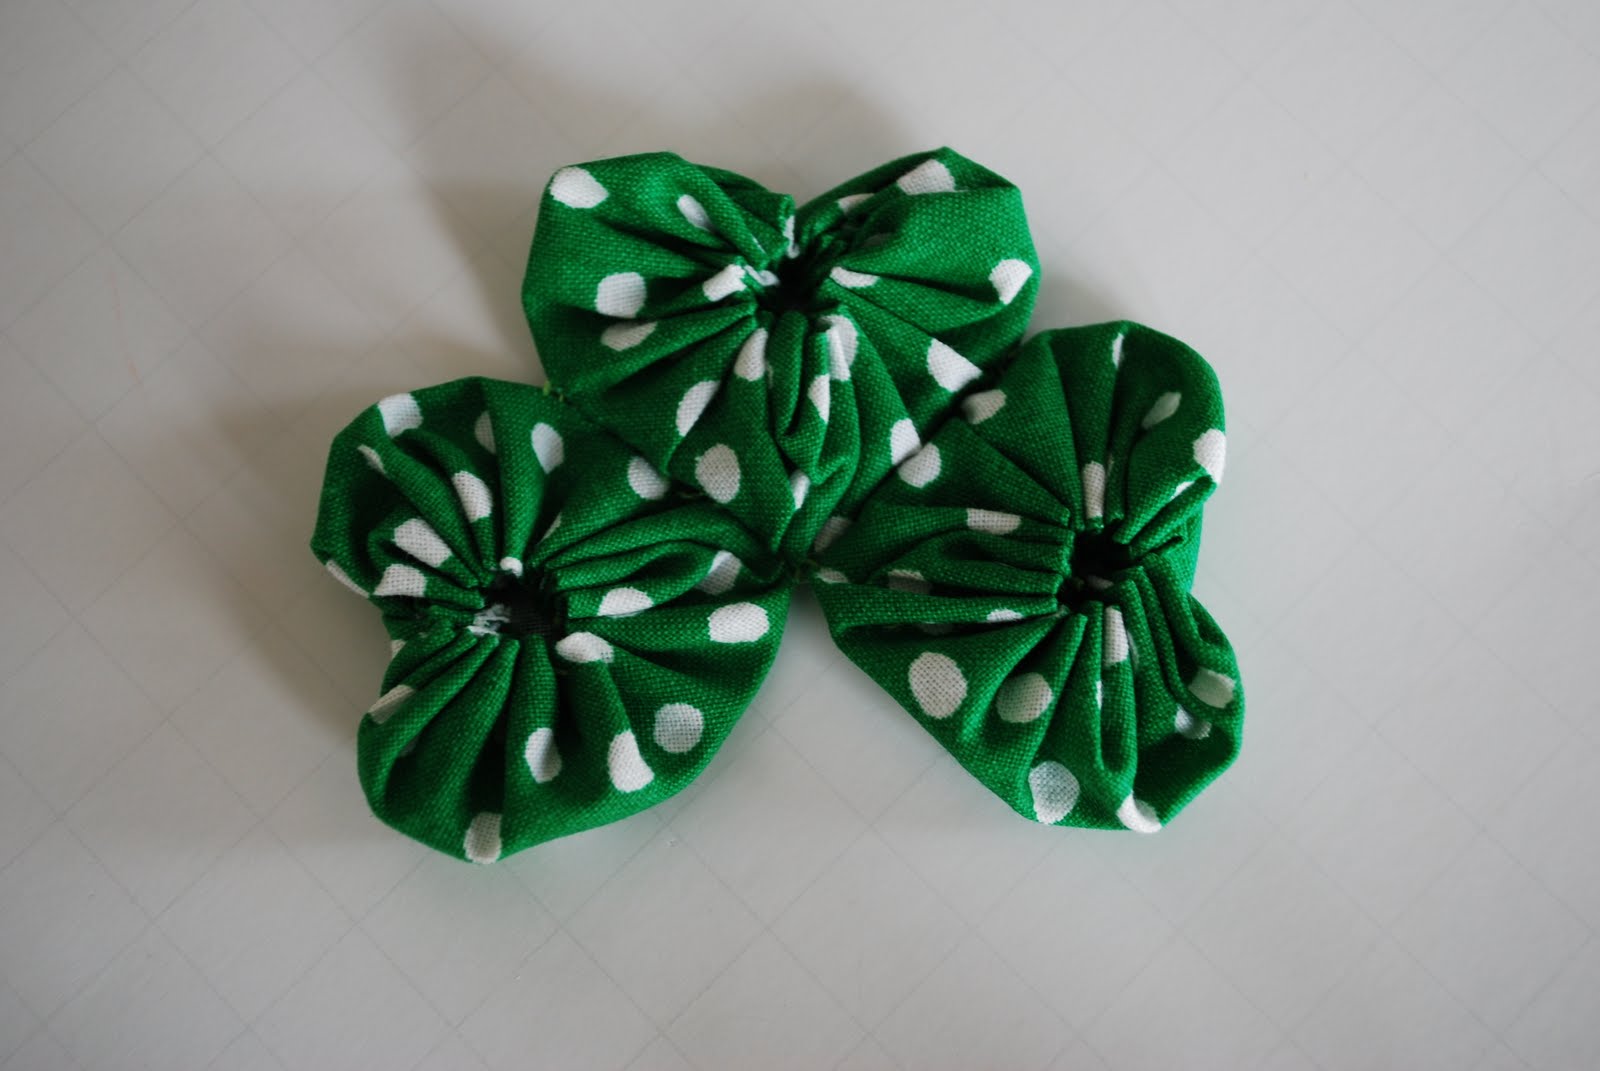
Lay 2 of the hearts (RIGHT SIDES TOGETHER) and hand stitch them together. Begin about 1/3 of the way down and go all the way to the point at the bottom.
This is why I wrote RIGHT SIDES TOGETHER in all caps!OOPS….just keepin’ it real. Time out while I unpick and try again.
There we go, much better. Do the same thing with the 3rd heart.
You’re almost done.
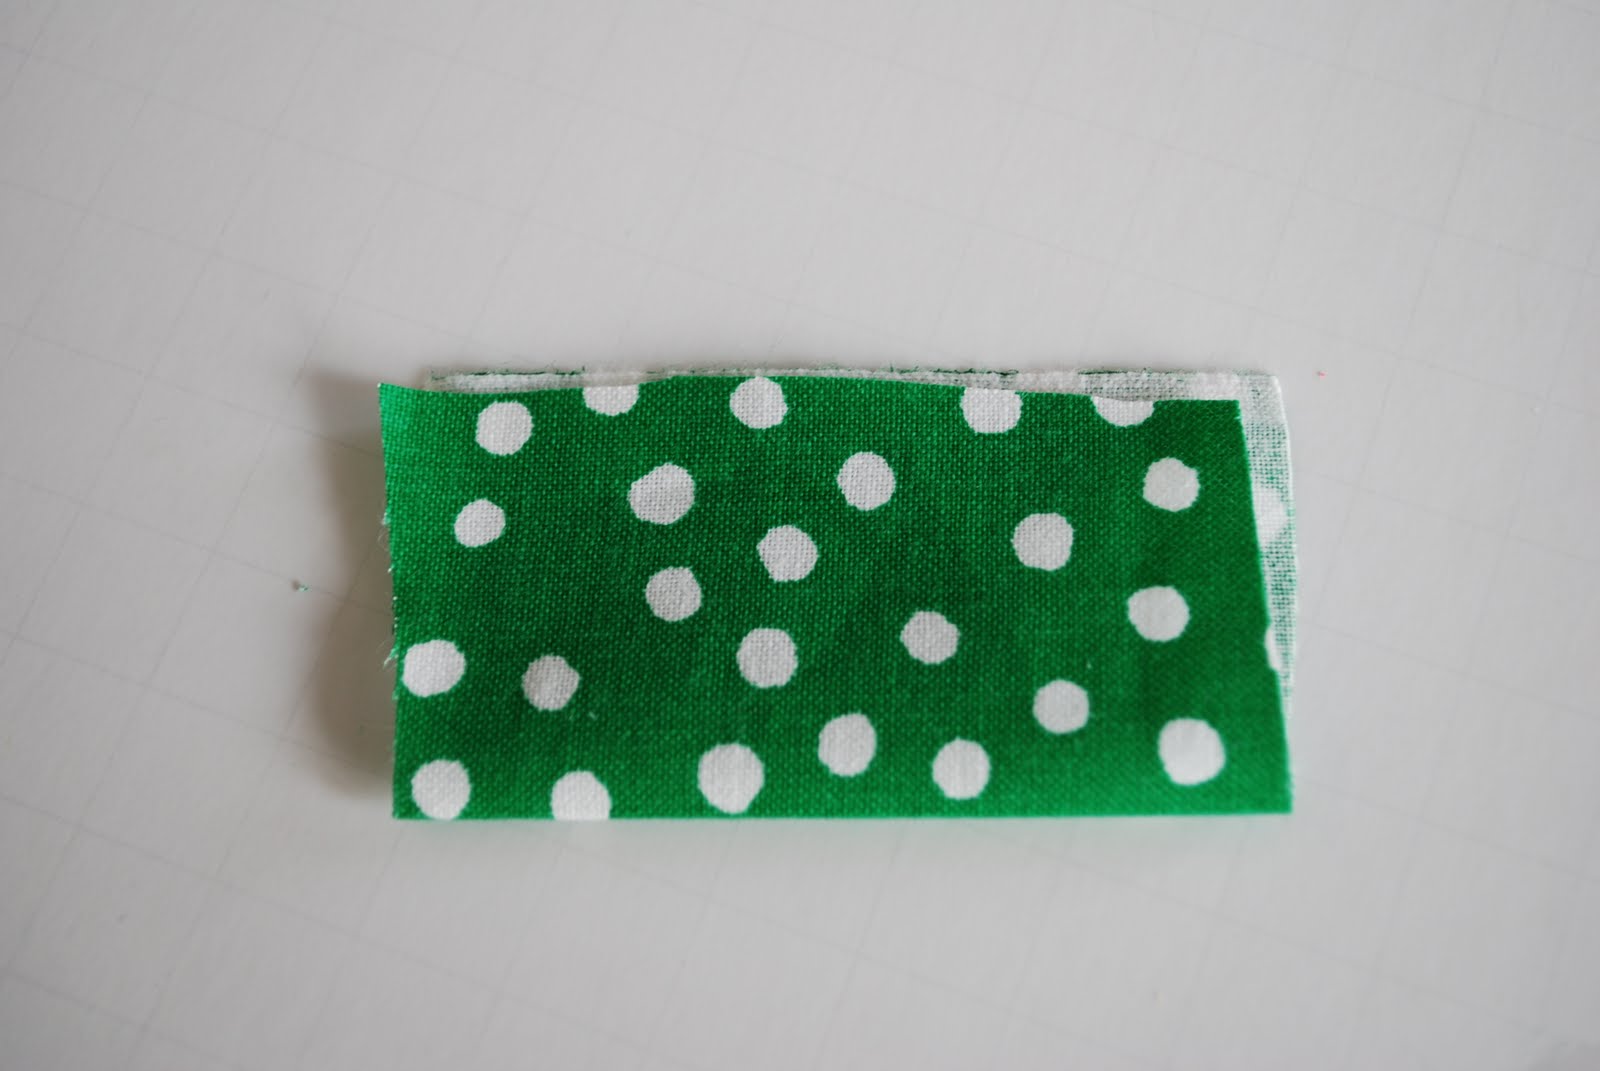
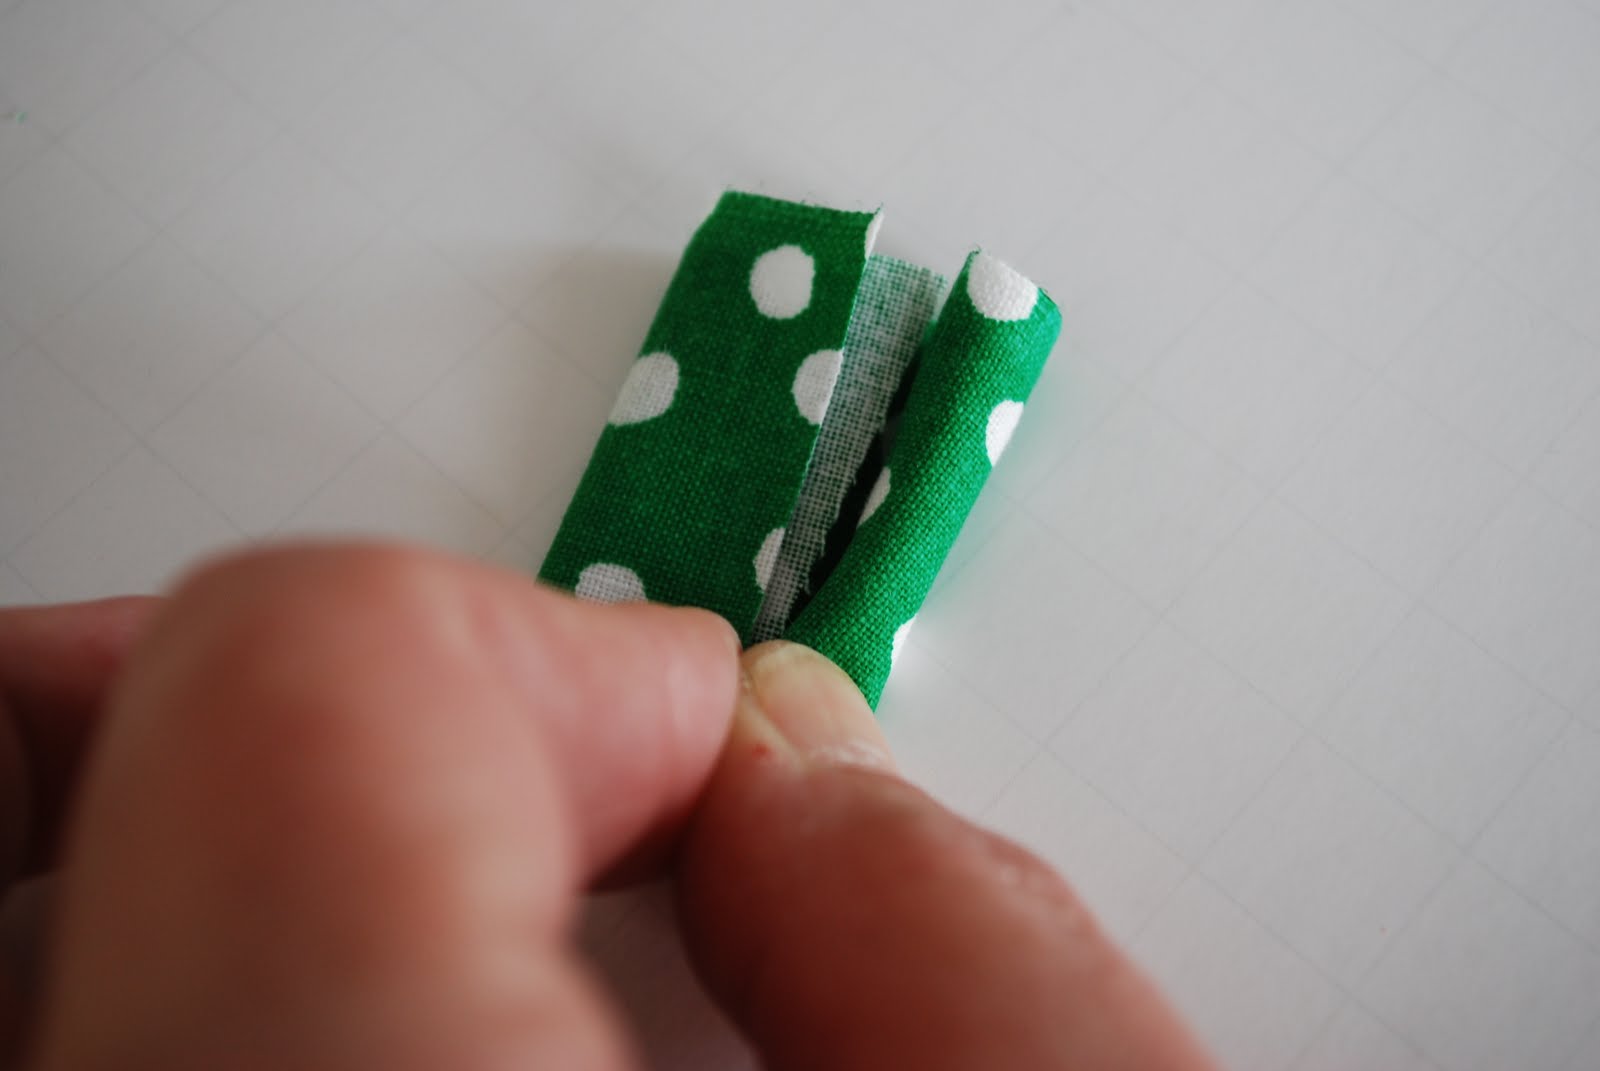
For the stem you will want a rectangle approximately 2.5 x 2 inches big.
Fold it in half so that the shorter ends are meeting.
Fold the two ends in a little bit. That way you only have one raw edge and that will eventually be beneath a little circle of felt.
Starting at one end, roll the piece of fabric into a stem.
Like so.
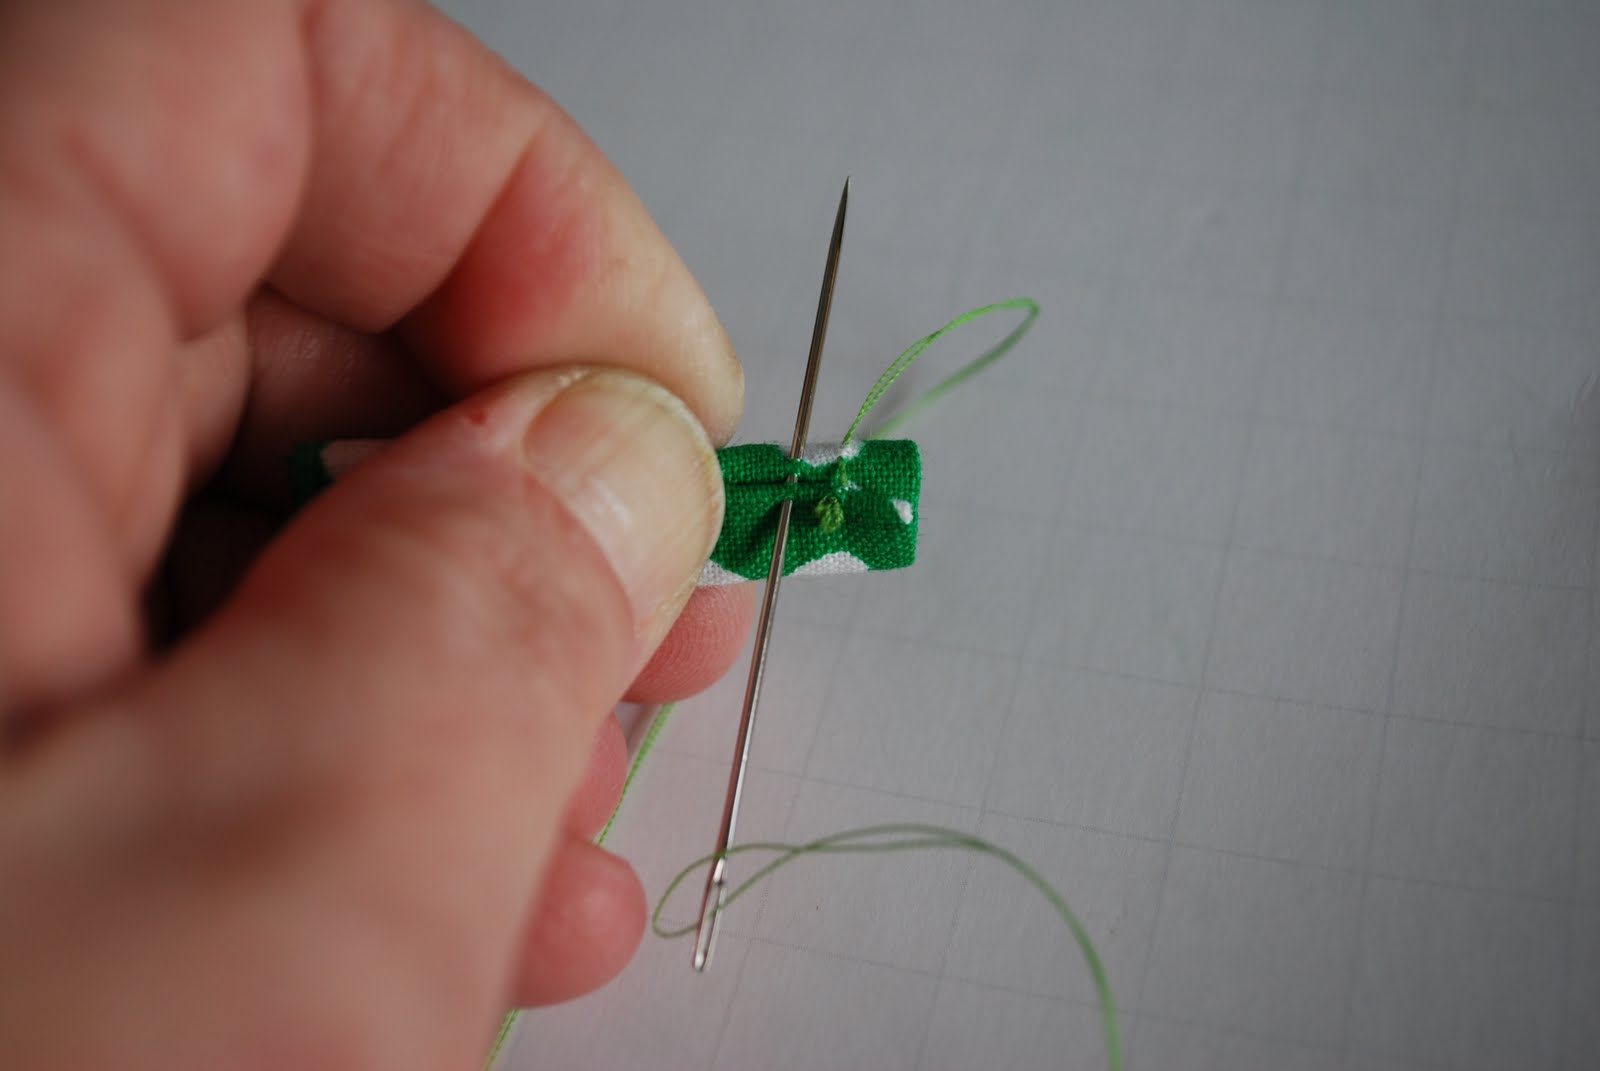
Hand stitch all the way down the back of the stem.Then stitch the stem onto the back of the shamrock.
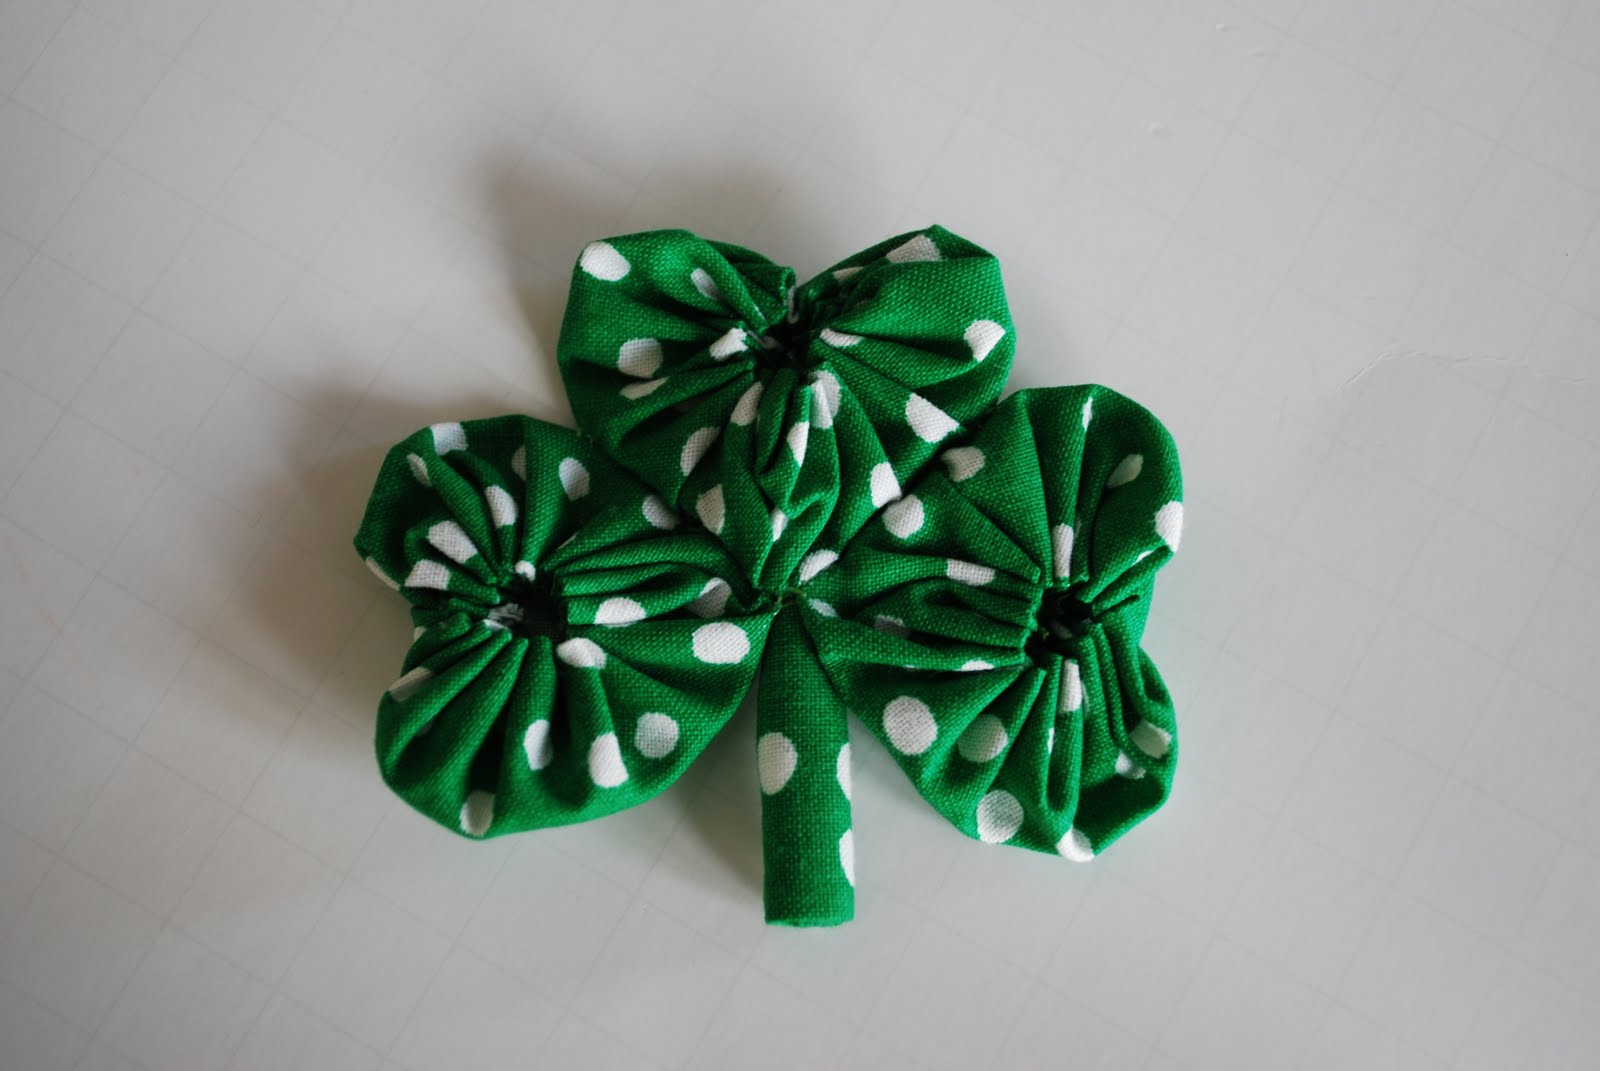
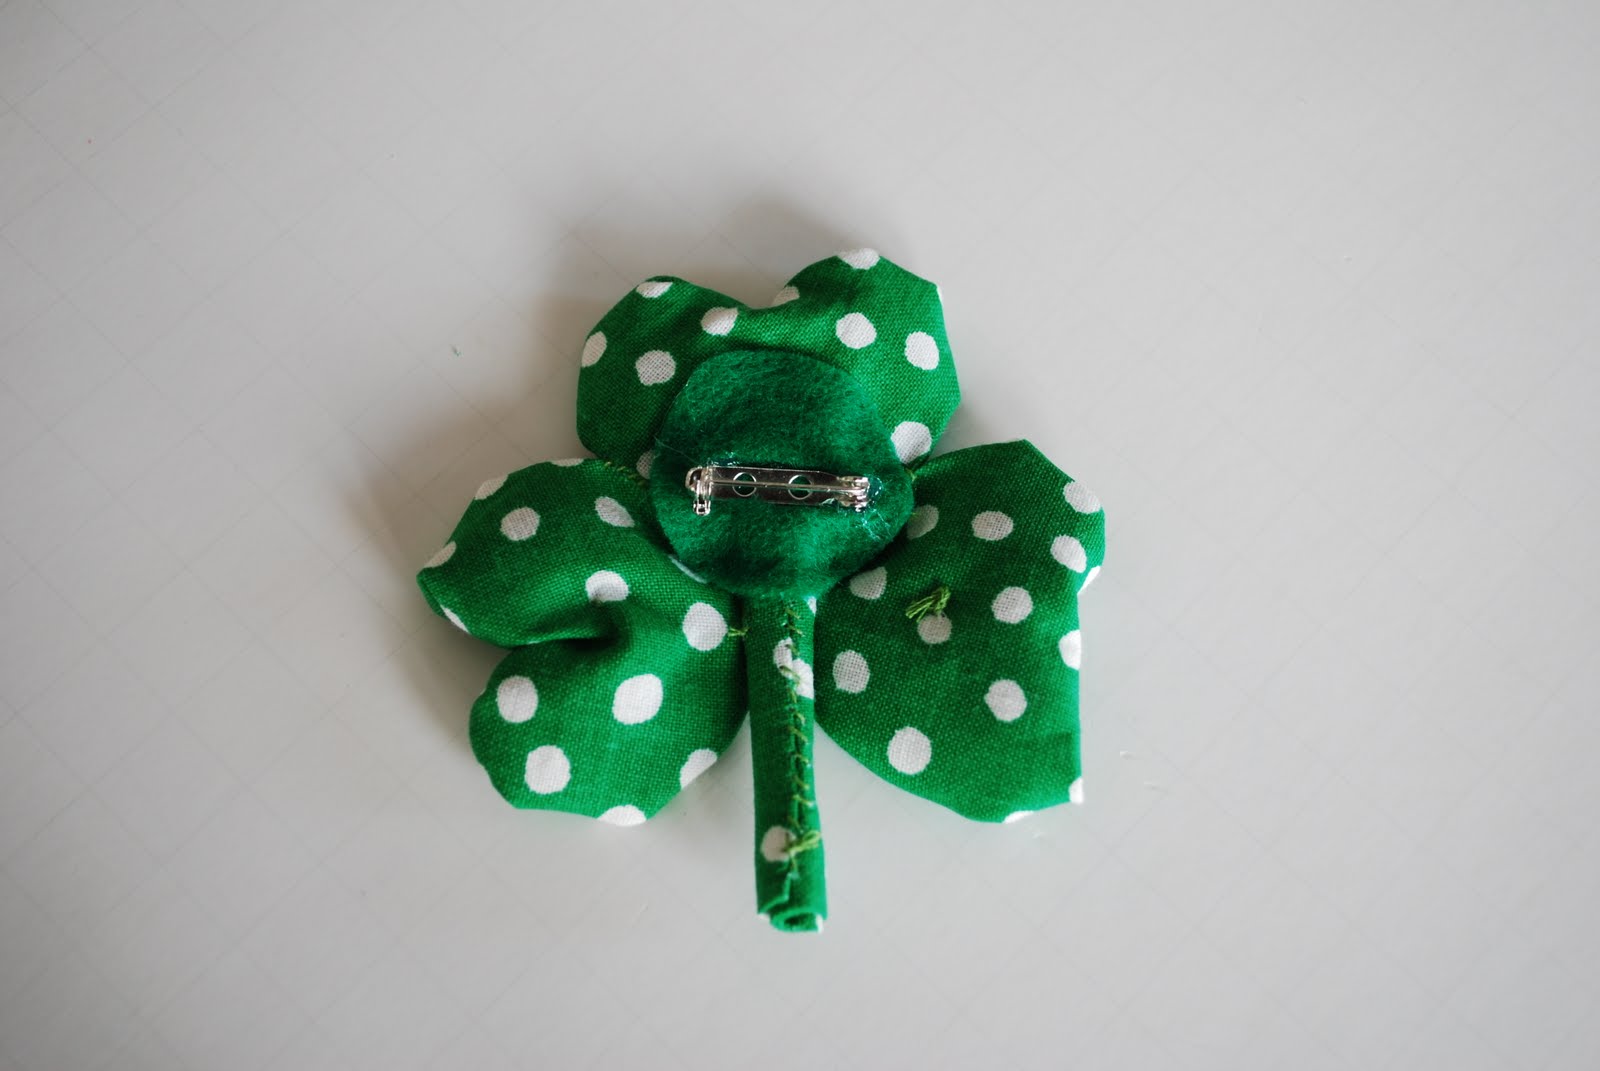
And there you go…. a polka dot shamrock!
To finish it off just add a circle of felt to the back. I added a pin, since they were going on skirts, but you could do so many different things with these. You could make a giant one for your door, put a bunch on a wreath, decorate napkin holders with them…just all kinds of things!
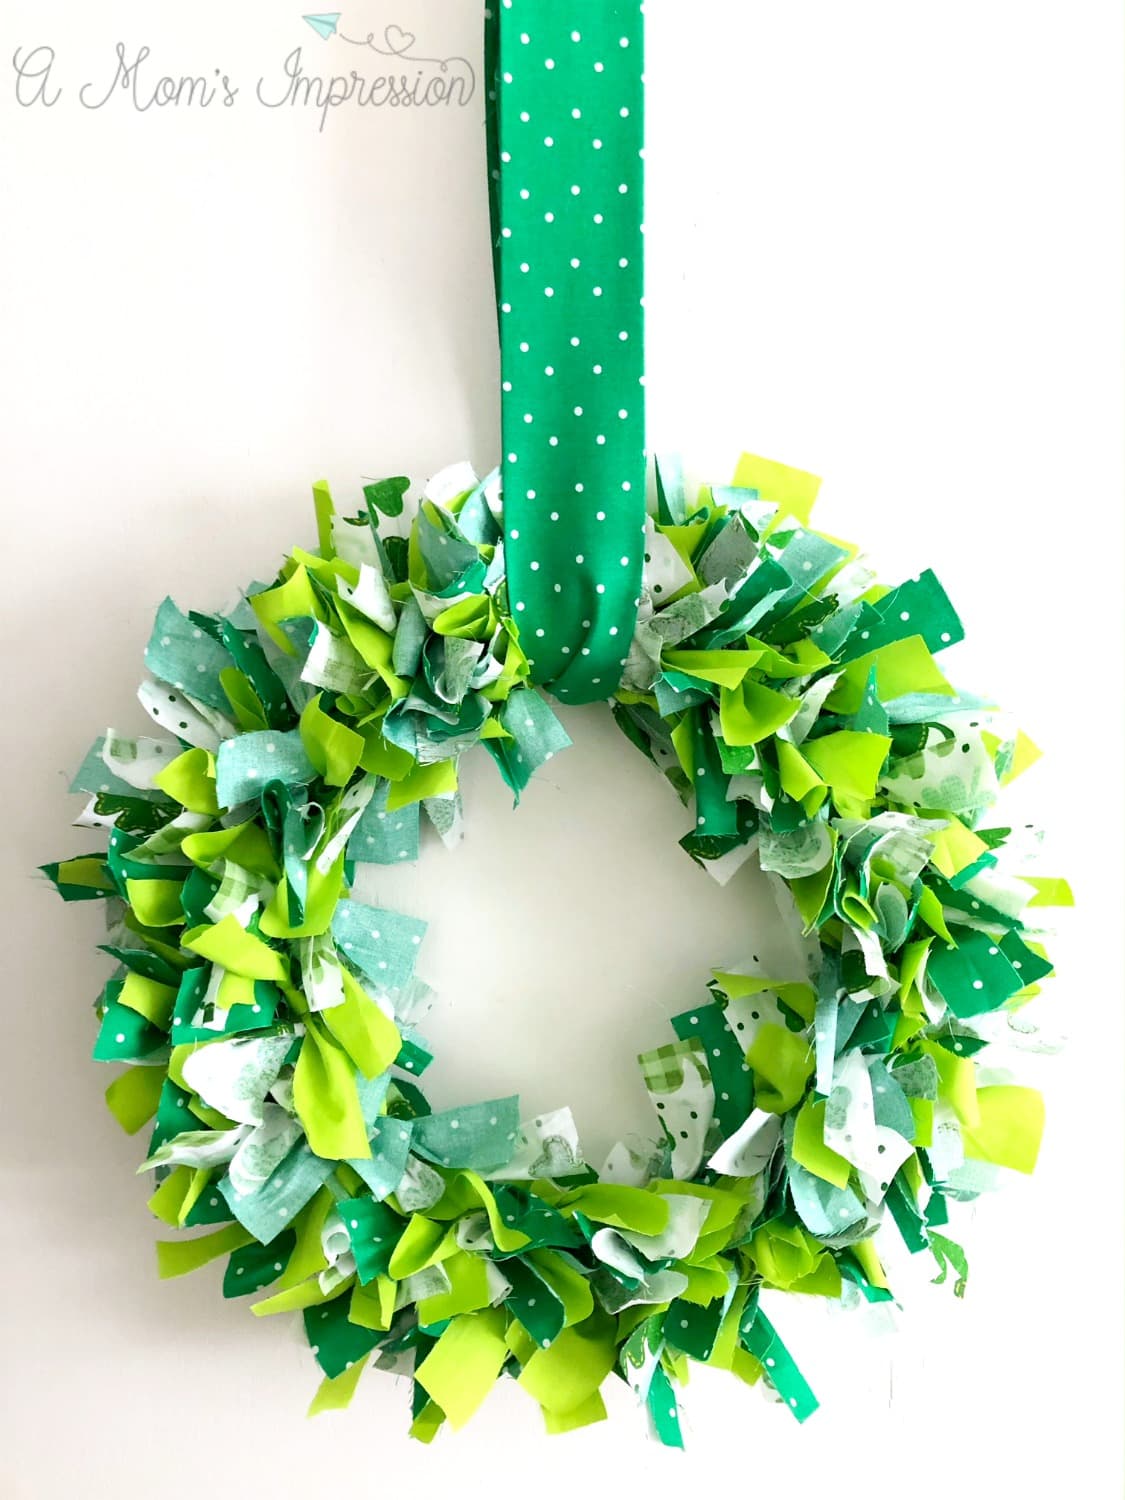
How to Make a Shamrock Wreath – DIY St. Patrick’s Day Decor Idea
This project was a bit time consuming, but it wasn’t hard at all. You can get your kids involved and make it a fun family project.
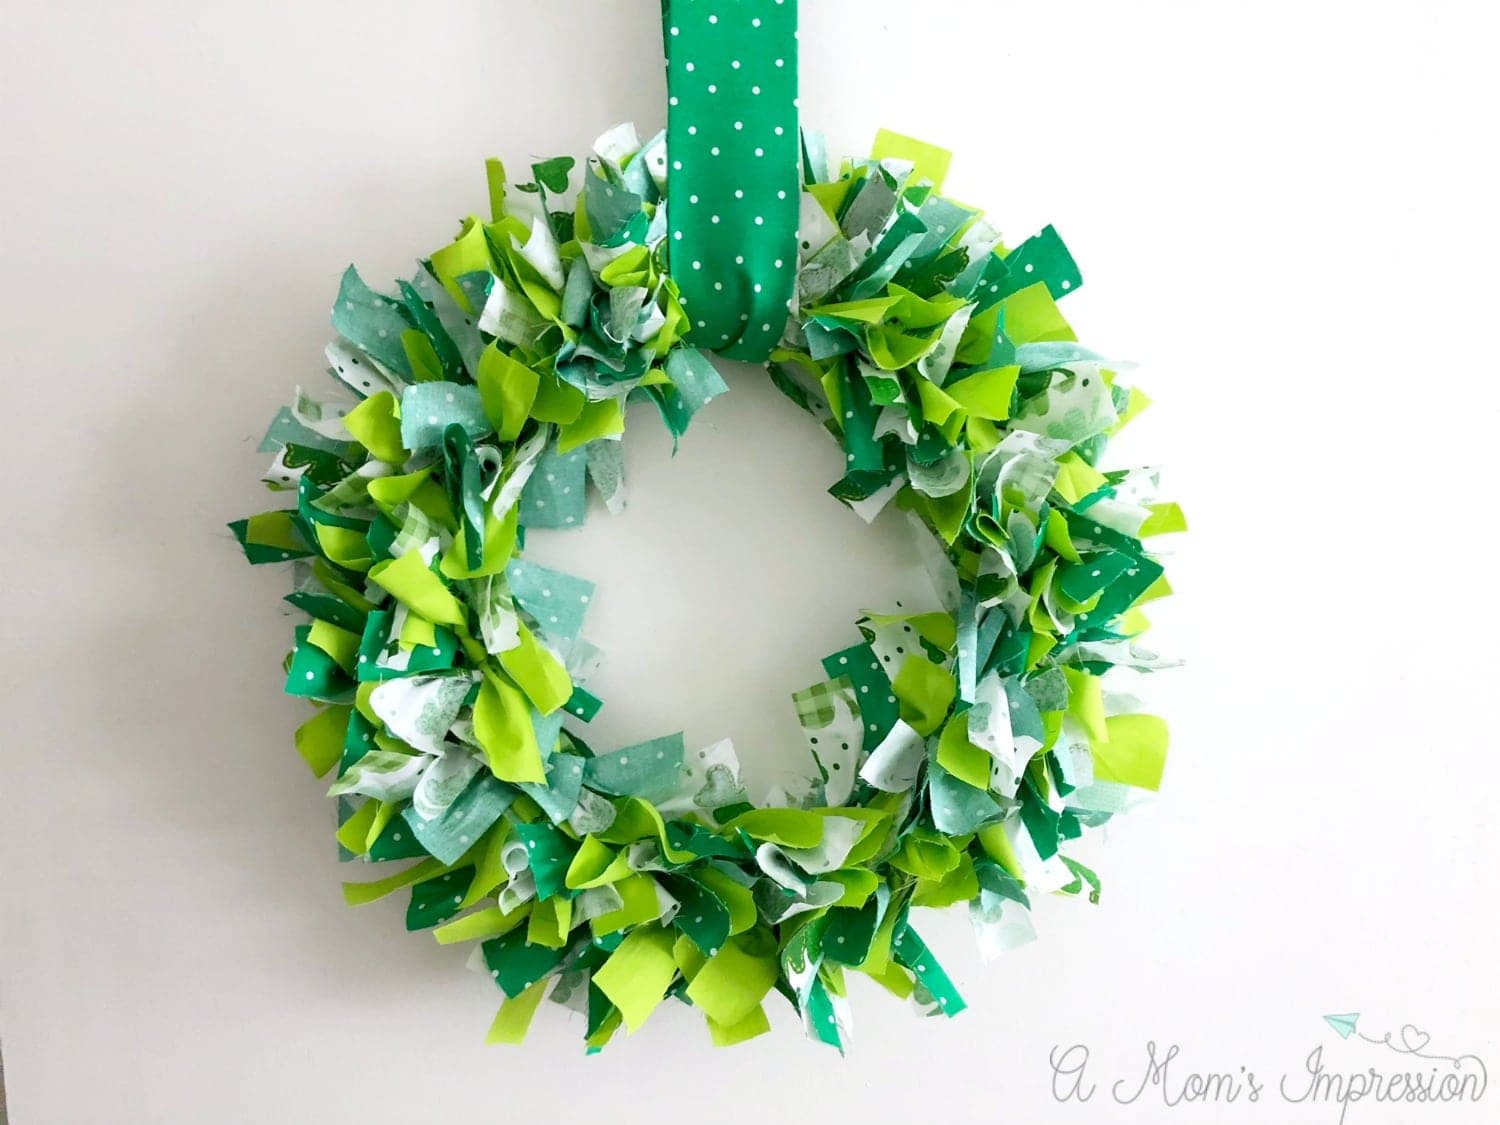
DIY Shamrock Wreath
Shamrock Wreath Supplies
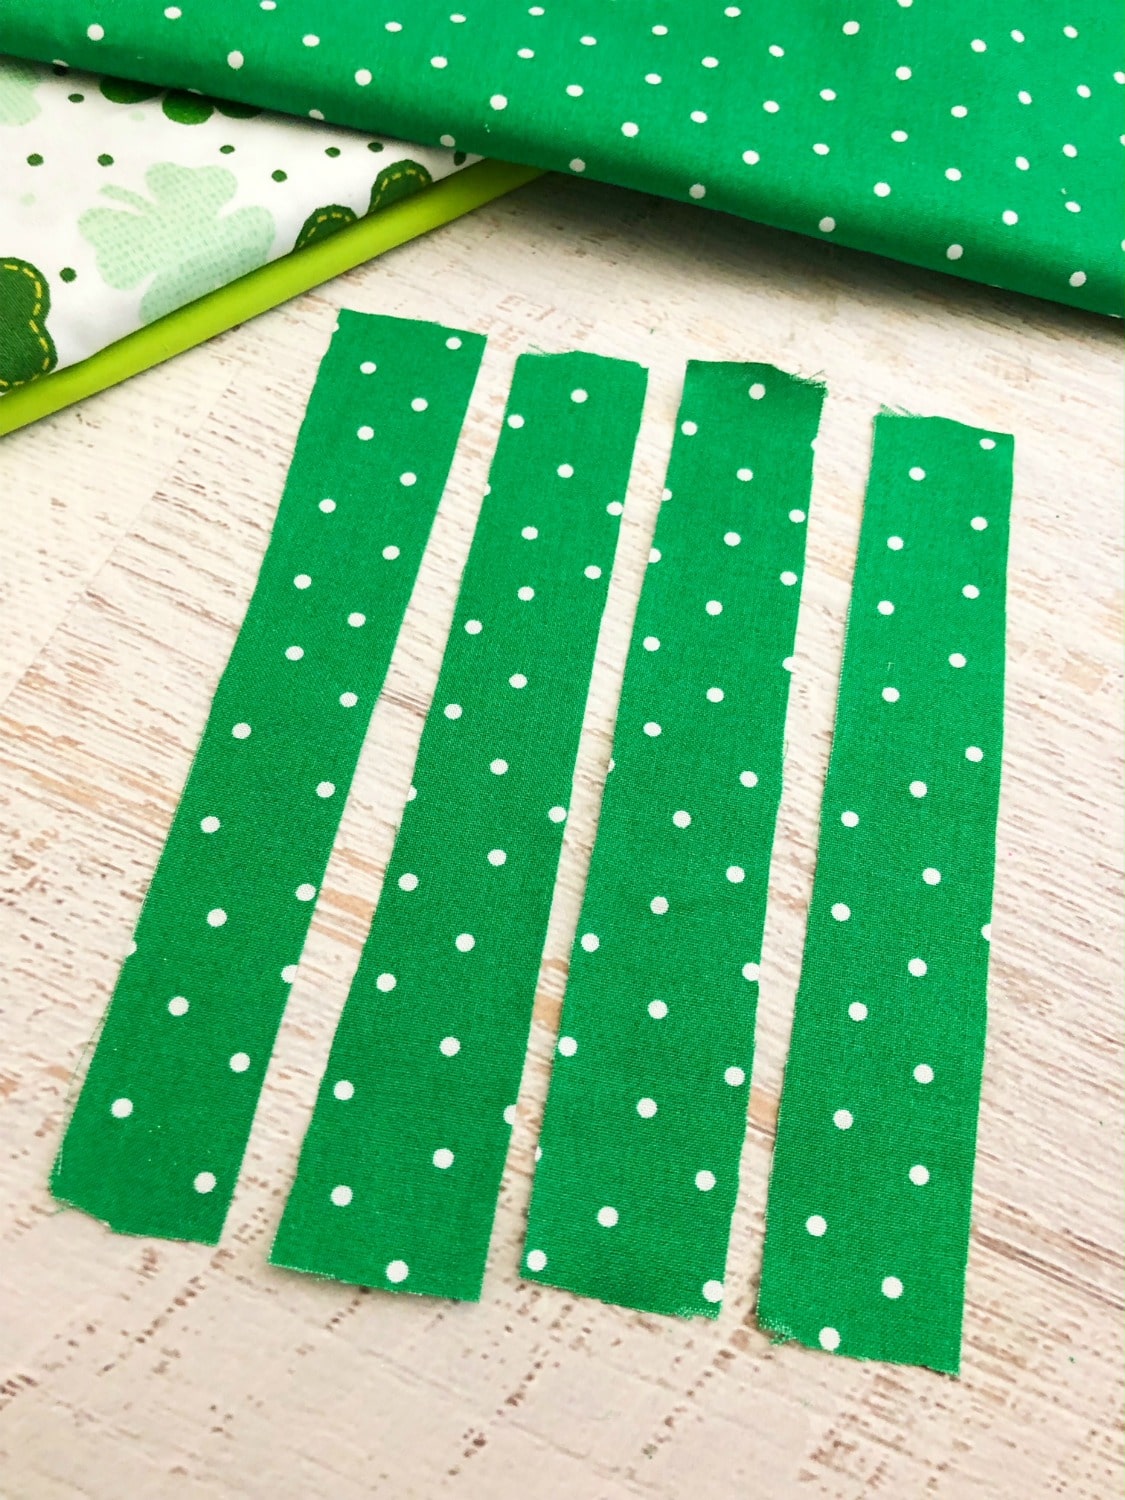
1-yard green polka dot fabric
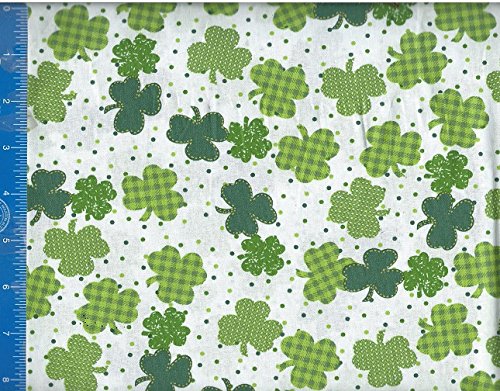
1-yard shamrock fabric
1-yard lime green fabric
1/4” yard green polka dot fabric
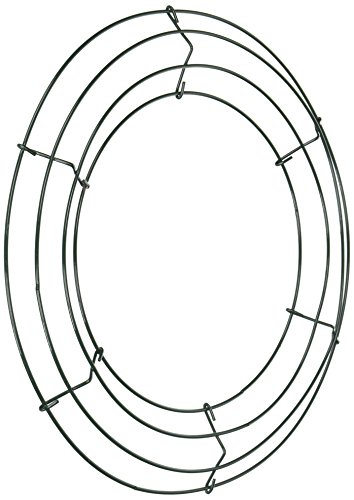
12” wire wreath frame
Scissors
Iron/ironing board
Measuring tape
How to Make A Shamrock Wreath For St. Patrick’s Day
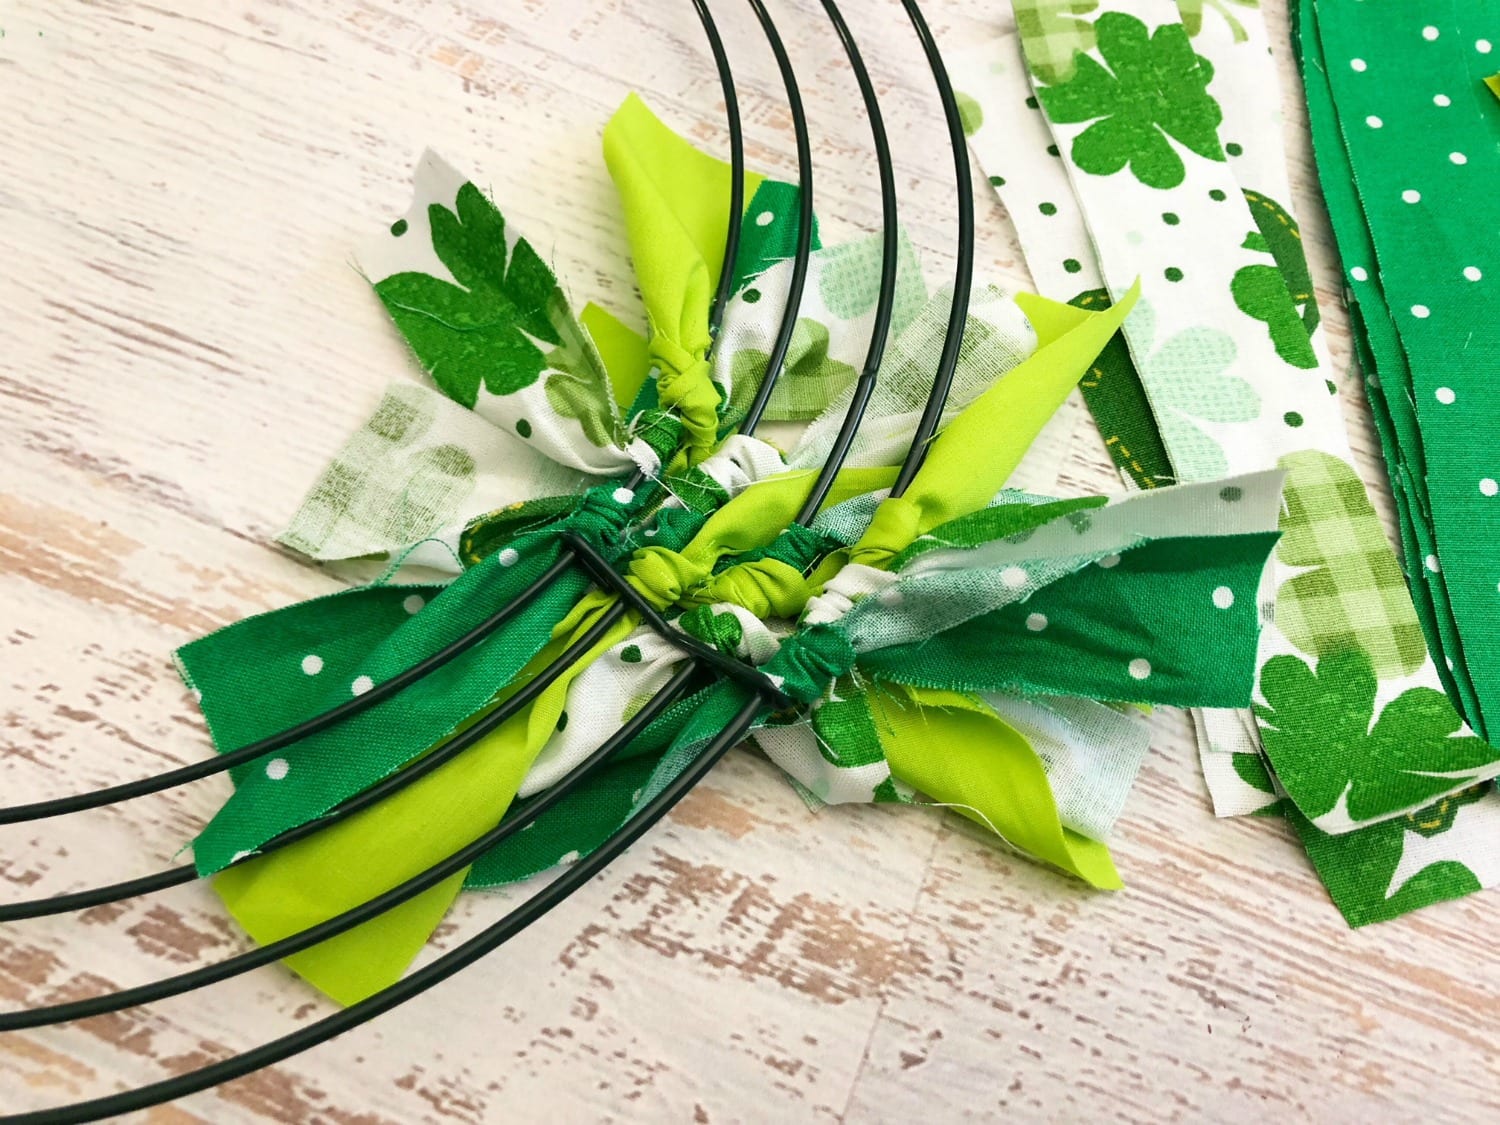
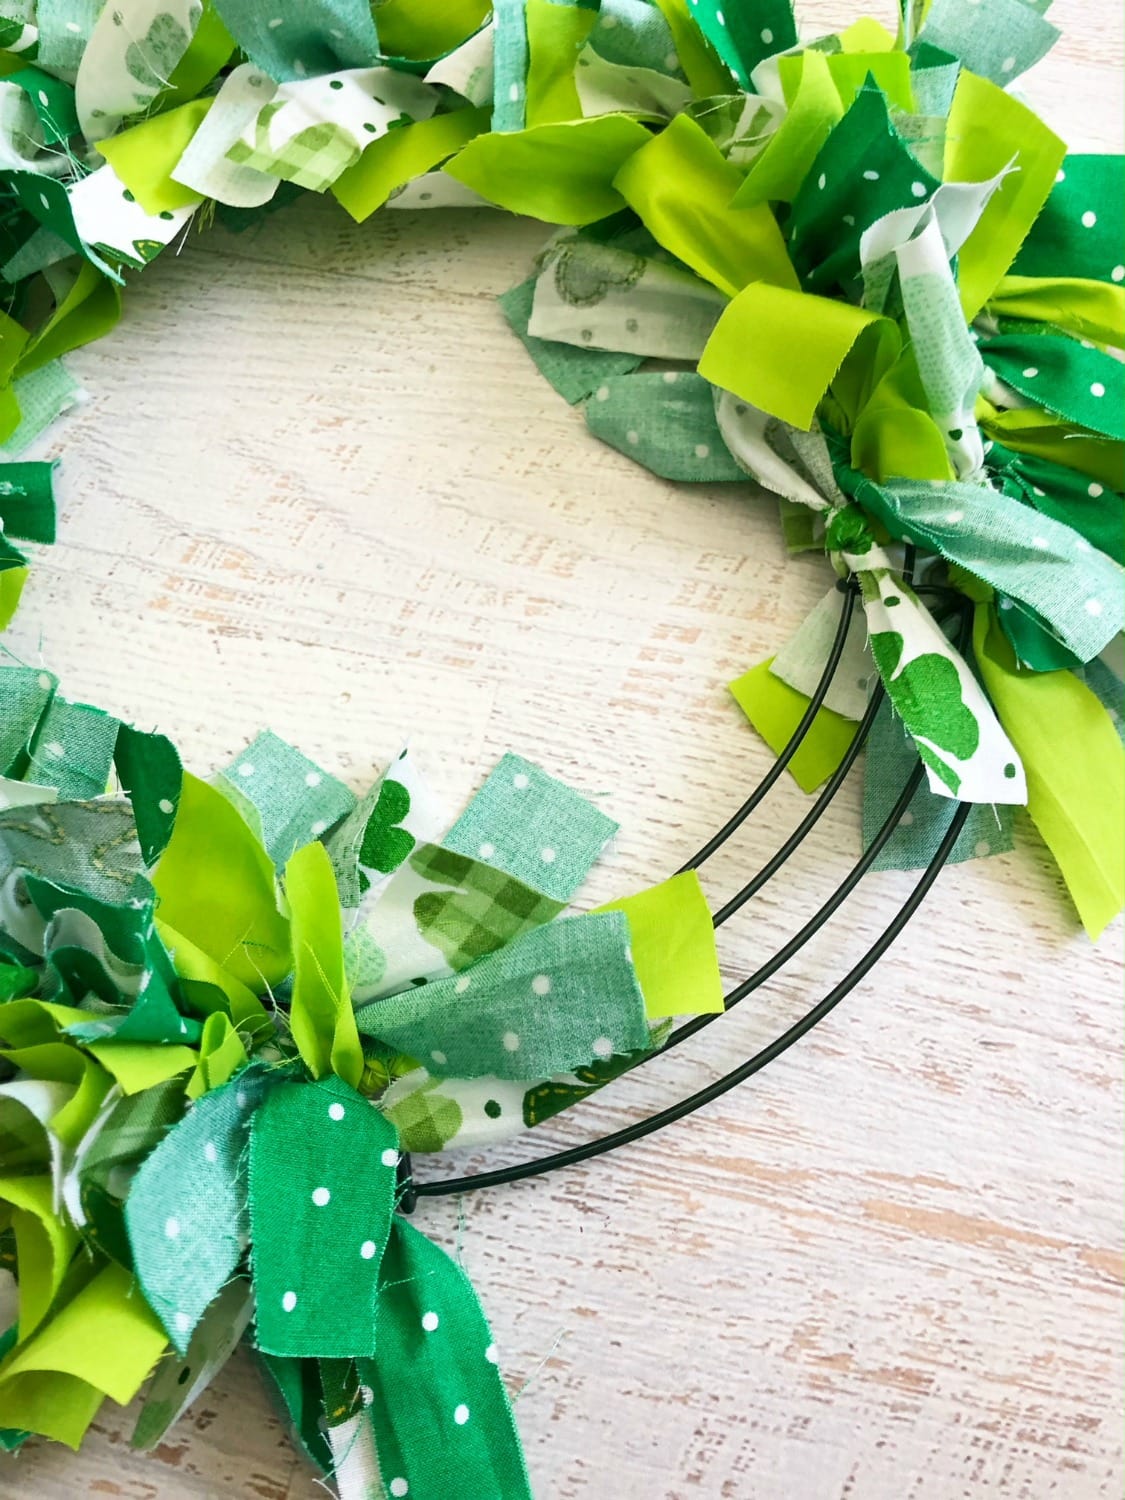
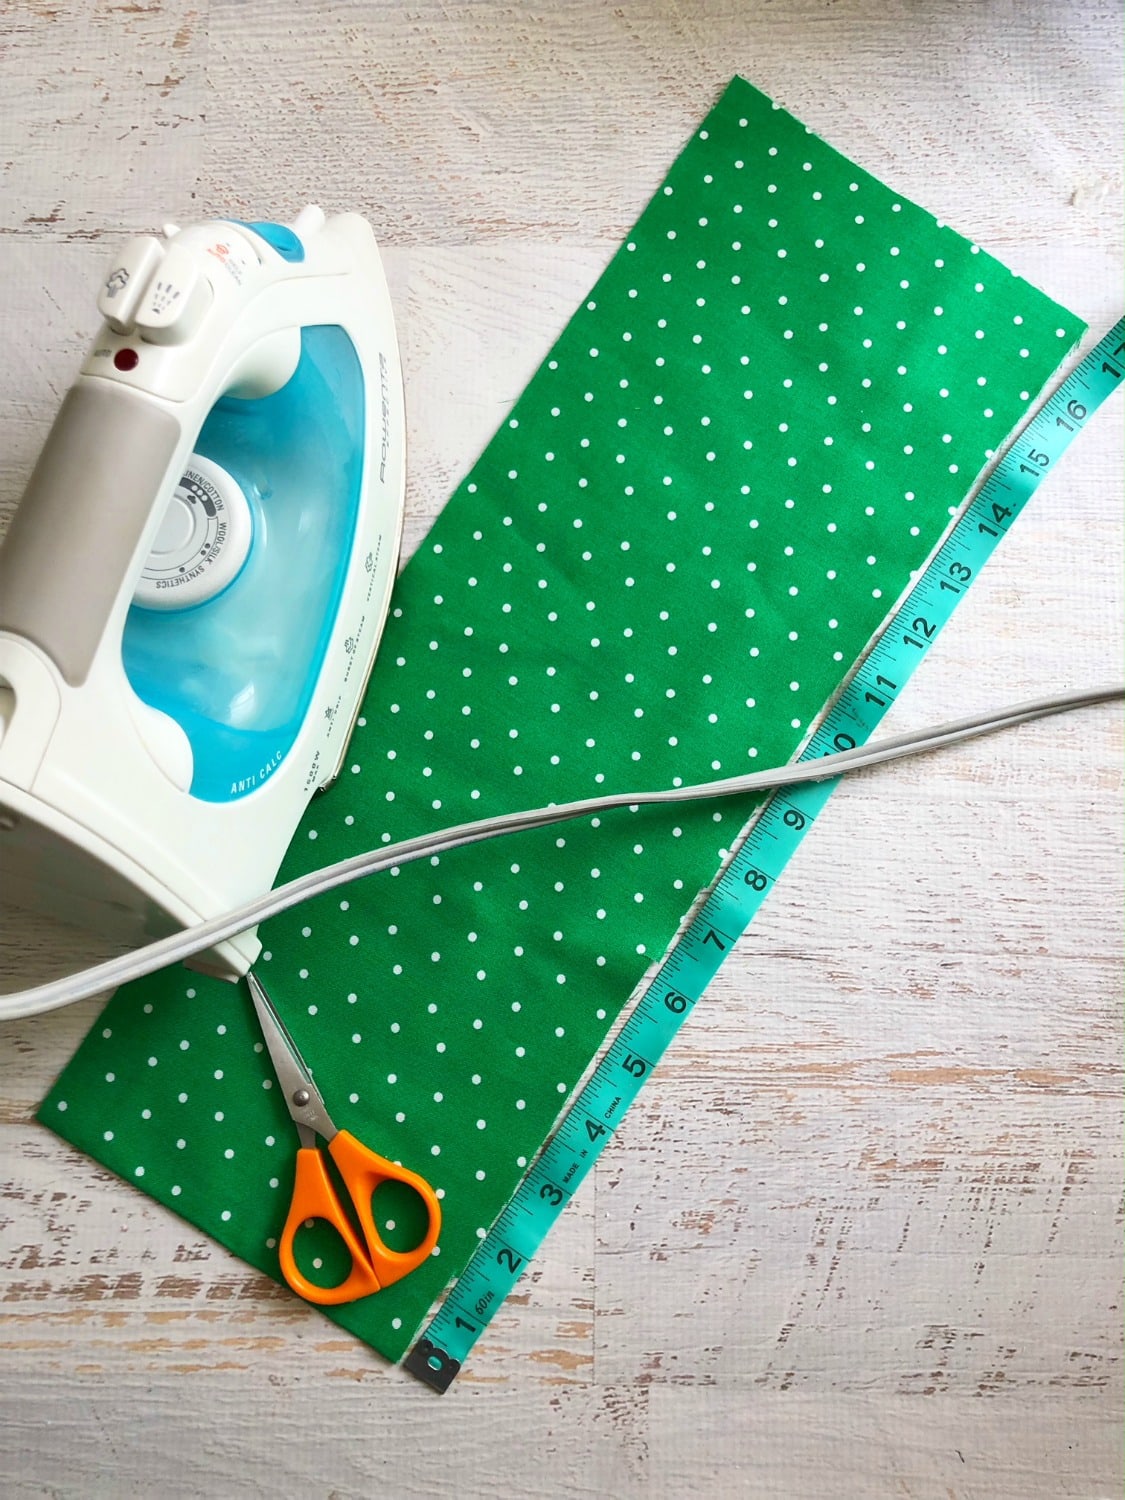
1. Measure and cut your 3 yards of fabric into 1.5” x 7” strips of fabric. 2. Tie on strips of fabric on your wire wreath in a pattern (green polka dot, shamrock, lime green) one at a time starting on the outer edge and working your way in. 3. Keep tiring your fabric strips on in a pattern once section at a time.
4. When your wreath is full cut a piece of fabric that is 34” x 7” from your 1/4” yard green polka dot fabric. 5. Fold the vertical sides in and iron in place making the fabric look like a strip of 3” wide ribbon. 6. Place your strip of fabric through the center of the wreath and tie the ends into a knot. Pull the knot behind the wreath and your wreath is ready to hang.
”You are the God who performs miracles; you display your power among the peoples.” Psalm 77:14 (NIV)
In this verse, the psalmist refers to all the miraculous works God had performed for the people of Israel time and time again. In countless situations, God had proven His faithfulness to His people by rescuing them from trouble and answering their prayers in miraculous ways. This verse compels us to not only remember God is a God of miracles but also to let that truth crush our doubts of God’s miraculous abilities and faithfulness in our lives.
Only a mighty, miracle-working God could have orchestrated some of the things that answered many of my prayers over the past few years. Not all my prayers were answered, of course, but enough to help me remember He is still the God of miracles today. He helped me fully realize Heis my provider. Not a man, not a job, not my own talents or efforts — Him alone.
God is always worthy of our praise — for the answered prayers we thought were unanswerable and the unanswered prayers we still lift up to Him each day. He is always faithful and always trustworthy. He hears our prayers and knows all of our needs.
If you have prayers you’ve been praying for quite some time, keep the faith. God is at work behind the scenes. Nothing is impossible for God.